Version Controlling RoboHelp Projects with Perforce
Perforce is universally recognized and adopted as a reliable, fast, and scalable centralized version control system. Adobe RoboHelp 9 integrates seamlessly with Perforce (Client with SCC Plugin) through its MSSCC Interface. This blog describes a recommended way to use the Perforce with RoboHelp.
Requirements:
User Level: Intermediate
Prerequisite Knowledge:
To follow this blog, you should have a basic understanding of:
- Creating projects in RoboHelp
- Version control systems
- Basic knowledge of Perforce Client UI
Required Products: Adobe RoboHelp 9 (Download Trial)
Additional Requirements:
- Perforce Client with SCC Plugin (This is a 64bit Perforce Client. 32 bit version can be found here. A newer version of Perforce Client with SCC Plugin is now available, but I am yet to test it.)
- Perforce Server
For the purpose of this blog, I used the following configuration:
OS: Win 7 64 bit
Perforce Client with SCC plugin: Perforce Visual Client/NTX86/2010.1/271261 64 bit
Assumptions:
- RoboHelp 9 is installed
- Perforce Client is installed with SCC Plugin.
- Perforce Server is installed
- You have an account on Perforce server and have rights for file management.
- You wish to add your RoboHelp project to the Perforce Server under directory //depot/users/apadia/temp/RHTestProjects. You can also have something like //depot/Projects. Let us call it top-level directory.
- All the projects that you create and add to Perforce are kept under the same directory in a flat hierarchy i.e. if your top-level directory is //depot/Projects and you have three projects Proj1, Proj2 and Proj3, the server directories will be //depot/Projects/Proj1, //depot/Projects/Proj2, and //depot/Projects/Proj3, respectively.
- You want your top-level directory to be mapped to D:\RHTestProjects on your local disk
While performing the following steps, Perforce may ask you to enter credentials – provide them as needed.
Steps:
- Launch Perforce client. Create a new workspace which will map //depot/users/apadia/temp/RHTestProjects to D:\RHTestProjects. For this choose New Workspace from the right click context menu of Workspaces tab.https://blog.adobe.com/media_24825c7fe959f5474ccc6b74704d93da6e48b123.gif
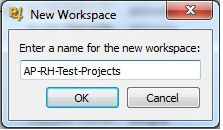
- Specify a name for the workspace. I have named it AP-RH-Test-Projectshttps://blog.adobe.com/media_434349d23069bdd73dec844278dce8f82adc3612.gif
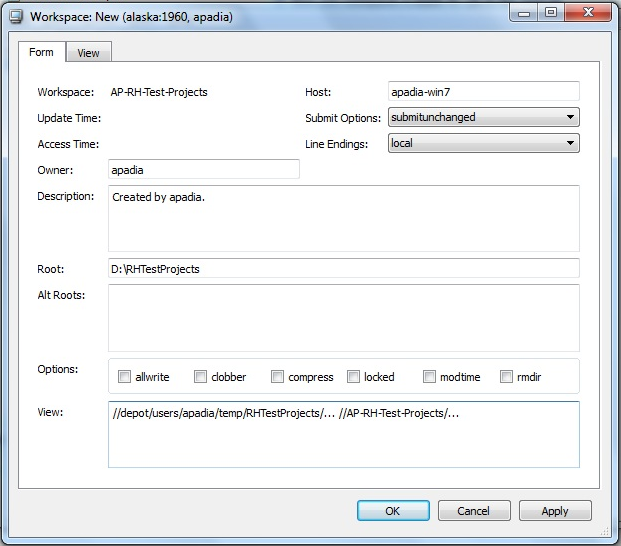
- Give the mapping details (View field) and local disk path (Root field) in the Workspace: New dialog. Click OK. A new workspace will be createdhttps://blog.adobe.com/media_54c289abd7faa89eeb13517a7e39fc578df16d23.gif
- In RoboHelp, create a project in the directory D:\RHTestProjects. I created MyPerforceProject in the directory D:\RHTestProjects. Once the project is created, click on Add Project to Version Control from the Version Control toolbar in RoboHelp.
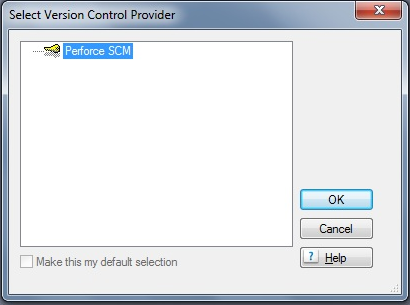
- After you have installed Perforce (with SCC Plugin), Perforce will be listed in the Select Version Control Provider dialog box in RoboHelp:
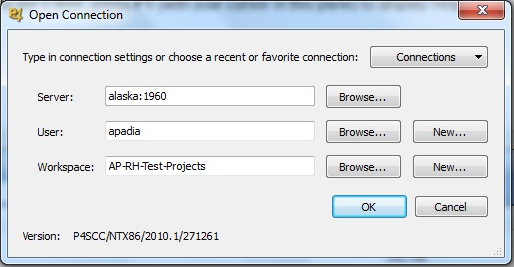
https://blog.adobe.com/media_8220f5bf5798056b704cedca52c6d1e3fc425d95.gif - Select Perforce SCM and click on OK. Provide the connection settings in the Perforce’s Open Connection dialog box:
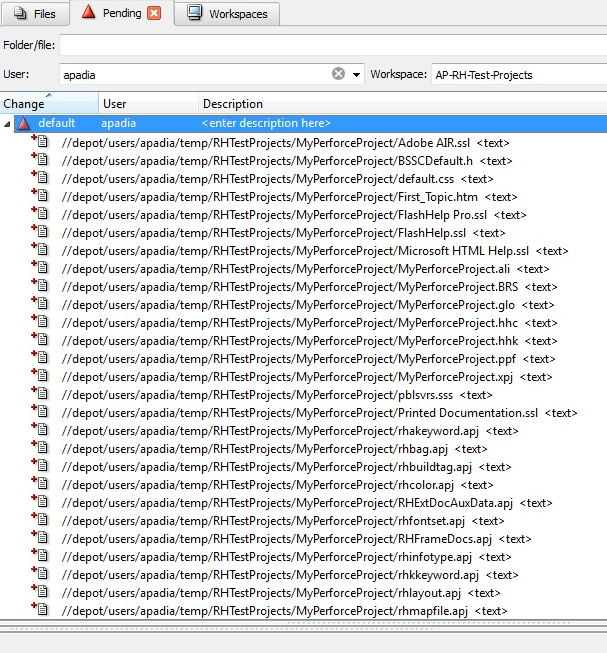
https://blog.adobe.com/media_898517b3b6ba0aee886b456f1b096cc3a1f26319.gif - On clicking OK, all the project files will be added to the default changelist in Perforce Client. You can verify that whether files will be added at the correct location by going to Perforce. In Perforce, do Refresh. You should see something like below:https://blog.adobe.com/media_168077ca5a298d3c2d7935f3dab47e86627c1241.gif
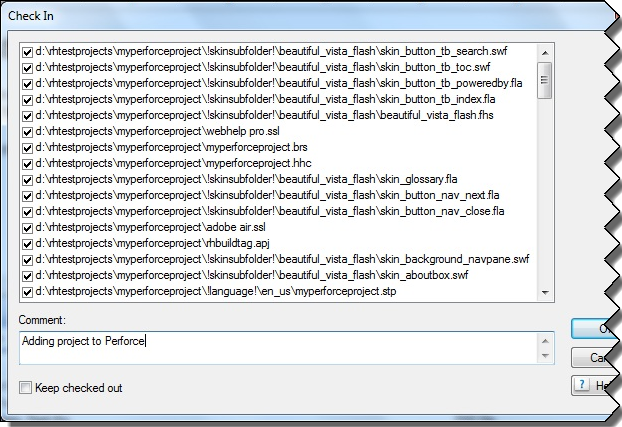
- In RoboHelp it may appear as if the files have been added to the Perforce Server, but you need to do a Checkin All from RoboHelp to add the files to the Perforce Server. Click on Check In All button in Version Control Toolbar in RoboHelp.https://blog.adobe.com/media_e9aef9c54cf3adfbffb1e412c69e049d8bbeb5db.gif
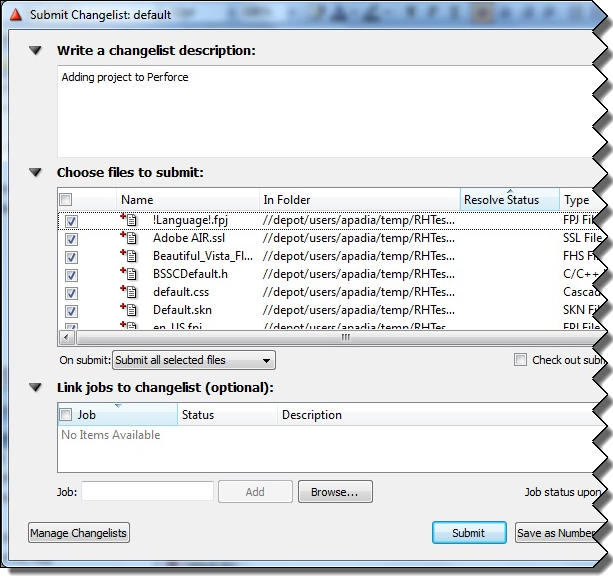
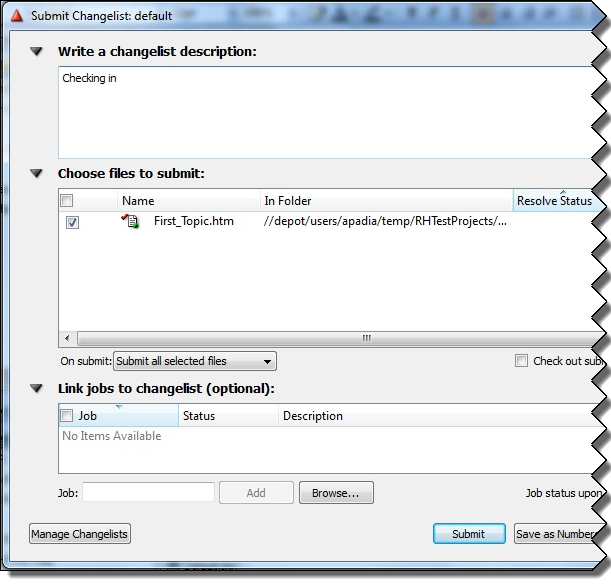
- Perforce will throw a dialog box (Note: You must provide a changelist description to proceed). Click on Submit.https://blog.adobe.com/media_4f0755c69769d0ad0af62d48957a7826cbd1b201.gif
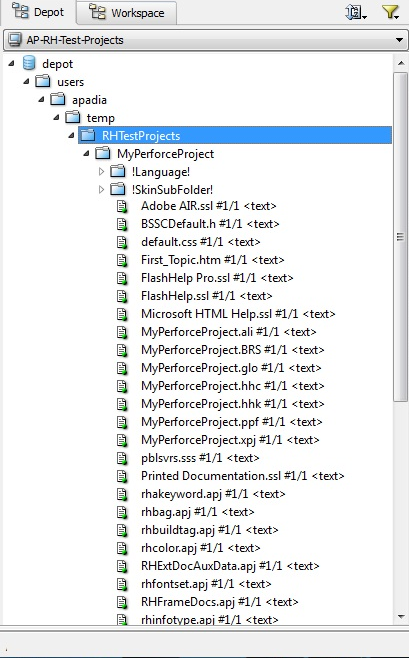
- Now, if you go back to Perforce, you will find that the project has been added to the Server.https://blog.adobe.com/media_91b44c84b8ff0049f9b13833c033df8ad69e072e.gif
- The project has now successfully been added to the Perforce server. Now make some changes to the first topic, save it and checkin.https://blog.adobe.com/media_155e98fb978e3230f91e4c4f37845fb343228642.gif
- Make some changes again in First Topic. Save it. Now try showing a difference. Try other commands like Show History etc. Checkin First Topic.
- Now, let’s assume user2 wants to open the same project on his machine.
- Assume that user2 has already created the workspace which maps the same top level directory //depot/users/apadia/temp/RHTestProjects to his computer’s D:\RHTestProjectsUser2 directory. He has AP-RH-Test-Projects-User2 as his workspace for this.
- Open RoboHelp and click on Open on Starter Page. Open Project Dialog will come up. Click on Open Project from Version Control button. On the Select Version Control Provider, choose Perforce SCM. In the Perforce’s Open Connection provide correct details. Provide user2’s username in User: field.https://blog.adobe.com/media_d33a726f0b8e1d711f0c1b2b4510a0331be82dc1.gif
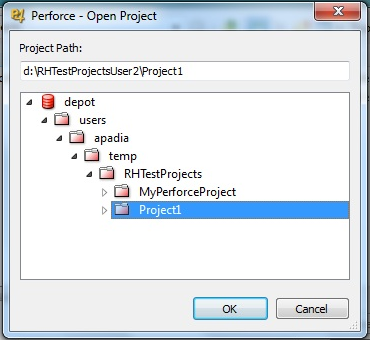
- In the Perforce – Open Project dialog, choose MyPerforceProjecthttps://blog.adobe.com/media_bbd035760b60223ae0a4f77aeb90311c0ae551db.gif
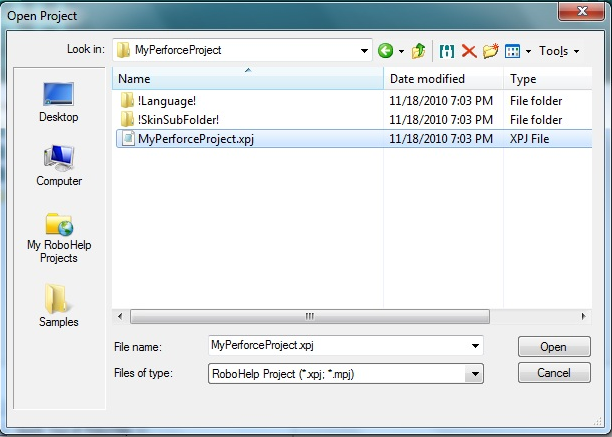
- Perforce will fetch the files from the serverhttps://blog.adobe.com/media_055f0f21c209c7598050df39a643029db2e69930.gif
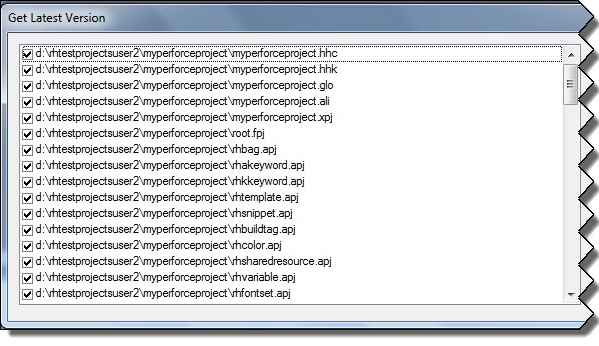
- Open the XPJ file. RoboHelp will ask for Get Latest Version. Click on Yes.https://blog.adobe.com/media_1dc7cc53682baa2860afe43701ab884e68ddf526.gif
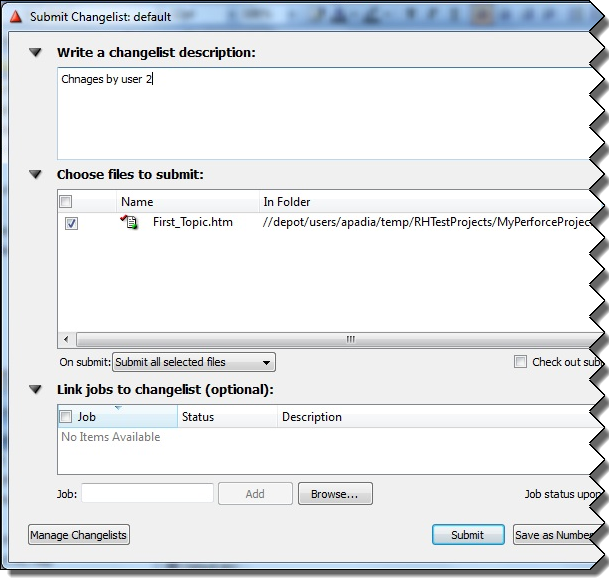
- The project has now been opened from user2 machine. Make some changes to the First Topic and check inhttps://blog.adobe.com/media_4f37d2f25f9cc3492a10bc2e02078b18561526d8.gif
- Now if the first user does a Get Latest All, he will have the changes done by user2.
FAQs
Question: Do we need RoboSource Control to be installed?
Answer: No. Like RoboSource Control, Perforce is another Version Control System. RoboHelp is capable of integrating with MSSCCI compliant Version Control systems.
Question: Will my existing Perforce client installation work?
Answer: Yes, provided SCC plugin is installed with your existing Perforce client installation
Question: How do I find out if SCC plugin is installed for my existing Perforce client installation?
Answer: Open any non-version controlled project in RoboHelp. Now click on Add to version Control on Version Control toolbar. If Perforce is listed, then the existing installation has SCC plugin. Alternatively, you can also check for SCC plugin in the registry HKEY_LOCAL_MACHINE\SOFTWARE\Wow6432Node\SourceCodeControlProvider\InstalledSCCProviders (for 64 bit OS) or HKEY_LOCAL_MACHINE\SOFTWARE\SourceCodeControlProvider\InstalledSCCProviders (for 32 bit OS). If SCC plugin is installed, there would be a registry entry named ‘Perforce SCM’.
You can find some handy tips in this knowledge-base article on Perforce and RoboHelp. For a more detailed understanding of Perforce, please refer to the Devnet article “Integrating RoboHelp 9 Projects with Perforce” by Mark Whisler.
Anil Padia
RoboHelp Engineering Team