A Step-By-Step Look at the Retouching in Newseum’s “Creating Camelot”
Last week, we shared a conversation I had with a team from the Newseum that worked on restoring a series of Presidential family photos for an exhibit titled “Creating Camelot: The Kennedy Photography of Jacques Lowe.” That team was generous enough to share a small peek into the process they used to retouch Lowe’s historic photos. Here is an illustrated step-by-step guide to one part of their retouching process.
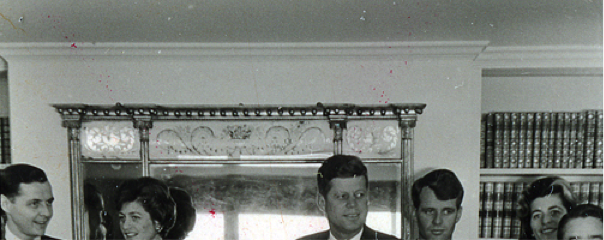
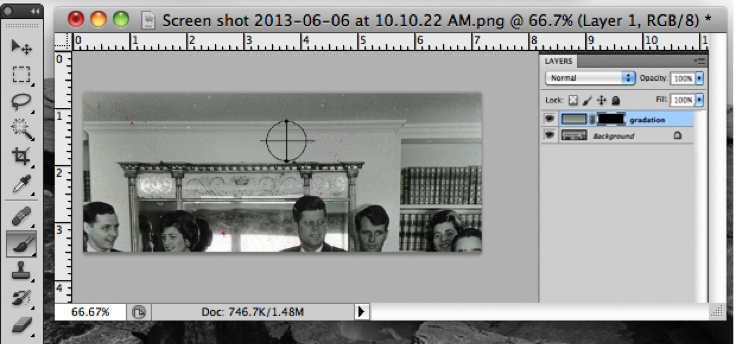
Some original photo prints are scratched and covered with blemishes. I’ll share an editing technique for removing the artifacts, without the healing or clone brush tool. This technique works in any tonal range. I selected a cropped photo from the Camelot theme below.
https://blog.adobe.com/media_06f4eb2231b2158e2dafb13690ae3905b84297ab.gif
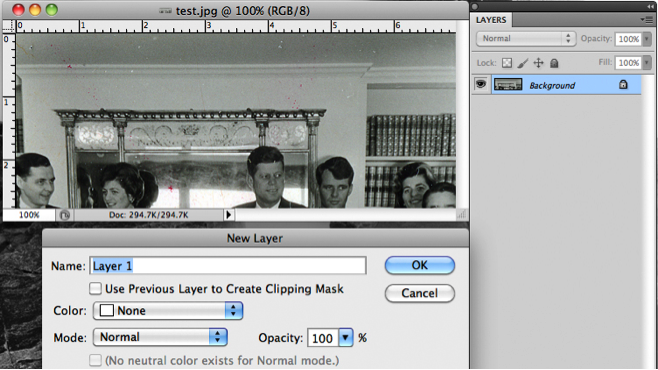
First create a new layer. ⇓
https://blog.adobe.com/media_c4228e7f6dbc145160b8ad69c5a6120a26cadb0a.gif
Second step below is to name your layer.⇓ My new layer name is gradation. Next select the gradation tool on the menu bar.
https://blog.adobe.com/media_be1a5048c446594024c3f5bb14291148054d5f4b.gif
Third step below is to click on the eyedropper tool and use the eyedropper to sample darkest color above window for Foreground Color, next click eyedropper just above hair of Robert Kennedy for sample of light color.⇓
https://blog.adobe.com/media_d58a1df8d83a50968fc47732b006af4d4db0809d.gif
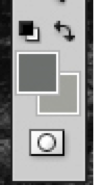
The tool bar ⇓ below shows Foreground and Background colors.
https://blog.adobe.com/media_4378821be1a4efddcadac3ac4b6ac373b5d18ae9.gif
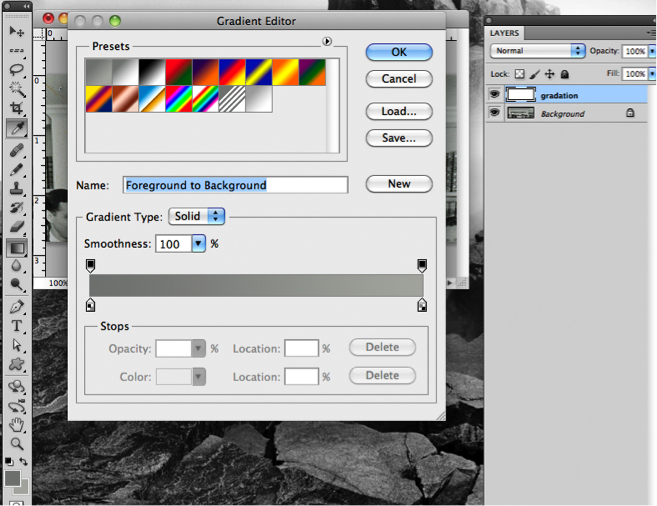
Next, click on gradation tool, then, click on gradient editor and click the top left preset color, and the name Foreground to Background appears and click OK.
https://blog.adobe.com/media_3891e775a5afa174c08ed1ee858fd823752b9823.gif
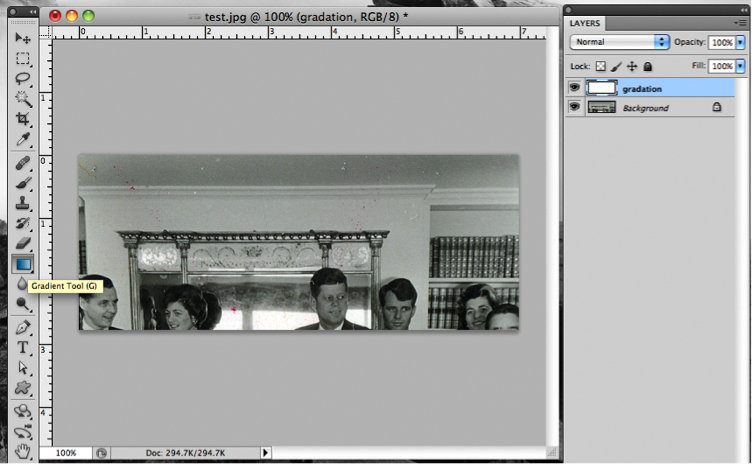
The gradient tool is loaded and ready to use ⇓. Place your mouse at top of image, then, click and drag to bottom of image area to create a gradient in the direction and length of the mouse motion. A short drag creates a short gradient; a long drag produces a smoother, longer gradient.
https://blog.adobe.com/media_b61d4c54e44904ec61aad096f0f015f243d30f1e.gif
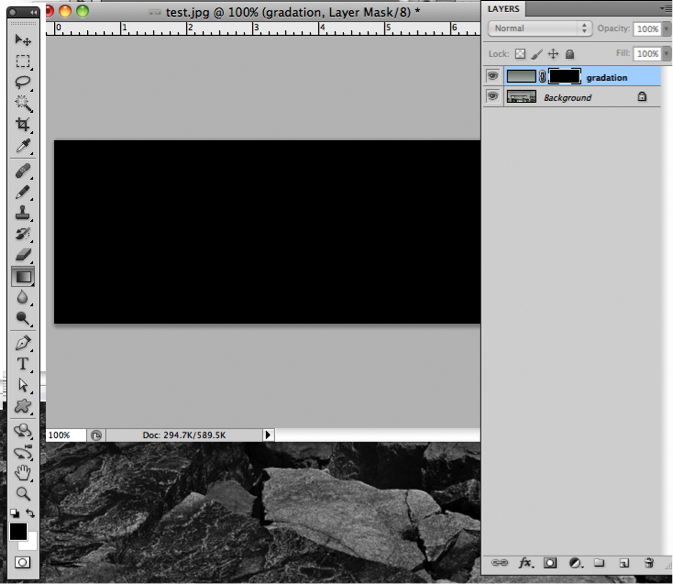
Next we create a layer mask ⇓ for the gradation layer. The mask is filled with black so the gradation is opaque to background layer.
https://blog.adobe.com/media_057ef385343bbdb85e0904e0809497676bd74e9d.gif
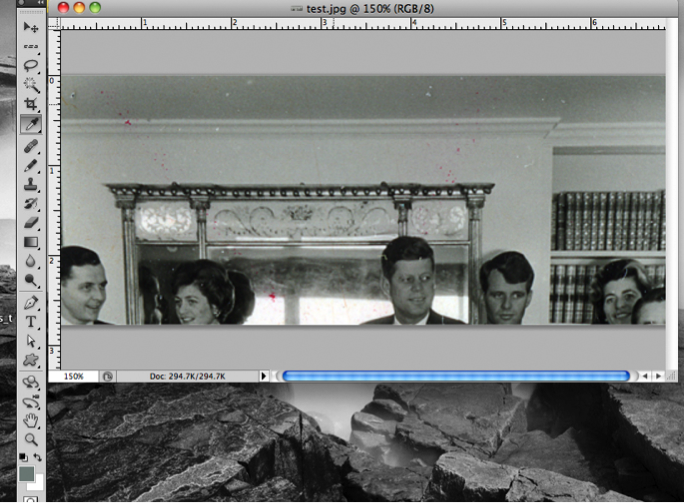
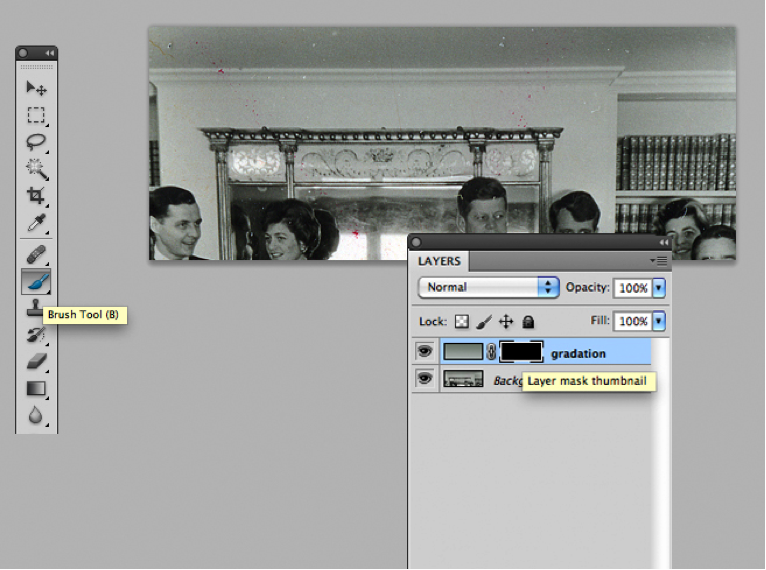
Next, I toggle to the brush tool ⇓ on tool bar and select the alpha mask on the gradation layer to remove the scratches and blemishes in background. Set brush fill color to white!
https://blog.adobe.com/media_8f93458237b687cc32a9fe08dcb07bf1e31ff3ba.gif
Set my brush tool 30px to start and adjust opacity range from 15% – 80%. Sometimes, I adjust the color and opacity on my gradation layer to match color to background layer ⇓.
https://blog.adobe.com/media_1060aadf71de41fb55b244d09222ca42860b977d.gif
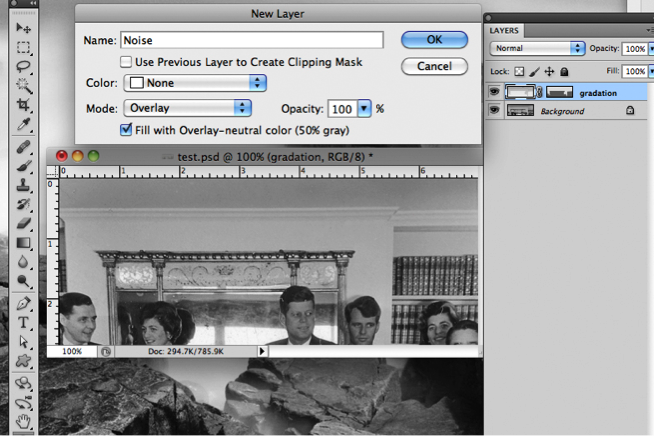
When I finish airbrushing my new painted background a new layer above the gradation layer is created. This new layer ⇓ is a noise layer to combat the banding. When you add or create smooth areas in an image, it’s very common for “stripes” to appear in the image. I create a new layer, use mode overlay and check the box – fill with overlay –neutral color and name it noise.
https://blog.adobe.com/media_33fa767b058a2420cea27903c902869fc6159507.gif
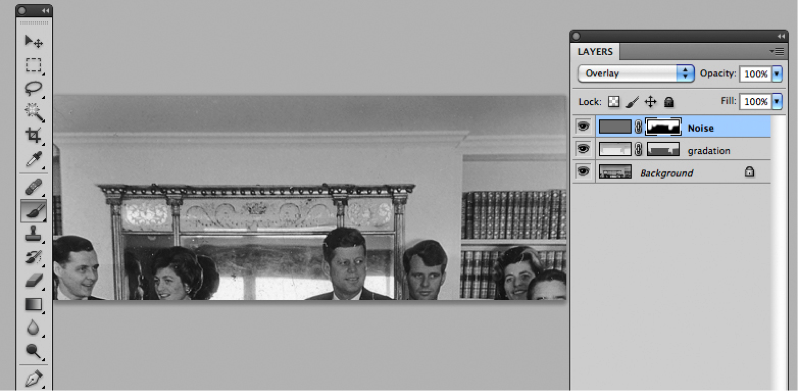
Finally, click on the noise layer ⇓ and select ==> filter ==> noise ==>add noise ==> amount 3 or 4 %, distribution Uniform and check Monochromatic. Follow the steps from my gradation part of tutorial to create an alpha mask to black. Click on alpha mask, changing brush fill color to white and airbrush the noise layer into smooth areas of your gradation background.
https://blog.adobe.com/media_fe774e28e43f514887f85d6868e63412f1ae32e6.gif
Thanks again to the Newseum team for bringing these brilliant photos back to life (with a little help from Photoshop) and taking the time to walk us through the process. To learn more about the “Creating Camelot” exhibit, click here.