I hate filling out paper forms! Not only is my handwriting terrible, but the whole print/scan/send routine is time consuming.
Fortunately, both Adobe Acrobat and Reader have the hand Sign pane which let’s you add text, add checkmarks and sign a document:
While these tools are great, they don’t cover all of the use cases for typical paper forms, for example one like this:
On a paper form, you’d simply circle either Yes or No, but that is missing from the Sign pane in Acrobat. Fortunately, you can easily include a Circle Stamp. The procedure below works in either Adobe Reader XI or Acrobat.
Download the Stamps
Both Reader XI and Acrobat can use existing PDF files as stamps. While Acrobat can convert virtually any artwork to PDF, Reader cannot. To help out, I’ve included three Circle Stamps below (Red, Blue, Black) which you can import and use. Download these to your computer and follow the steps below.
red_circle_stamp (9k PDF)
black_circle_stamp (9k PDF)
blue_circle_stamp (9k PDF)
These small PDFs each are small circles with a diameter of 12 points.
Creating the Custom Stamp
Follow these steps to import that stamp
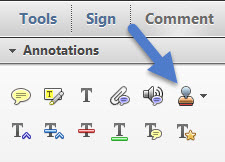
- Choose Comment Pane > Annotations > Stamps
https://blog.adobe.com/media_e57ad52886e790153bd6f6f403ebdeb716c1058c.gif
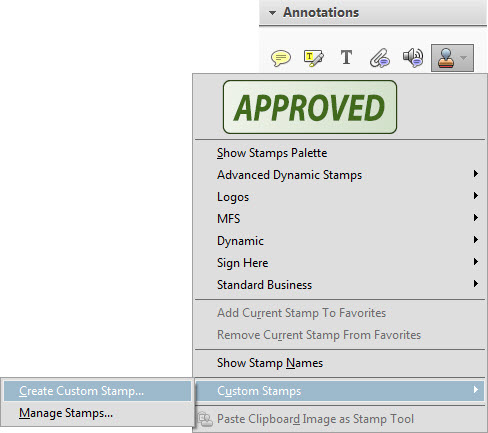
- Click Stamps Tool and choose the flyout menu> Create Custom Stamp:
- https://blog.adobe.com/media_e0d9a58963cbc89194d67cf7c93412b4ca538975.gif
- Click Import, and select the stamp file you downloaded from my example above.
https://blog.adobe.com/media_8c09cfcbcb2940055e15c2d25669045400d43cb0.gif
- Choose a category from the menu or type a new category name (such as My Circle Stamps), name the custom stamp (e.g. Blue Circle), and then click OK.
- https://blog.adobe.com/media_7ce14a575a4ca0cd127ed15e4614899ae5fc2ab7.gif
Apply a stamp
Once you have created the stamp, you can apply it to your document.
- Click the Stamp tool. The most recently used stamp is selected.
- In the Stamps Palette, choose a category from the menu, and then select a stamp.
- Click the document page where you want to place the stamp, or drag a rectangle to define the size and placement of the stamp.
NOTE: If you haven’t provided a name in the Identity preferences, the Identity Setup dialog box prompts you to do so.
Below, I’ve applied the stamp.
Change a stamp’s location or appearance
I purposefully made the stamps included with this article small. When you apply the stamp, you can click and drag to scale it or do os later.
Below are the general instructions for using stamps. Using the Select tool or the Hand tool, you can do any of the following with the stamp selected:
- To move a stamp, drag it to a new location.
- To resize a stamp, click it, and then drag a corner handle.
- To rotate a stamp, click it, move the pointer over the handle at the top of the stamp, and drag when the rotate stamp icon appears.
- To delete a stamp, right-click the stamp and choose Delete.
- To change the stamp’s opacity or the color of its pop-up note, right-click the stamp, and choose Properties. In the Appearance tab, set the opacity or color.
Creating a “Favorite” Stamp
If you regularly use a Stamp, you can add it to your favorites. It will then appear at the top of the stamp list.
- Using the Select tool or the Hand tool, select a stamp markup on the page.
- In the Annotations panel, click the Stamp tool and choose Add Current Stamp To Favorites.
Repeatedly using the Same Stamp
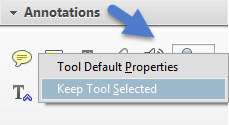
Sometimes, you may want to use the circle stamp repeatedly. Use this trick to avoid having to reselect the tool
Right-click on the Stamp Tool and choose “Keep Tool Selected”:


