Your Questions Answered: Creating a table and centering objects within it using HTML and CSS
Like most of our ‘Your Questions Answered’ posts, we’re going back to the basics. We get all kinds of questions from our users on our forums, Twitter and Facebook. One question that has come up a bunch, which we’ll be covering in this post, is around creating a table and centering objects using HTML and CSS.
Users that have previously styled tables using HTML will find this tutorial relatively simple. However, if you are new to HTML and CSS, you can still create this table without too much effort. We are using Dreamweaver CC for this tutorial.
Let’s get started.
Create a new page
- Open Dreamweaver
- Select File > New
- In the New Document dialog box, ensure that HTML is selected as the Page type.
- Click Create.
- In the Code view, locate the“ tag. In between the opening and closing title tag, enter “Centering objects in a table”.
- Select File > Save As and save the file as centering_tables.html.
Create a container for the table
Before we proceed with creating a table, we will be creating a container div tag (containerDiv) to hold the contents of the page, and another container in which we will be placing the table (tableDiv). In the Code editor between the body tags, enter the following code:
We now have a container for the contents of the page, and our own DIV for the table that we will be creating now.
Create a table using HTML
Inside the tableDiv container, create a table. Enter ‘Hello’ in each of the cells so that we can see the table clearly in the Design or Live view.
Hello
Hello
Hello


Hello
Hello
Hello
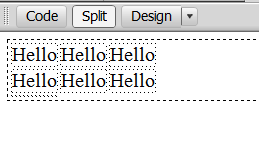
In the Live View or Design View, you should now be able to see a 2×2 table with ‘Hello’ placed in each of the cells. You should also be able to see the container div that is enclosing the table.
https://blog.adobe.com/media_a1ee32218eebff8f6035eaec1ccc039f8d9ee285.gif
Style the table
Below the closing title tag, create the opening and closing style tags. Then, use this piece of code to style the table. In the following piece of code, the border-collapse property creates a single continuous border for the table. The rest of the properties are self-explanatory.
.tableStyle{
	border: thin solid #EFEFEF;
	border-collapse:collapse;
	width: 800px;
	margin: 0 auto;
	text-align: center;
	align-items:center;
	}
In the body, apply the style to the table tag.
Preview the file in a browser using File > Preview in Browser. You should now be able to see the table centered on the page and with a light gray border.

http://blogs.adobe.com/creativecloud/files/2015/03/hello_cod2e.png
Style the cells in the table
We now need separators for each of the cells in the table. Let’s work on that.
Right below the tableStyle in the Style section of the code, enter this piece of code.
Padding will ensure that the text within the cell gets some breathing space.
.tableCell{
	align-content: center;
	border-width: thin;
	border: thin solid #EFEFEF;
	padding: 5px;
	}
Ensure that you apply the style to all the cells in the table.
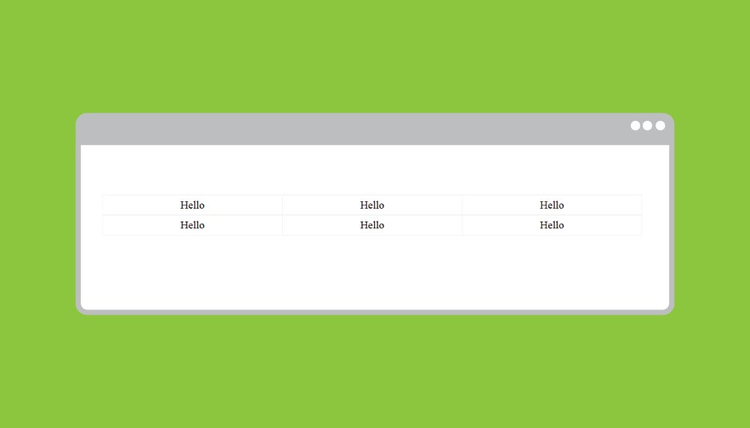
Preview your page in a browser. Does it look like this?

http://blogs.adobe.com/creativecloud/files/2015/03/hello_code3.png
The page is centered in its container, and the contents of the table are centered as well.
One last thing you may want to do is to center the entire page in a browser. In which case, we will use this piece of code that we used to center a page.
.containerDiv{
	width: 1200px;
	margin: 0 auto;
		}
And you are done! Check to make sure you got everything right by looking at the final result. Then go ahead and play around with your table. Apply styles, add images, do your thing. Have fun!