Five Ways to Get Started in Adobe XD
Getting started with a brand new tool is always a tough sell. Therefore, I wanted to write up a few quick tips on how you can bring some of your existing content into Adobe Experience Design CC (aka Adobe XD).
1. From Photoshop
- Right now, Adobe XD supports copy and paste of bitmaps from Photoshop. To get this to work:
- Make a selection in your PSD.
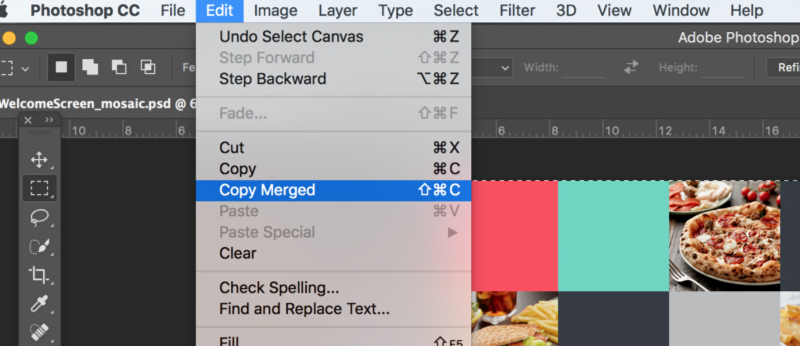
- Use the menu item Edit-> Copy (for a single layer) or Edit-> Copy Merged (for all layers).
- Cmd+V in Adobe XD.
https://blog.adobe.com/media_bb27e69a539d91df3093b1f2e751e7c5d12c1088.gif
Copy a selection from Photoshop to paste into Adobe XD.
2. From Illustrator
With the current release, XD supports copy and paste of vectors from Illustrator.

Vectors from Illustrator are pasted into Adobe XD in a group. You will need to double-click into the group to edit the vectors in Adobe XD.

Note, embedded images in your designs won’t come into XD from Illustrator yet. We’ve fixed that and it is coming in a future update.
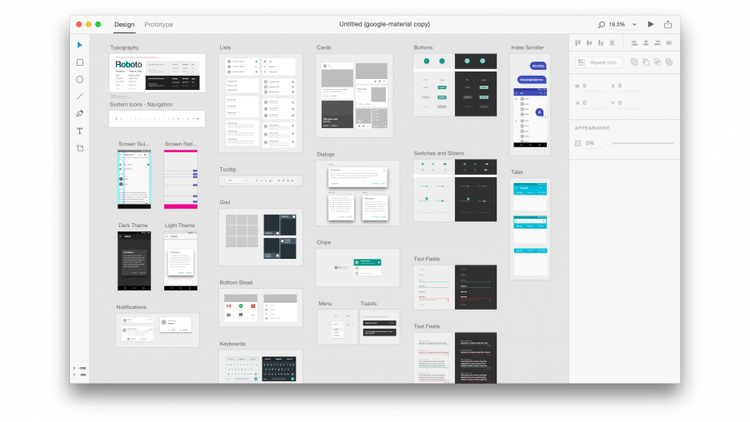
3. From Sketch
Because Adobe XD supports SVG import, you can bring Sketch layers into an XD design in just a couple of steps.
- Select the group or layer in Sketch that you would like to bring into XD.
- Make the group or layer exportable. Select “SVG” as the format.
- Drag that layer into the Adobe XD canvas.

4. From Finder
Right now, you can drag in a PNG, JPG, GIF, TIFF or SVG file from your local file system onto the Adobe XD canvas. All of these images will come in at the 100% of its original size except for JPGs. We bring these in at 50% of the size with the belief that this will make large images easier to work with. If this isn’t what you want, let us know! We’d love your feedback on this behavior.
Also, if you are using Adobe XD’s Repeat Grid tool. You can select and drag images from Finder to populate a series of shapes.

5. From the Browser
You can copy/paste any image from the browser into Adobe XD. Right now, our public release doesn’t support drag and drop of images from the browser, but, that is coming in the next update!
That’s all for now. Adobe XD remains in its infant stages and we plan to support a wider breadth of interoperability with existing design tools. I would personally love to hear your feedback on how you would like to bring content into XD. Please file these requests on our feedback site.
We have a lot to build, help make the journey with us!
