Hidden Gems in Acrobat DC: Add & Arrange Graphic Objects

A picture is worth a thousand words. Whether you’re designing a brochure, writing a paper for class, or building a white paper for your company, strong images help convey key messages. You spend countless hours carefully curating an array of engaging images, hoping to catch eyes as they fly by. Placement, size, and arrangement of images are critical. Luckily, Acrobat DC makes it simple to add and arrange graphic objects within your PDF.
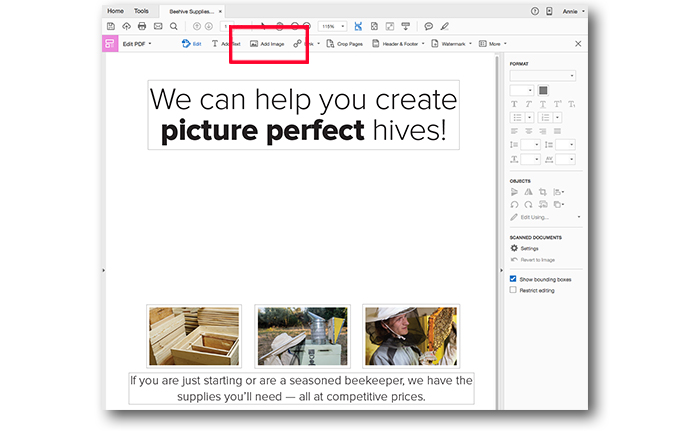
- Select Edit PDF from the Tools Center.
- Select Add Image in the toolbar to add a graphic. In this case, the header of our PDF could use a little sprucing, don’t you think?
https://blog.adobe.com/media_72d755fb71dff94bcba5dc6367da41b2ae435c1c.gif
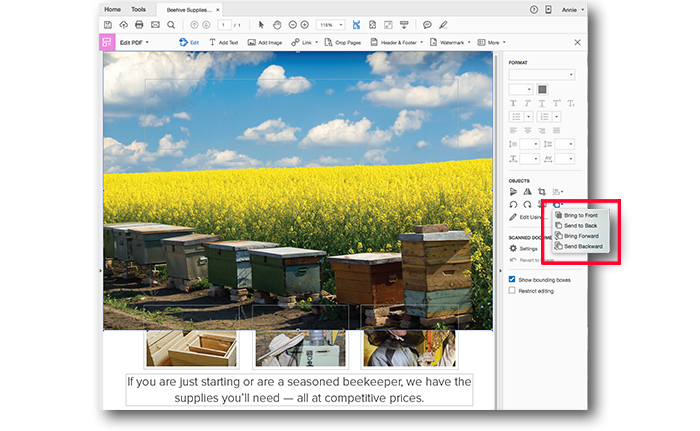
- Our header image is now placed, but it’s covering up our other three images. Select the Arrange objects dropdown in the right-hand pane to layer the graphic. We’ll select “Send to Back.”
https://blog.adobe.com/media_035c1ea2756d10fc80f0c3d5aae5ea98c2c60651.gif
- Done! Wasn’t that easy?
https://blog.adobe.com/media_a94d9b9cf50e9d6cf9599b185b6e3b5f54b207ff.gif
You’ve now got a perfectly placed image to help make your PDF more impactful. Time to send it off to your team for review! We think they’ll love it.
—
Think you know everything there is to know about Acrobat DC? Think again! Learn about more hidden gems by taking a look at the “Learn” section of our blog.
Not yet an Acrobat DC user? Sign up for our free trial.