Top 5 Tips for Using Workflow Designer

The Workflow Designer tool in Adobe Sign gives you the power to create custom send experiences that are tailored to your business processes. Account administrators can define virtually every aspect of a workflow with this powerful tool.
Here are some best practices to help you get the most out of Workflow Designer.
1. Map out the full process before you start.
Map out all the details of the workflow before you set it up in Workflow Designer. Include recipients, routing, documents and versions, and any input fields, as well as details about expiration dates, reminders, and user verification.
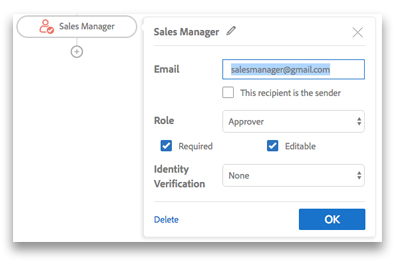
2. Wherever possible, set defaults for emails and documents.
When setting up your workflow, include any default known email addresses and documents to be used. This will reduce user error, ensure compliance, and save time.
https://blog.adobe.com/media_c0048b8e7c76990d719e51f1f8bbad7e94db29bd.gif
3. Include instructions for your senders.
Workflow Designer allows you to include detailed end user instructions for your workflow, and supports basic HTML for formatting. Utilize this tool to ensure usability for your senders.

4. Use relevant recipient names.
Make life easier for your users by labeling the recipients appropriately.

5. Clone and modify to save time.
Want to reuse an existing workflow, but with just a couple of minor changes? You don’t have to start from scratch. Just click “Clone Workflow” and make your changes.

—
Start your free trial of Adobe Sign today!
Take a tour of Workflow Designer
Watch an on-demand webinar about Workflow Designer