Changing Primary Layout in the Blank Project Template in RoboHelp
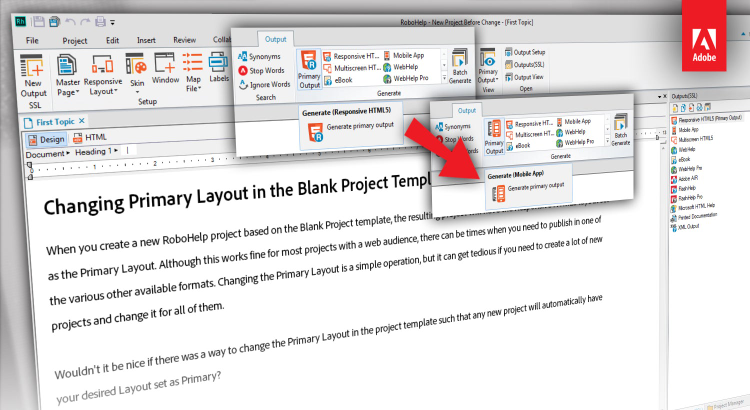
When you create a new RoboHelp project based on the Blank Project template, the resulting project will have the Responsive HTML5 layout set as the Primary Layout. Although this works fine for most projects with a web audience, there can be times when you need to publish in one of the various other available formats. Changing the Primary Layout is a simple operation, but it can get tedious if you need to create a lot of new projects and change it for all of them.
Wouldn’t it be nice if there was a way to change the Primary Layout in the project template such that any new project will automatically have your desired Layout set as Primary?
In this post, we are going to be doing exactly that.

What is a Project Template?
A project template is simply a RoboHelp Project with certain settings pre-configured. They reside in the RoboHelp installation folder. When creating a new project, RoboHelp allows the user to select one of the templates to base the new project on. RobHelp then makes a copy of the template project into your specified directory and makes certain changes like setting new title, default topic, etc.
Since the template is nothing but a RoboHelp Project, it can be modified to change the default behavior of a new project.
A word of caution
Template modification is a powerful tool. As we will see in the following text, it is not limited to just changing the Primary Layout of a new project. It is really important NOT to try anything other than what is specified in this article. If you do, you may end up corrupting your Project Template or worse still, corrupting the RoboHelp installation.
Further, this has been tested to work with RoboHelp 11 and RoboHelp 2015 only. Try this out only if you are using any of these two versions.
Let’s Do It
There are two ways to accomplish what we want to do:
- Using RoboHelp to modify the Template Project (much safer)
- Directly modifying template database using Microsoft Access
Before going ahead with either of the approaches, carry out these tasks:
- Check if you have RoboHelp 11 or RoboHelp 2015 installed.
- Make a backup of
<RoboHelpInstallFolder>\RoboHTML\Template\en_US\BlankProjectfolder.
1. Using RoboHelp to modify the Template Project
- Create a new Blank Project in RohoHelp. This is a temporary project which you can delete afterwards.
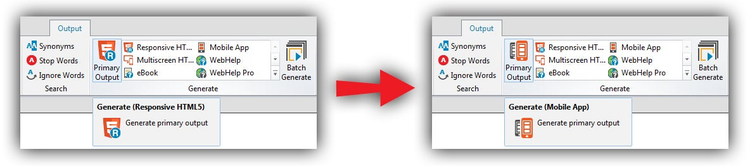
- From the Single Source Layouts pod, mark your desired layout as Primary.
- Close this project.
- Now browse to the folder on disk where this project resides and delete all FOLDERS you see inside the project folder. E.g.
!ScreenLayout!,!Language!etc. - Also delete the
ProjectName.cpdfile. - Now open
root.fpjfile in any text editor and remove any<folders></folders>pairs including everything in between each pair. Save and close. - Open and Close the project in RoboHelp once to recreate the
ProjectName.cpdfile. - Rename
<ProjectName>.cpdtoTemplate.cpd. - Replace
<RoboHelpInstallFolder>\RoboHTML\Template\en_US\BlankProject\Template\Template.cpdwith the CPD file you just created in previous step.
Voila. All new projects based on the Blank Project template will now have your desired layout set as primary.
2. Directly modifying template database using Microsoft Access
Prerequisite – This method requires use of Microsoft Access.
- Open
<RoboHelpInstallFolder>\RoboHTML\Template\en_US\BlankProject\Template\Template.cpdfile in Microsoft Access. - You would see a list of DB tables. Open table “Project Properties” from this list.
-
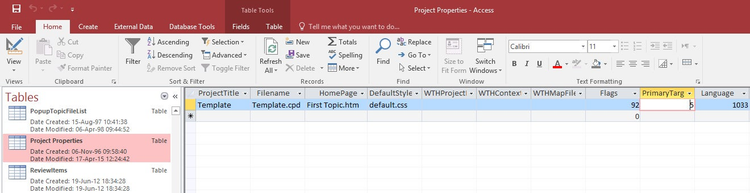
- Change the value in column “PrimaryTarget” to one of the following:
Save the CPD and close Microsoft Access.
All new blank projects will now have their default layout set to what you selected in the previous step.