Tips and tricks for mastering night-time photography
With winter in full swing, the days are shorter, darker, and colder. So how can photographers best capture these bleak winter months?
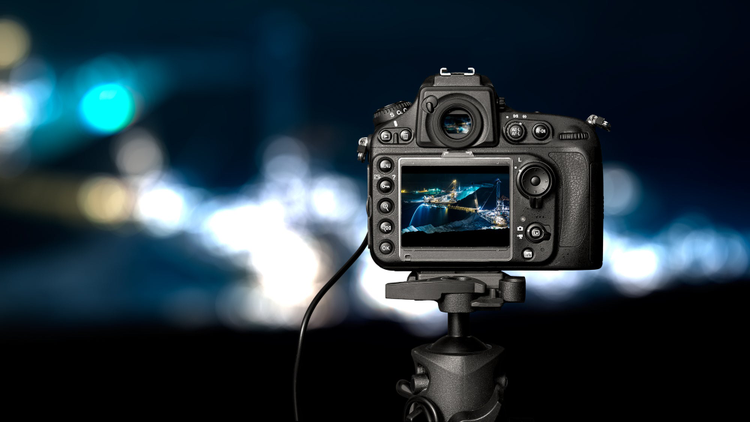
While shooting in the dark isn’t the easiest pursuit, it can produce some incredible results; we’ve all seen those long-exposure landscape shots of a city lit up at night. I’ve compiled a few tips and tricks to make the most of your equipment and ensure your photos look their best…
- Take your time and research the night ahead
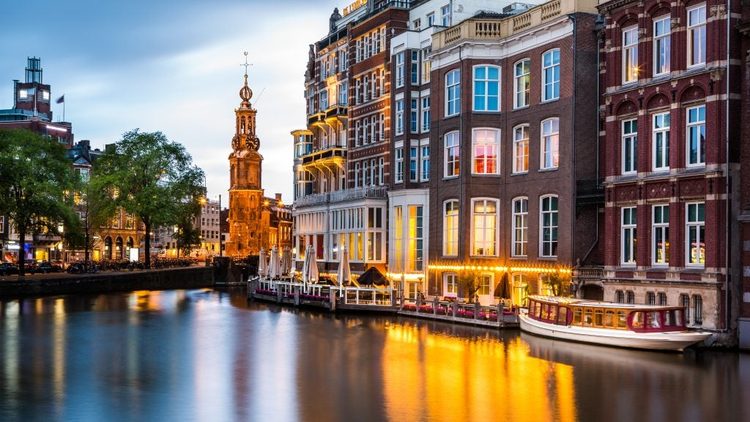
A bit of homework can make your life considerably easier when trying to capture the perfect shot in low light. It’s important to do your prep with regards to weather forecasts, sunset times and cloud cover to give you an idea of how difficult the conditions are going to be. A night time landscape shot will look even better if you make sure you’re there at the right time – be it sunset for those warm orange hues or the dead of night for getting the best out of distant light sources.
- Boost those exposure times
It might sound like common sense, but it’s important to let as much light as possible into the lens of your camera. The longer your exposure, the more of that essential light source you’re going to get into your images. Make sure you take several test shots at differing exposure lengths to get a feel for how your camera is reacting – it’s definitely going to be a process of trial and error but the end results will be worth it.
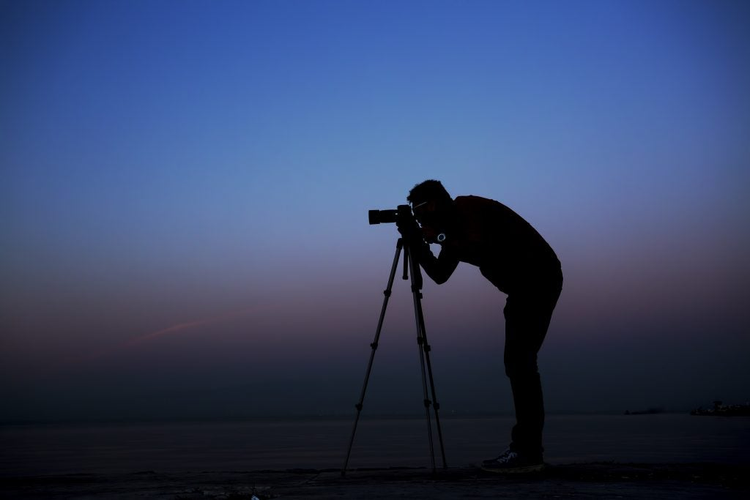
- Prevent camera shake with a tripod.
Ask a photographer what their most important accessory is and they’re more than likely going to give a simple response: the tripod. This is essential when dealing with the longer exposure times that’ll give your photos the necessary light intake. Handless shots allow you to focus on the composition and focus on the shot rather than on holding your device steady.
- Shoot in RAW format
RAW camera images are a method of shooting which are otherwise unprocessed by the camera. For more demanding night-time content capture, shooting RAW will give you tonnes more flexibility when it comes to post-production.
For those of you shooting on the go, Adobe Lightroom Mobile supports RAW file editing for both iOS and Android. It allows you to experiment with colour, adjust clarity and add vignettes. You can even connect to other Adobe apps like Photoshop Fix to retouch and refine your work.
- Increase ISO
ISO determines how sensitive your camera is going to be light. Naturally, when shooting in an environment with little to no light sources, you’re going to want your camera to be as sensitive as possible. Manually boost your ISO as much as possible without diminishing other attributes and you’ll allow the light to pop out of the image, leaving a stark contrast between the lighter and darker areas.
Using Adobe Lightroom, the noise reduction sliders available on the Develop options will allow you to tidy up any over-exposed elements and, as the name suggests, get rid of louder elements.
As always, do let me know your thoughts and any suggestions of your own in the comments section below.