Think You Know Everything About Brushes? Think Again.

If you’re looking to freshen up your designs, the answer may be right in front of you. The brush tool in Photoshop and Illustrator is extremely versatile, and it’s likely you haven’t unlocked all of its secrets.
Brushes in Photoshop and Illustrator have so many options that you could probably spend most of your design time experimenting to get the look you want. Beyond the built-in selections like color, width, stroke, and style, here are a few suggestions for how to use brushes more creatively. The following can be accomplished by anyone who has access to Photoshop, Illustrator, and/or Adobe Capture.
1. Hand lettering in Illustrator
With so many fonts available these days, there is a need to make designs look authentic and stand out from the clutter. Hand lettering brings this authenticity and versatility. The technique can make designs seem more playful or more elaborate. No matter your approach, hand lettering focuses on the text as the art.

Using the Paintbrush tool or Pencil tool in Illustrator allows designers to draw letters more naturally as opposed to manipulating bezier points. And the additional options of controlling the smoothness (fidelity) of the line drawn and using the Width tool to vary the width of the brush stroke at any point make hand lettering even easier.

You probably already know that you can change what the brush looks like before you draw, but everything created in Illustrator is a vector line, giving you unlimited versatility even after the fact. You can change the style of the stroke to something custom, or use one of the built in Brush libraries as a starting point.

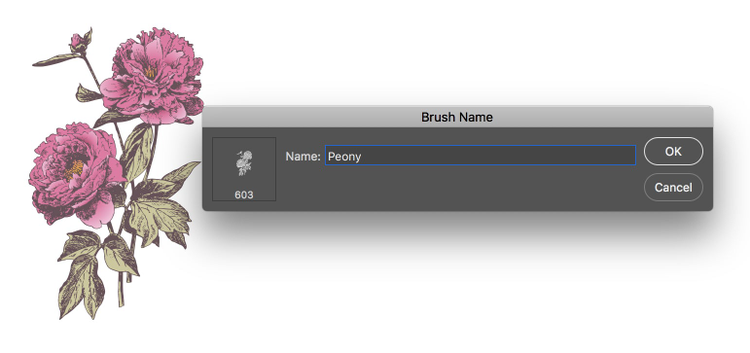
2. Creating your own brushes in Photoshop
Don’t feel limited by the brushes that come pre-programmed with Photoshop, or the ones created by other designers. You can turn anything you create in Photoshop into a brush. This is the perfect tool if you want to utilize a repeating motif with minimal effort. For instance, you can create a brush that looks like grass, then use it to cover a part of the page or text.
To create your own brush, select the image you want to use. Next, go to edit, define brush preset, and name your brush. In order to show the distinct shape, you will have to adjust the size, scatter, rotation, and angle of the brush until you achieve the look you want. This is the time for experimentation.
When you find the settings and look you like best, you will have a brush based on your own design that you can use for any future projects.

Brushes with size jitter, scatter, and hue jitter allow for fun, random results.

3. Using Brush Presets for more than just the Brush tool
Most designers don’t use the smudge tool regularly, since it does just that, smudge. But with a little practice, the smudge tool can add unparalleled vibrancy and distinctiveness to your text and images, creating completely unique and eye-catching multi-color lettering.
Create a layer of color (or photo) that will be used as your sample layer. Then, on a layer above, select the Smudge tool. Make sure the options are set to sample all layers and the brush strength is at 100%. Then, drag your smudge brush through the colors to make a letter based on the colors sampled. The results are astounding. If this “painting” process is slow, decrease the resolution to 72dpi and 1280×720 in size. Just like creating your own brushes, embrace the opportunity to experiment and create a design that is totally your own.

4. Create brushes from anything on-the-go using Adobe Capture
Brush tricks aren’t just for desktop applications. You can create incredible designs while you’re out and about by using Adobe Capture on your smartphone or tablet.
Using Capture, snap a photo of anything you want to use to make a brush. This could be a picture of something you sketched by hand or a photo of your next door neighbor. Once you have the image, you can choose to use it as a Photoshop Sketch brush or as a Photoshop CC brush.
With Photoshop Sketch, you can manipulate the image itself by stretching out specific sections, repeating them, or altering the image’s shape. The same option doesn’t exist for Photoshop CC, however, but you can use the picture you took to make a standard repeating image brush and choose the brush colors at the time of drawing. This means you can use images that are completely your own in any future design.
**Get started and learn more.
**Photoshop and Illustrator brushes give you more control over the look of your design and create stunning images with just a few simple steps. For a more in-depth look at the opportunities available with brushes and how to apply these techniques in your designs, tune into a live video stream with Paul Trani on July 10 at 1pm PT.