Moving Art: How to Create a Rotoscope Animation in Photoshop CC

Human beings are programmed to notice movement. It’s an innate behavior that helps keep us safe, but for designers, it’s a quality that can help audiences notice and connect with your work. But how can you incorporate motion in a way that enhances your art and doesn’t take advanced animation skills?
With the right tools, you can create a simple animation, like a GIF, in a few short steps. And if you think that making a video clip into a GIF leaves little room for creativity, think again. Graphic designer Lindsey Deschamps specializes in unique motion graphics. “GIFs and funky illustrations are what I live for,” Lindsey says.
Using a few easy tricks in Photoshop, Lindsey is able to transform a video clip into an illustrated GIF. The technique is called rotoscoping, which means tracing over video footage to produce a hand-drawn animation. “Rotoscoping is a great way to get started in motion design because you can incorporate captivating movement pretty quickly, without having to know all the principles of animation,” Lindsey says. “Static design definitely has its place, but sometimes messages that have movement and life speak a lot louder.”
Learn how to create your own rotoscope animation by following Lindsey’s steps below and download the accompanying source file here.
To start, open up the video timeline in the window menu (Window>Timeline), then click ‘Create Video Timeline.’

Set your frame rate from the Timeline flyout menu>Set Timeline Frame Rate. 10-12 frames per second is the range I usually stay in because it takes a lot of time to draw each frame, but any less would make the animation more choppy. However, you can go down to 6 or 8 FPS if you’re pressed for time.

Go to File>Place Embedded to bring in your video footage.

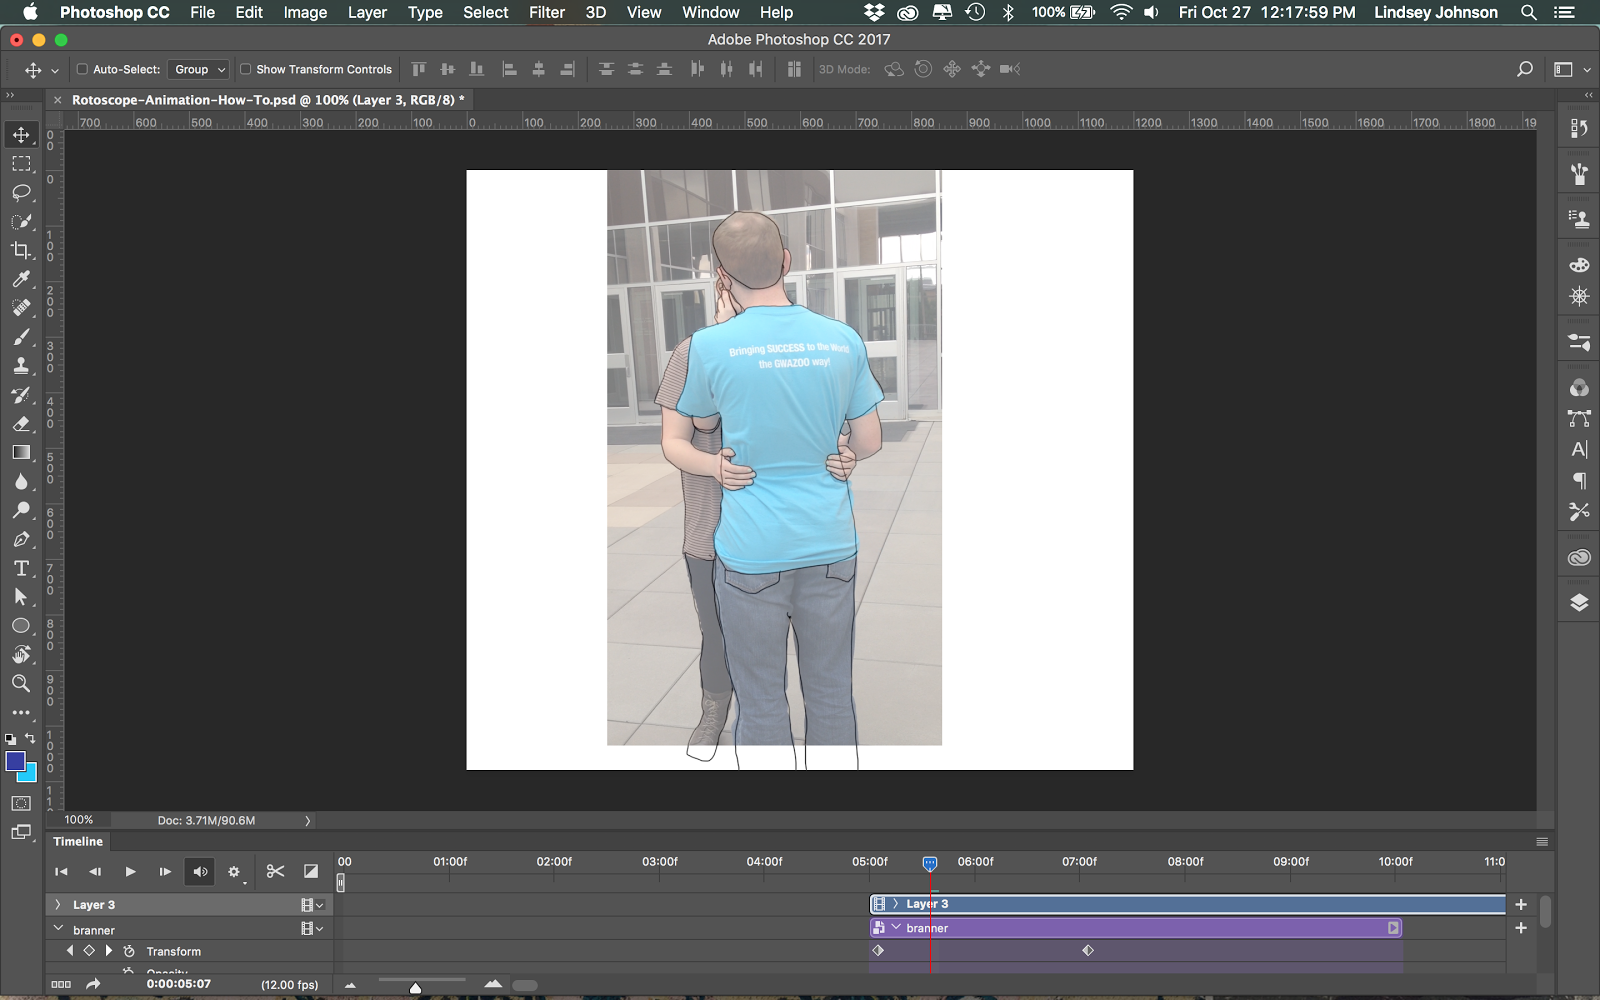
Under the Layer menu, select Layer>Video Layers>New Blank Video Layer. Now we can start drawing the frames of the video.
!Illustrates how to draw over video image.](https://blog.adobe.com/media_957a9e849a01a6c51c8de1fd6afc96ab82b61de8.gif)

- Set your foreground color to black. Using the Brush tool, select a small, hard brush, and draw the outlines of each frame. Navigate to the next or previous frame with the left and right arrows, or move the playhead on the timeline. Outline as many frames as you’d like in your scene.


Next, create another blank video layer for the color fill. Go back to the beginning, and color in each frame of outlines using the brush tool. I used a mix of different watercolor brushes from https://www.kylebrush.com/ to create varying textures for each color.
Do this for each scene in your video. The outlines are optional; for the boy and girl scenes, I skipped the outlines and just painted with the watercolor brushes on one layer.
Finally, you may create transitions between each scene if you have multiple scenes.


I find it very helpful to use onion skins as guide when doing animation without a video reference. They show you frames before and after the current frame as a guide. Go to the Timeline Flyout menu>Onion Skin settings to set how many before and after frames, and make sure to ‘Enable Onion Skins’ from this menu as well.


To export your animation as a GIF, go to File>Export>Save for Web (Legacy). Select ‘Forever’ under looping options, then ‘Save.’
