Making Animation Accessible to UX Designers with Adobe XD
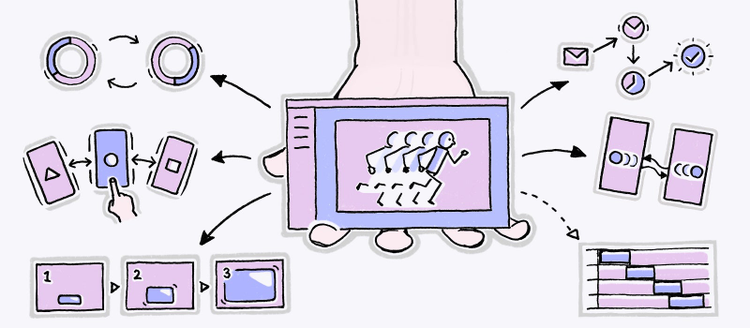
Illustration: Justin Cheong.
Prototyping in XD has a new dimension: animation. Objects inside artboards can now be animated; not just the artboards that contain them.Using animations can provide continuity before and after a transition; it helps you tell the story of your prototype better while adding a rich layer to the overall user experience. We’ve been working on this feature for months, and now we’re thrilled to offer it to the community (it’s been a labor of love, trust me). Here’s the story of Auto-Animate, from how we built it to how you can best use it to level-up your prototypes in XD.
Introducing Auto-Animate
XD users are accustomed to designing multiple screens and linking them together when prototyping. We wanted to preserve that same workflow for animation: when wiring two artboards together, choose “Auto-Animate” as the Action. XD will automatically animate differences between the two artboards.
Now, you can automatically animate position, size, rotation, stroke width, and path in Adobe XD.
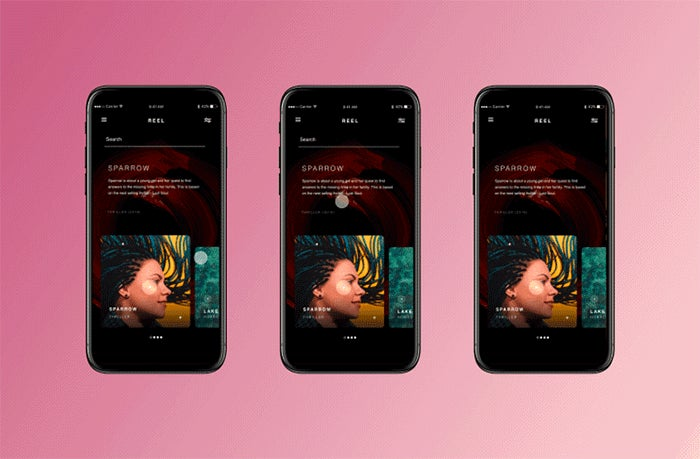
Animations can also be driven by user interaction: choose “Drag” as the trigger, and XD will automatically calculate drag direction and distance and scrub to the relevant point of time, depending upon how much dragging has occurred.

The Drag triggers create a ‘swipe to delete’ effect.
The Pillars of Auto-Animate
Professional animation tools often add complexity in exchange for more power for the user. With XD, we’ve obsessively favored simplicity to maximize the power-to-complexity ratio. This has led to a distillation of XD’s user interface, often to a point where simple UI powers a host of creative possibilities.
Design in-betweens as Animation
With Auto-Animate, changes you make as a visual designer to manipulate attributes can be converted into beautiful animations. The in-between moments in your design process are no longer bound only to the design surface, they can be used to add motion to your designs.
The beauty of this approach is that you are not restricted to canned animation effects. You can use visual design concepts like masking, boolean groups, and vector paths to create a variety of animation effects.

Using masking to animate numbers in Adobe XD.
Identity: The secret sauce
The first challenge when designing this feature was identity. How do we determine that it’s the same object that moved? This isn’t an issue for animation tools like After Effects, which use a single canvas and a user manipulatable timeline, since there’s only one object that is animating there.
We started with the simplest approach: layer names and hierarchy. Objects with the same name within the same group level would be considered a match. So:
- If an object has no match in the destination artboard, it fades in.
- If an object has no match in the source artboard, it fades out.
- If an object has a match, changes in its attributes are animated.
We quickly ran into an issue: duplicate layer names. To address this, we devised an algorithm that would use specific rules to match correctly across duplicates. This turned out to be the secret sauce in making Auto-Animate seem magical; most existing XD files became animatable. When this algorithm fails, you will see objects fading in or out.
The power of path morphing
A vector path with the same name in the source and destination artboard will morph if their path points are different. XD will auto-animate paths even if the number of anchor points or sub-paths is different. This is visually very powerful and incredible effects can be achieved:
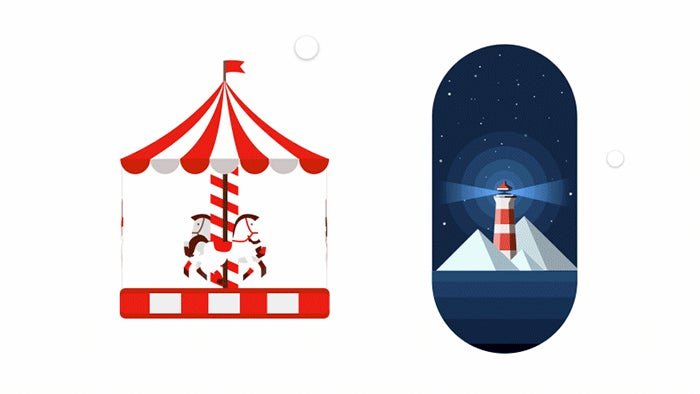
We recreated animations found on the web to test the limits of Auto-Animate. The original animations can be found here.
XD lets you convert most objects to a path (including boolean groups). Here’s an example of text converted to path morphing:

An example of a path morph.
You can even do playful animations with graphs, like this:

Animated graph using path morph.
Now, onto the spinners
Rotation has been designed with UX use cases in mind: you can now set values from -360 to 360 degrees in the rotation field. This means you can animate a full rotation by setting the initial angle to 0 degrees and final angle to 360 degrees. If you loop it by wiring back to the starting artboard with Auto-Animate as the action, 360 will go to 0 and go forward, not backward. This allows you to create spinners.

A looping loading spinner.
Interactive scrubby animations
Mobile applications usually involve a lot of swiping and dragging. Animations are often tied to the user’s gesture in real time. The distance dragged drives the animation.
Auto-Animate supports animations being driven by the user in real time. Choose the object that is changing in position and pick “Drag” as the trigger. XD will calculate direction and distance of drag and you can preview this in real time in the preview window or mobile app.

Dragging rotated cards.
Storytelling with visual keyframes
As we started designing more animations, it became clear that we need a way to link multiple animations together. Simply choose “Time” as a trigger, “Auto-Animate” as the action when linking artboards and animation will play continuously. You can also make loops.
If you zoom out after wiring artboards together, they begin to show their true nature: they’re visual keyframes.

Shows an example that moves a location marker across a 90-degree path by linking three artboards using time as a trigger.
This lets you build complex animations artboard by artboard and stitch them together.
Animating items outside artboards
In XD, artboards can be placed anywhere. This lets the designer organically scale his or her design. However, the drawback to this is that you’ll need to manually make room between artboards so that when contents of artboards bleed out, it is not hard to make out in which artboard content lives.
Often you’ll want to animate objects coming in from outside the artboard. This is possible in XD, and here’s how:
- Switch to prototype mode and wire up an interaction between two artboards, then choose Auto-Animate as the action.
- Now select an object that exists on both artboards (it should have the same name and be at the same group hierarchy).
- Drag the object outside the artboard. The object will remain inside the artboard as long as (1) and (2) remain true. You can even switch to design mode and continue to manipulate the object.
- If this object is dragged over another artboard, it will re-parent to that artboard instead, unless it is in a group.
Note: If the object moves to the Pasteboard, check if there is a matching object in the artboard that it has been wired to.
The future prospect of a timeline
As a design tool, what we do best is help you create and edit designs. However, a big part of animation is not the manipulation of visuals, but also the manipulation of time. How to manipulate the delays and durations of an artboard or an individual layer is something we’ve thought a lot about.
My colleague, Senior Experience Designer Alex Poterek, relates it back to one of his professors in design school, who assigned the class a branding project and asked him and his fellow students to create a logo. “He encouraged us to keep interacting and adding to the logo until we felt like it told the brand story — no need to worry about how it looked at the end,” said Alex. “The results? Some pretty horrible looking logos. He then used a metaphor that I still use in every aspect of design: ‘take the design you think is telling your story and roll it down a hill, what are the first things that would fly off?’
Those familiar with more advanced animation tools like After Effects, Premiere, and even Flash can attest to how powerful a timeline can be to an animator. They can also tell you how complex things can become, like how one change in the middle of a timeline can cascade unintended changes to other parts of the animation. We understand the utility and power of having a timeline.
We’ve designed a timeline, reviewed it, and now we’ve all but started to build it in the app. We also took a step back and asked ourselves how much a designer can accomplish without one. This led us to look towards the design community for examples of micro interactions and other UI/UX animations; what we found out is that we can do a lot with just the basic idea of storyboard-style authoring.
This is how we approach designing Adobe XD, and in our first iteration of Auto-Animate, the timeline was the first thing to fly off when we rolled it down the hill. Does that mean we won’t eventually have one? No. But it does mean we want to find a better way to fit in the things a timeline would offer us.
Building on top of other features
When creating new features in XD, we like to look at our current tools and build off of them to compliment a new workflow. This is pretty obvious when you look at a our Time Trigger workflow we released right before our Auto-Animate feature was made public.
Time triggers and Auto-Animate were built side-by-side with the understanding that, as a stand alone, Time Triggers have its own merits. However, when you pair it with Auto-Animate, it becomes a pivotal part of the workflow. Users can chain a complex sequence of artboards together and loop them or transition them into a new sequence of artboards. This allows for a familiar way of authoring more complex (and sometimes very simple) animations.
The entire idea of chaining artboards together stemmed from the understanding that designers like to duplicate them. They do not design one artboard and then recreate that same design in a different state from scratch. Due to this being the natural case, we rely on the layer names being consistent. If a user wants something not to auto-animate they can simply change the layer name.
We’re committed to making Auto-Animate, and other features that empower UX designers, the very best they can be. To learn more about prototyping with the platform, check out our article on The Evolution of Prototyping and How to Use Them in Adobe XD, and to let us know what you’d like to see in XD, head over to adobexd.uservoice.com.