Rigging Characters Using Layer Parenting

We had an awesome release of Animate 2019 at MAX last year. One of the cool new features we introduced in the release was layer parenting. Before I talk about it and our motivations in introducing it, here are a couple of really cool examples of assets created using the feature.
Now, we’ve had the bone tool for quite some time. However, we wanted to have a more advanced and a way more simplified mechanism to do rigging. Our primary considerations were to allow an animator to:
- Connect individual parts of a character with a simple parent-child hierarchy,
- Replace any individual part,
- Reparent any object at any time,
- Modify any shape using any tool including the asset warp tool.
And we came up with layer parenting.
So how does it work? Well, my buddy Chris Georgenes has done a great job setting things up in this video:
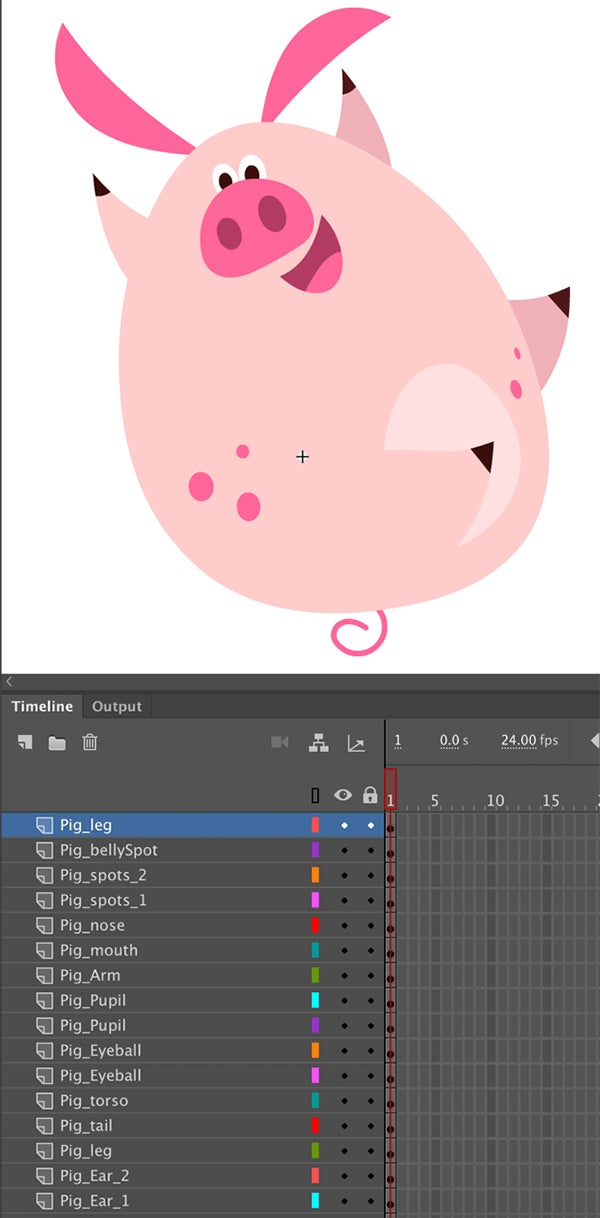
Let’s break this down to the basics. First of all, draw your character and make sure each of the body parts of the character is on a separate layer.
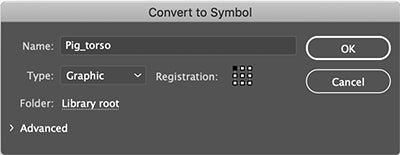
Before creating any additional keyframes or starting animating, make sure to convert all your objects (different body parts) to symbols. You can do this by selecting the object and choosing Modify -> Convert to Symbol. Name your symbol and choose “Graphic” under “Type.”
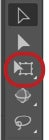
Now go to the toolbar and select the free transform tool (or hit Q on the keyboard).
Now when you click on a symbol you’ll see the white center point in the middle.
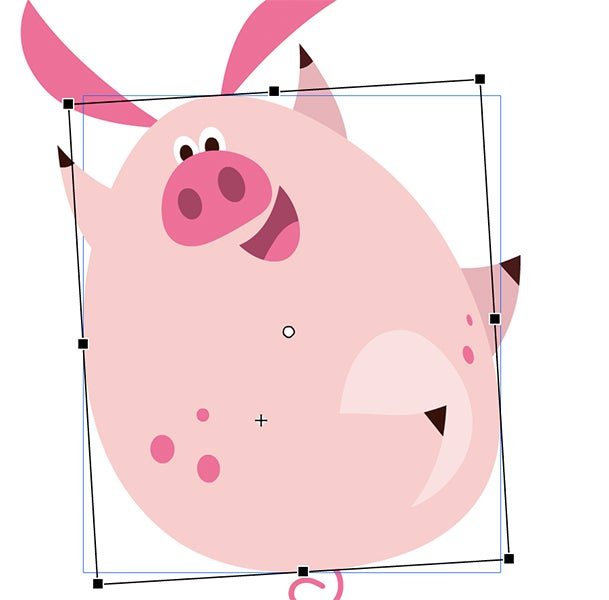
If you try rotating the symbol, it rotates around this center point. This is obviously not right as the body parts don’t always hinge at their center points. Click and drag the white center point to a more appropriate place and see if it works. Do this for all the symbols so that the arms, legs, and other body parts rotate in a more anatomically correct way.
The next step is layer parenting. Click on the “Show parenting” icon on the timeline.

This will open up the parenting view in the timeline. Now determine the part of the body that can be the root. In most cases, it is the torso. This means all the other symbols or body parts will become the children of this symbol. Click and drag on the leg layer and drop it on the torso. You can see that this creates a hierarchy where the leg symbol becomes a child of the torso layer. Repeat this for all the other layers.
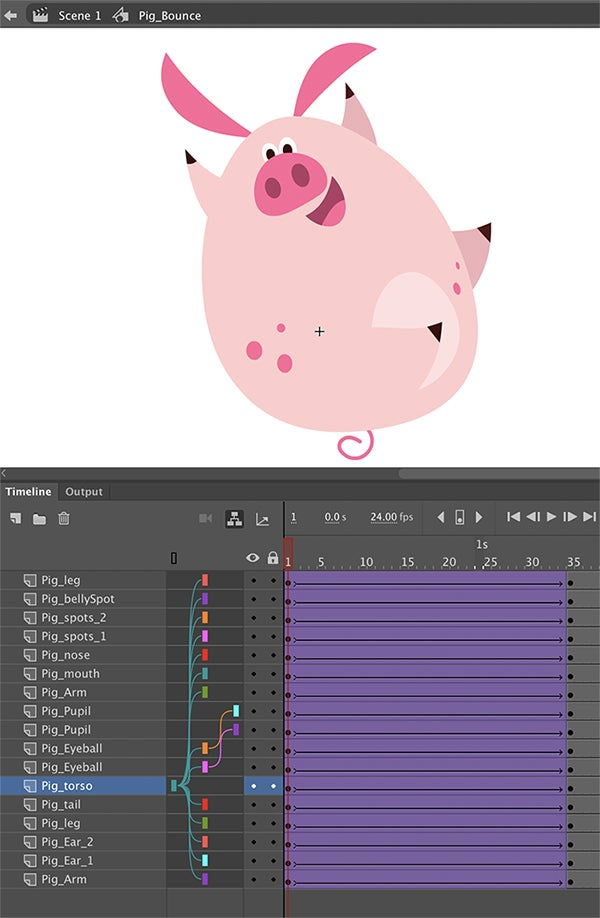
If you click and drag any of the parent symbols, you can see that all the children body parts move along. Also, if you move any of the child symbols, there is no effect on the parent symbols.
Your character is now ready to be animated. Create a set of keyframes by clicking and dragging vertically across all the layers and hit F-6 on the keyboard. Click and drag the character, modify the character using the free transform tool, and add tweens between these keyframes to see how your character behaves.
Check out this video from Chris where he adds animation to the rigged character above:
Here’s another look at how layer parenting can be done.
Here are a few other really good videos that can help you understand layer parenting:
Hope you guys find this useful.
Please share your experience and, of course, your creations. We are very keen to see how it works for you.