20 Years of InDesign: The Top 20 Tips & Tricks from Worldwide Evangelist, Terry White
20 of the best, newest, underrated, and time-saving tricks in Adobe InDesign.
InDesign turns 20 August 31st, and to celebrate we’ve teamed up with InDesign Master, Photography and Design WorldWide Evangelist, Terry White, to bring you the best tips and tricks in Adobe InDesign.
Discover some of Terry’s favorite hidden gems, new tricks, and time-saving shortcuts, essential to your workflow for less fuss, and more fun.
Sweat-free layout
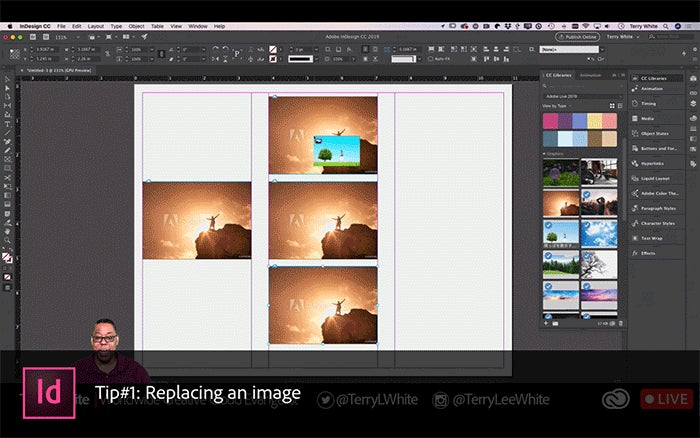
1. Replacing an image
Replacing an image is easier than ever. Hold down the option key (Mac OS) or alt key (Windows), click and drag your new image asset and hover over the old one.
See this trick and more here.

2. Apply an object effect to other objects
Save time duplicating effects from one object to another.
Select the object you wish to duplicate.
Go to Effects Panel (FX) > Drag and drop the effect onto another object.
See this trick and more here.
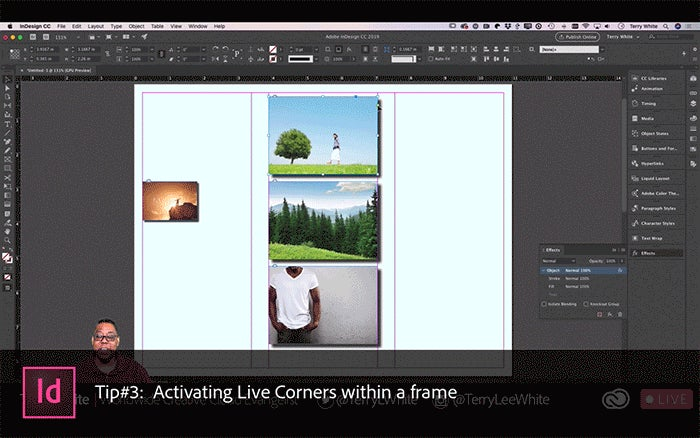
3. Activating Live Corners within a frame
Live corners allow you to round corners in images. Select a frame, then click the little yellow box surrounding the frame to activate Live Corners.
Pro-Tip: Hold down the shift key and drag to transform one corner separately from another.
See this trick and more here.
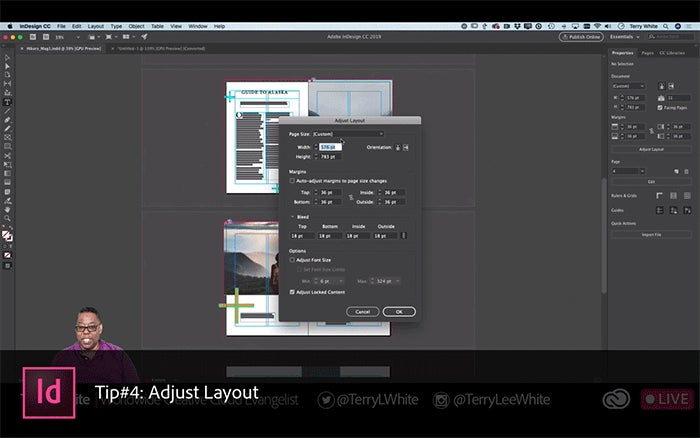
4. Adjust Layout
Yes, you no longer need to manually adjust text, images, or other elements, with the Adjust Layout feature.
Go to File > Adjust Layout.
Go to File > Document Setup and click Adjust Layout.
Learn more about Adjust Layout.
Time-saving Shortcuts
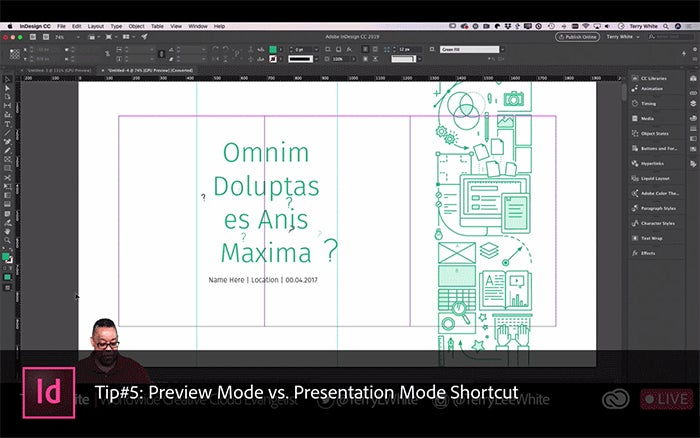
5. Preview Mode vs. Presentation Mode Shortcut
Want to easily toggle between Preview and Presentation mode?
Click the letter (W) on your keyboard > activate preview mode (allows you to see your document without grids, as printed).
Hold shift and (W) on your keyboards > activate presentation mode (allows you scroll through your document as a presentation slideshow)
See this trick and more here.

6. Display document history
Have you ever needed to locate your document history for a project?
Hold command (Mac OS) or control (Windows) and select about InDesign in the Preferences.
See this trick and more here.
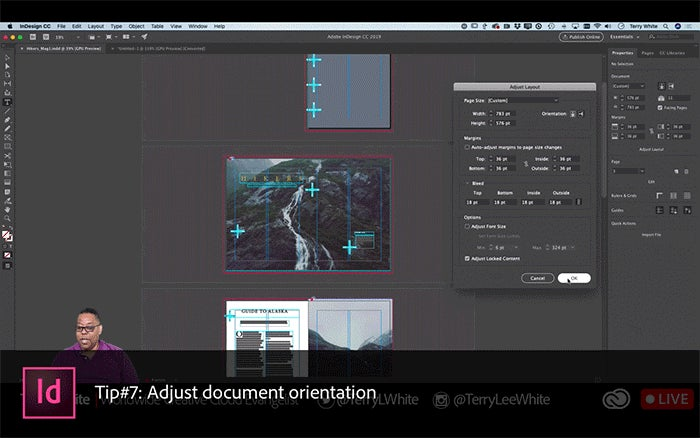
7. Adjust document orientation
Curious how your document would look in a landscape layout? Now, you can easily switch the orientation from vertical to landscape in the Adjust Layout Tool.
See this trick and more here.
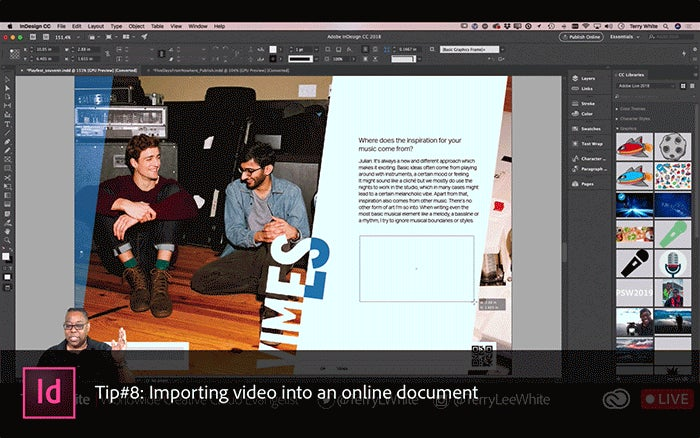
8. Importing video into an online document
Inserting a playable video in your web document is just as easy as placing an image.
Select File > Place or Drag & Drop video file
See this trick and more here.
Terry’s Favorite Easter Eggs
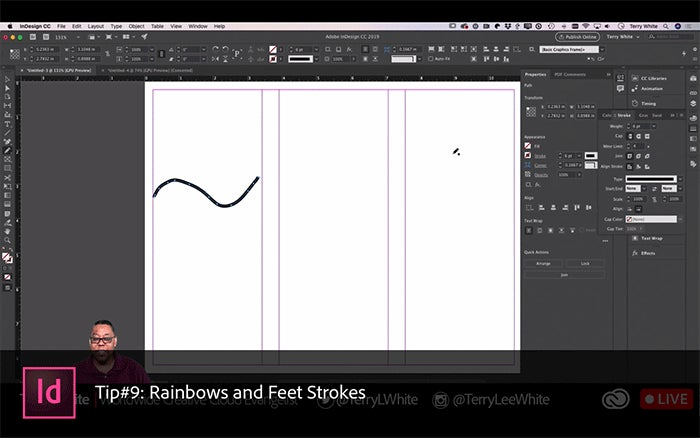
9. Rainbows and Feet Strokes
Make a rainbow or walking feet stroke. Draw a stroke with the pencil tool and follow the steps.
Rainbow: Pencil Tool > Stroke pane l > Stroke styles > New > Type (Stripe) > Name (Rainbow)
Feet: Pencil Tool > Stroke panel > Stroke styles > New > Type (Dash) > Name (Feet)
See this trick and more here.
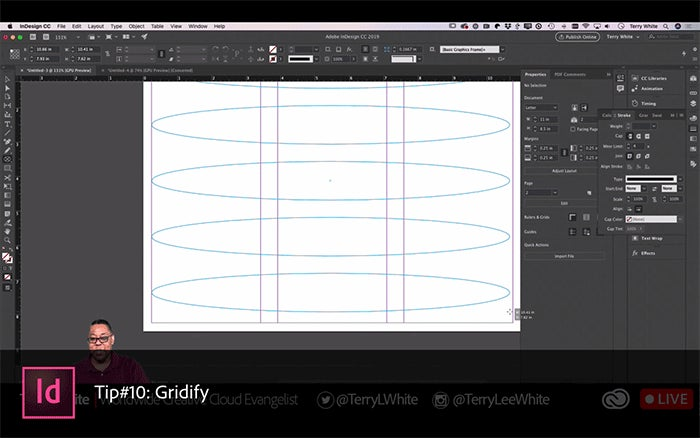
10. Gridify
Gridify the number of objects using your keyboard to great multiple columns, rows, or grids of objects.
Drag and hold shape > use the Up arrow key (duplicate objects, adds as rows)
Drag and hold shape > use Right arrow key (duplicates objects, adds columns)
Drag and hold shape > use Shift key (controlled sizing)
See this trick and more here.

11. Combining multiple shapes into single frame
Select any 2 or more objects to transform into one frame. This can be used to disperse an image throughout multiple objects or elements.
Go to Object Menu > Paths > Make a Compound Path
See this trick and more here.
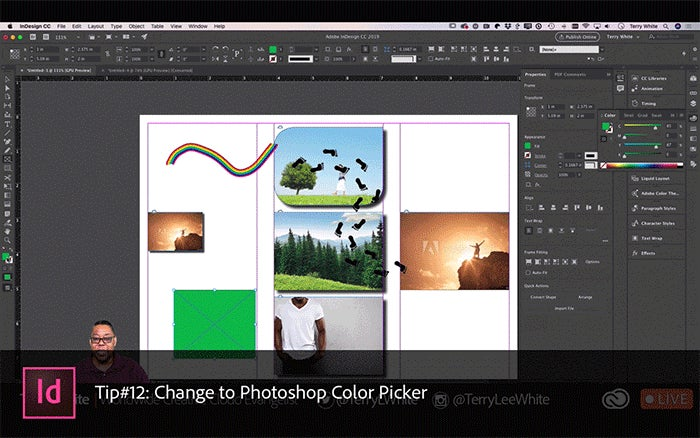
12. Change to Photoshop Color Picker
Prefer the Photoshop color picker?
Double click on the fill or stroke icon to switch from InDesign to the Photoshop color picker tool.
See this trick and more here.
Go-To Features
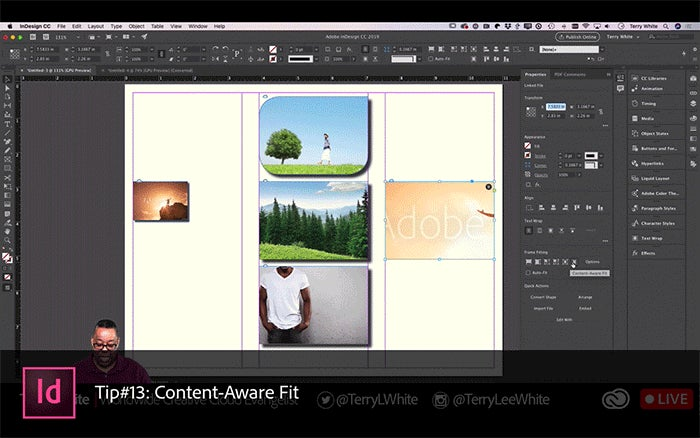
13. Content-Aware Fit
InDesign can now intelligently resize, and fit the best part of an image when you place it inside a frame with Content-Aware Fit.
Go to Properties panel > Frame Fitting > Content-Aware Fit to resize an image
For more information, see Content-Aware Fit.
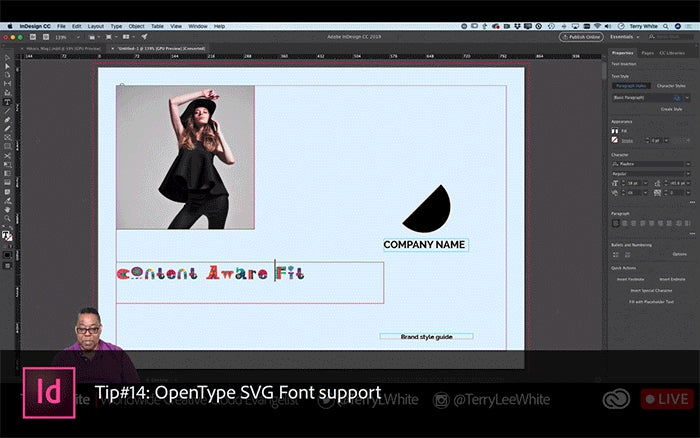
14. OpenType SVG Font support
With the support for OpenType SVG fonts in InDesign, you can now provide multiple colors and gradients in a single glyph.
Using OpenType SVG emoji fonts, you can include various colorful and graphical characters, such as smileys, flags, street signs, animals, people, food, and landmarks in your documents.
For more information, see Using fonts.
15. Import PDF comments
You can now import any marked up PDF into InDesign and easily track the feedback and comments noted in the PDF.
You can accept comments and mark them resolved or unresolved.
For more information, see Import PDF comments.
16. Visual font browsing
Browse thousands of fonts from hundreds of type foundries from within InDesign. You can activate them instantly in the Fonts Panel .
You can apply a filter to view only the recently added fonts or select a sample text from the list of predefined text for font preview or select your own text as well.
For more information, see Using fonts.
Essentials For Your Toolkit
17. Content Collector Tool
Clipboard for multiple elements. Collector to save elements, content placer tool to distribute elements
Click Content Collector in the toolbox to open the Content Conveyor;
Use Content Collector > tool to select an object and add it to the conveyor
Use Content Placer > to place page object on a page
Watch the video and learn more about this tool here.
18. Color Theme Tool
Let’s you choose a color theme based on an image. You can add themes to your swatches or libraries.
Select the Color Theme Tool > Click and image
Pro-Tip: There are three ways to create a color theme from a colorful photo:
- Click an area: To use colors from the entire image, click an area. A color theme based on the colors appears in a floating panel.
- Click + drag: To restrict the colors to a certain part of the image, first click the Color Theme tool to reset. Then drag a marquee to select an area of the image.
- Shift + click: To focus on a single color range, reset the tool; then Shift + click on a part of the image.
Watch the video and learn more about this tool here.

19. Gap Tool
A quick way to adjust the size of a gap between two or more objects and resize several objects that have commonly aligned edges simultaneously while keeping the gaps between them fixed.
Select the Gap Tool > Move the pointer between two objects, and do any of the following actions:
Drag > move the gap and resize all objects aligned along the gap.
Shift-drag > move the gap between only the two nearest objects.
Ctrl-drag (Windows) or Command-drag (Mac OS) > resize the gap instead of moving it. Adding the Shift key resizes the gap between only the two nearest objects.
Alt-drag (Windows) or Option-drag (Mac OS) > move the gap and objects in the same direction. Adding the Shift key moves only the two nearest objects.
Ctrl+Alt-drag (Windows) or Command+Option-drag (Mac OS) > resize the gap and move the objects. Adding the Shift key to resize the gap and move only the two nearest objects.
Watch the video and learn more about this tool here.
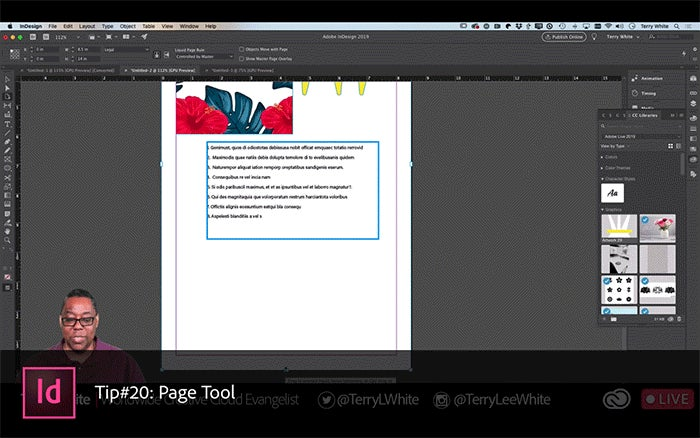
20. Page Tool
This tool allows you to reset the size of a single page without it snapping back to its original size.
Select the Page Tool > Hold option or alt Windows and drag the handles
Watch the video and learn more about this tool here.
