Keep Your Brand Consistent with Add Fonts to Creative Cloud
Use custom fonts across all of your desktop devices.

While we learn to adapt to new work routines, we find new ways to maintain productivity. Now you can minimize disruption to your workflows by adding your own fonts to Adobe Creative Cloud. Use your fonts across all of your desktop devices – no matter where you’re working from.
While Creative Cloud includes over 17,000 high-quality, commercially licensed fonts that help accelerate your projects, we know that specific brand fonts and custom fonts are also important to creatives. We’ve made accessing your personal fonts as seamless as activating from the Adobe Fonts library.
Upload your fonts to the Creative Cloud desktop application in a few easy steps. Once they’re added, you can rely on your fonts being available in all your Creative Cloud apps like InDesign, Illustrator, XD, and Photoshop — as soon as you sign in with your Adobe ID on any desktop machine.
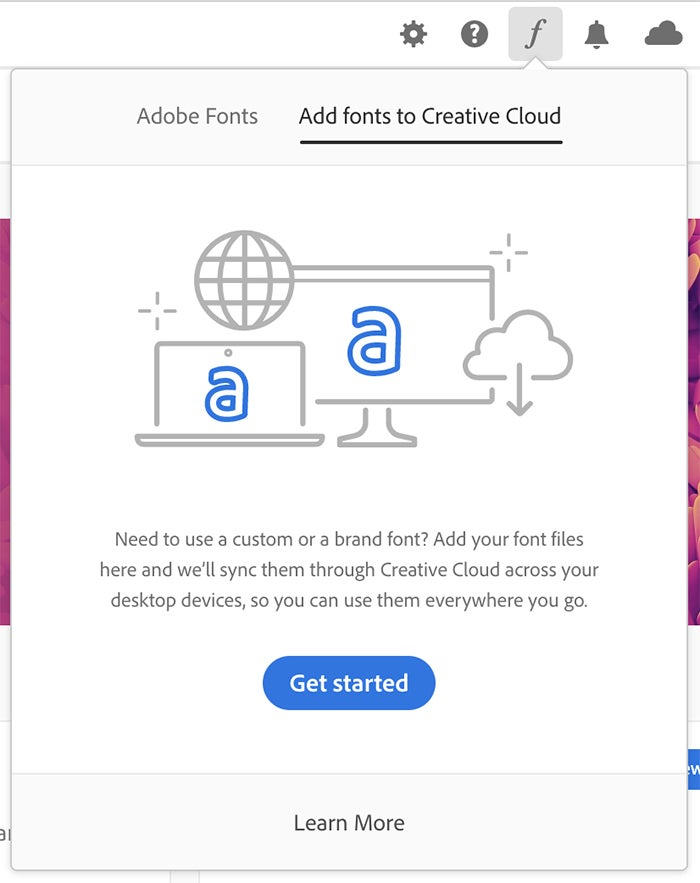
1. Navigate to the “Add fonts to Creative Cloud” tab in the fonts menu of the Creative Cloud desktop application. Select up to 20 OpenType (.otf) or TrueType (.ttf) font files at a time.
2. Confirm that your font license allows you to use the fonts in Creative Cloud. Learn more here.
3. Follow the prompts to add your fonts, and get instant access to use them on any desktop device when you sign in to Creative Cloud with your Adobe ID.
The add fonts feature is available with most paid plans for users on the newest version of Creative Cloud for Desktop (v5.1). Learn more about which plans have access here.
We built the add fonts to Creative Cloud feature based on feedback from customers like you. Look for this feature to continue to evolve, and expand to mobile devices, later this year. If you have any additional thoughts, we encourage you to share them with us.
In the meantime, get started right now with add fonts to Creative Cloud by opening your desktop app and clicking on the font menu!