The Right File Type for The Right Task: Effective Workflows for PNGs & JPEGs
Designs by Shanti Sparrow, with featured photography by Brianna Bradley.
JPEGs and PNGs are two of the most commonly used image file types in the world. As a designer, it’s important to know the benefits of each file type and how to go between the two efficiently. Doing so effectively will help you achieve the best results (and the most efficient workflows) in your designs. Below, I’ll break down the two file types, when you should use each of them, and how to use them well together in Adobe Photoshop.
What are JPEGs and when should you use them?
To start, let’s look at JPEGs. JPEGs are often a designer’s go-to for image output in both print and digital projects. Short for Joint Photographic Experts Group, the greatest advantage of the JPEG file format is the image quality vs. file size trade off. A .jpg allows you to create relatively high quality images for a comparatively small file size.
Typically, JPEGs perform well with photography – the compression process groups information based on similarity, which works well for tonally similar images. The cost of this compression is that, once the information is removed, it is lost forever. This means that each time you edit a JPEG you risk losing more information and degrading the image more and more. To get around this I keep the original TIFF or PSD on file and export a new JPEG as needed.
Digital usage is where JPEGs have become essential in my process. Small file sizes are necessary for assets used on websites and apps as they allow for quick loading and faster browsing for the user. When it comes to user experience, JPEGs are king.
Additionally, JPEGs can be used for print projects as they support CMYK color. While most images sent to print are output as a PDF or TIFF file, I use JPEGs to keep large projects as light as possible and more manageable.
What are PNGs and when should you use them?
PNG stands for Portable Network Graphics and one of the greatest advantages of PNGs is their ability to maintain transparency in an image. This is great when it comes to working with logos or graphic elements that will be placed on varying backgrounds.
PNG compression is lossless and preserves all information in a file. PNG supports truecolor, indexed-color, and grayscale images but it does not support CMYK. PNGs are most suited to digital projects because of this.
When dealing with textures, icons, or line drawings PNGs are usually a better choice. This is due to the JPEG compression process, which can cause artifacts and distortions when dealing with graphics that have strong contrast and sharp transitions. In my workflow, I often keep graphic elements as PNGs throughout the editing process and export to JPEG once the design has been finalized.
The New York Women’s Surf Film Festival: A look at how to effectively use PNGs & JPEGs together
To explore the workflow between JPEG and PNG, we can look at my work on The New York Women’s Surf Film Festival‘s identity as an example.
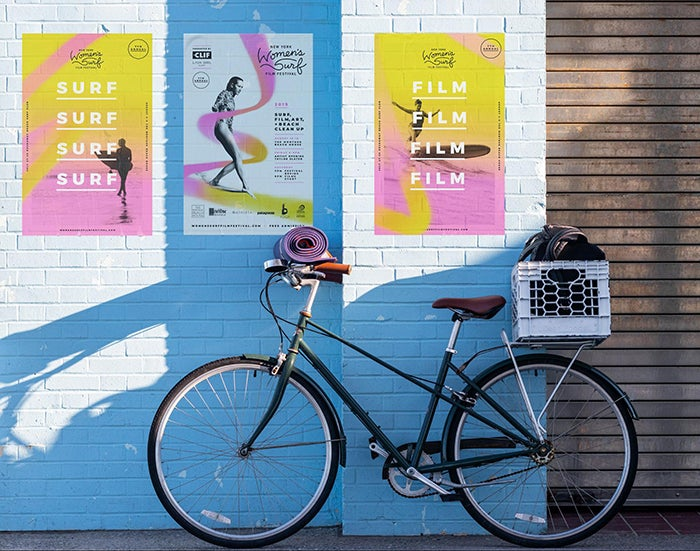
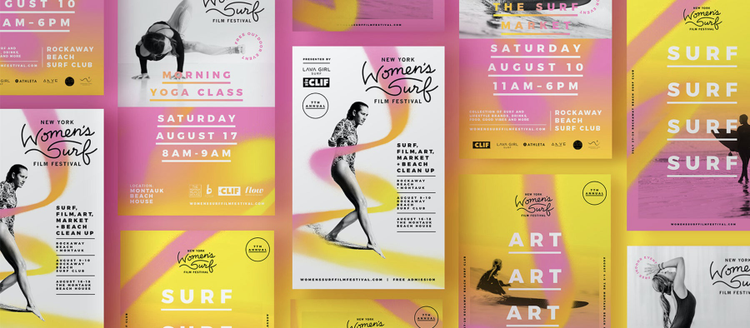
A poster series Shanti designed for the 2019 New York Women’s Surf Film Festival. Featured photography by Brianna Bradley, with event photography by Kait Ebinger, Kelee Bovelle, and Amanda Prifti.
The 2019 New York Women Surf Film Festival was all centered around women empowerment. Women are trailblazing new paths in surfing and striving to close the gap between them and their male counterparts when it comes to prize money and recognition. To bring visual form to this year’s theme, I created graphic elements using spray paint. The expressiveness of spray paint reflects the movement, energy, and power of surfers and the ocean. These organically created paths were integrated with photography to reflect the idea of trailblazing and adventure.
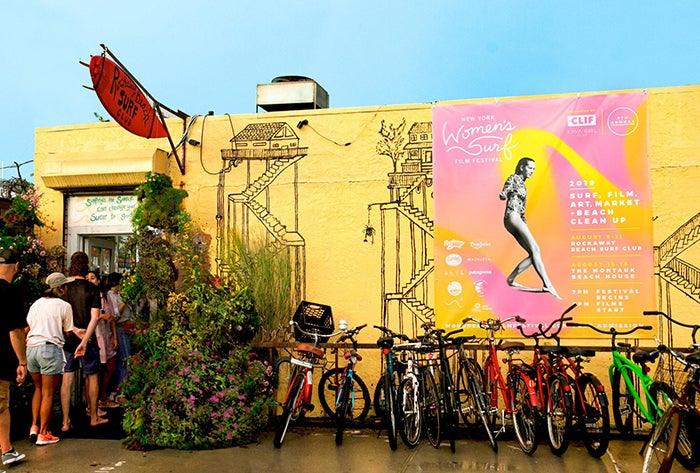
Festival banner at the Rockaway Beach Surf Club event. Featured photography by Brianna Bradley, with event photography by Kait Ebinger, Kelee Bovelle, and Amanda Prifti.
To do this effectively, I created the spray paint elements digitally in Photoshop and exported them as PNGs. This allowed me to preserve textural details and transparencies.

Original spray paint elements before color editing.
Throughout the editing process, I applied colors and masks. Using PNGs allowed for easy manipulation while, at the same time, allowing me to retain as much information in the file as possible.
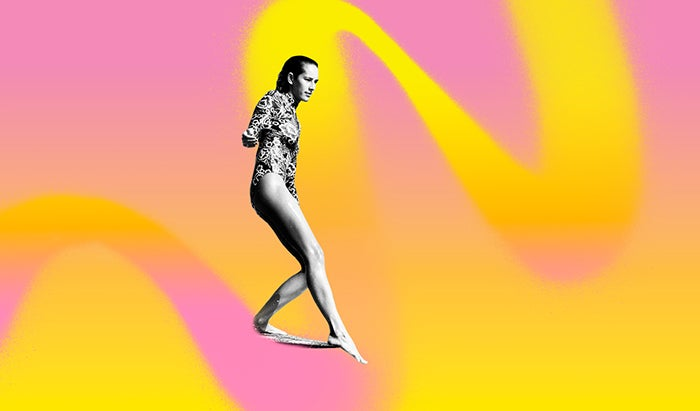
Color-treated spray elements integrated with photography and a gradient background. Featured photography by Brianna Bradley.
Another key area I used PNGs for in this design process was when working with sponsor logos. While vector is the most ideal file type for a designer, it is fairly common for a client to supply a sponsor logo as a JPEG. JPEGs are not ideal for logos as they do not preserve transparency; that white background block you get with JPEGs will definitely interfere with your design. In these instances I mask out the backgrounds within the JPEG and export the file as a PNG. This PNG then allows me to use the logo on varying backgrounds with different colors and gradient styles.
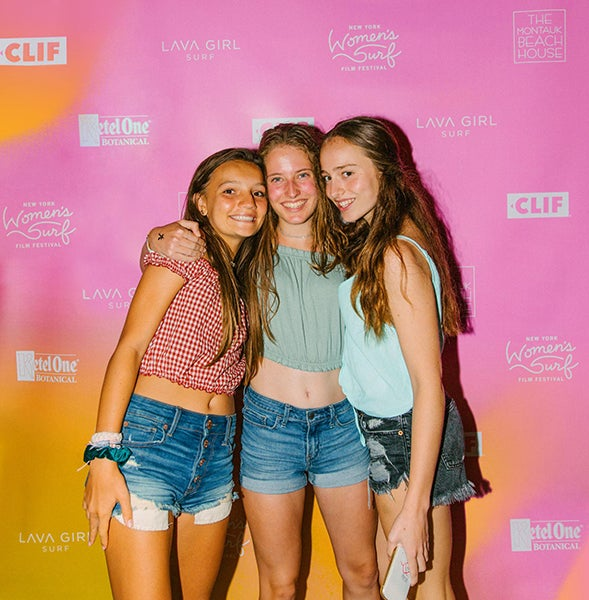
Festival photographic backdrop featuring sponsor logos. Event photography by Kait Ebinger, Kelee Bovelle, and Amanda Prifti.
Festival photographic backdrop featuring sponsor logos. Event photography by Kait Ebinger, Kelee Bovelle, and Amanda Prifti.
JPEG to PNG and PNG to JPEG Workflows
Looking at the above example from my own work, you can see how JPEGs and PNGs both have their unique uses within design projects. One is not better than the other, but they do different things well in different circumstances. Here are my best practices for converting JPEGS to PNGs, and PNGs to JPEGs, so you can effectively use both file types in your next project.
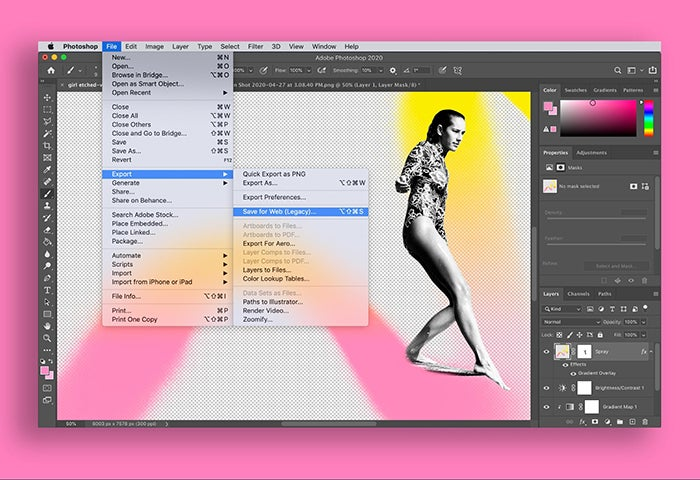
To convert a JPEG to a PNG in Photoshop, follow these steps:
- The option I favor in Photoshop is: File > Export > Save for Web, and then select PNG. Depending on the needs of your project you can affect the setting to suit.
- Alternatively, you can use File > Save As, then select PNG from the drop down menu.
Integrated surfer girl image ready to be exported as a PNG to preserve transparency. Featured photography by Brianna Bradley.
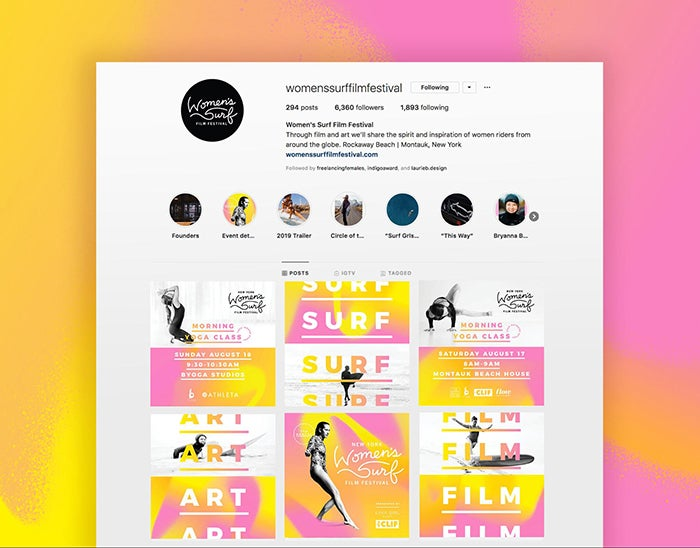
Festival social media design. Featured photography by Brianna Bradley.
Looking at the example of the surf festival, once my designs were finished and confirmed, I then used the below workflow to export the files as JPEGs for use on social media.
To convert a PNG to a JPEG in Photoshop, follow these steps:
- If the file has a print output you can use File > Save As, in Photoshop and select JPEG from the drop down menu.
- If the file has a digital output I prefer to use File > Export > Save for Web. This dialogue box allows you to manipulate the file’s preferences to suit your process. It also allows you to see a preview of your file vs. the output file, viewing them side by side to check for any issues.
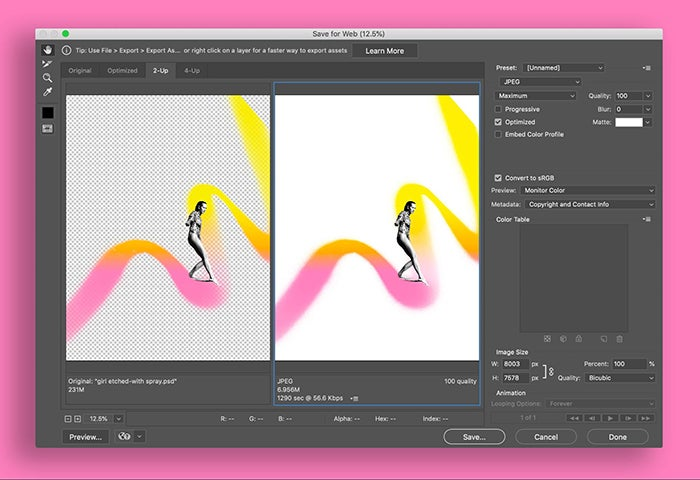
Preview of the surfer girl image as a PNG vs. JPEG. Featured photography by Brianna Bradley.
Remember, it’s ok to learn through experimentation! As long as you keep the original source file you can go back and make further edits an infinite number of times. I frequently play around with settings and file types to test what works better in different instances. Experimenting should be part of every designer’s process, so enjoy!