Learn Along: Digital Sign
Creating simple DIY animations.

I was talking to a bunch of youngsters who were very enthusiastic about creating their first animation using Adobe Animate but did not know how to go about it. I showed them a few quick animations and they immediately hung on to the idea. I thought it would be a great idea to start a series on very simple DIY animations, and this is the first in the series. If you have any other ideas that I should write on, please drop me a mail at ajshukla@adobe.com
So, here’s how to create it:
Here’s the written version if that works better for you. Let’s go!
Understand your assets
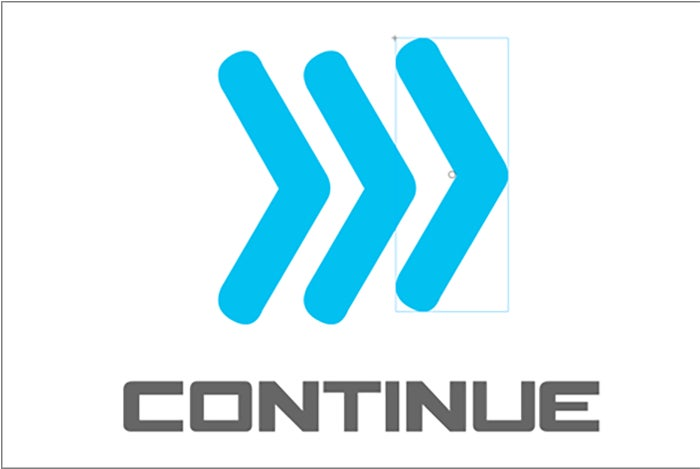
We start with simple signage as shown below.
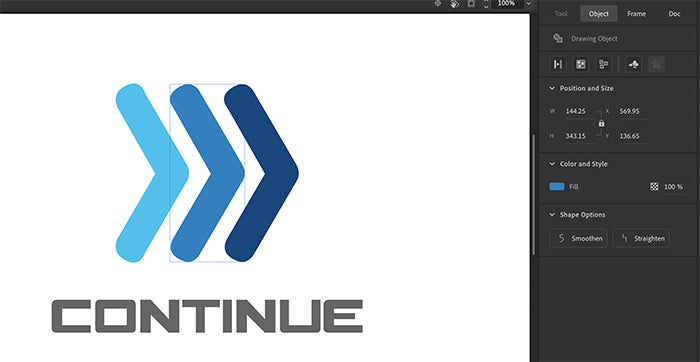
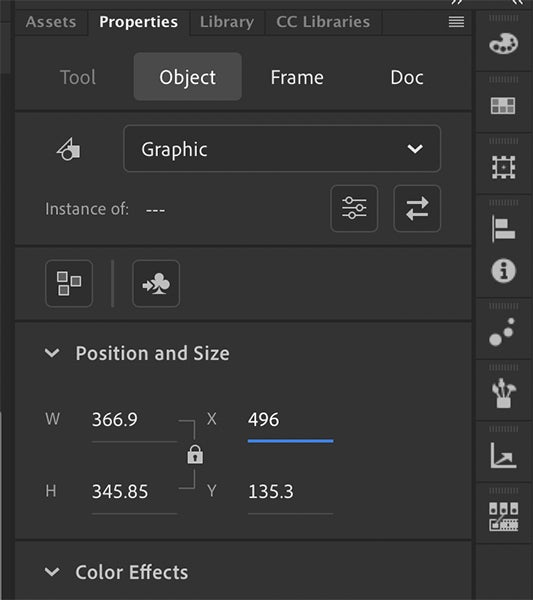
If you select any of the objects on stage, you would see that it is a drawing object as shown in Properties panel under “Object.” There are essentially three arrows and a text.
Create a graphic symbol
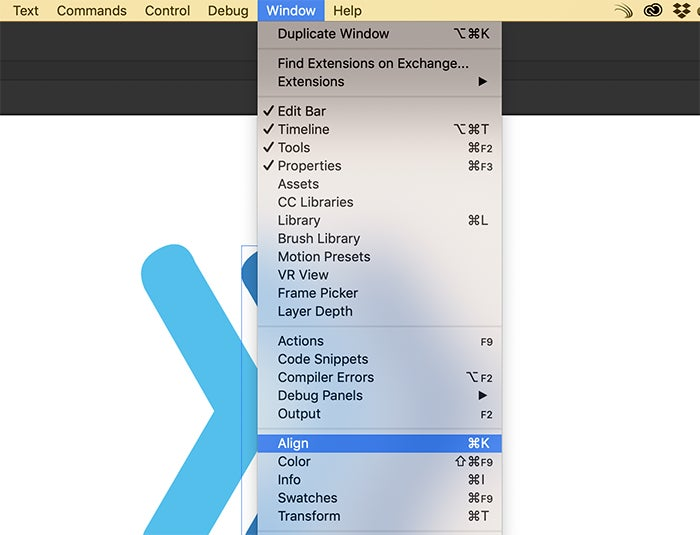
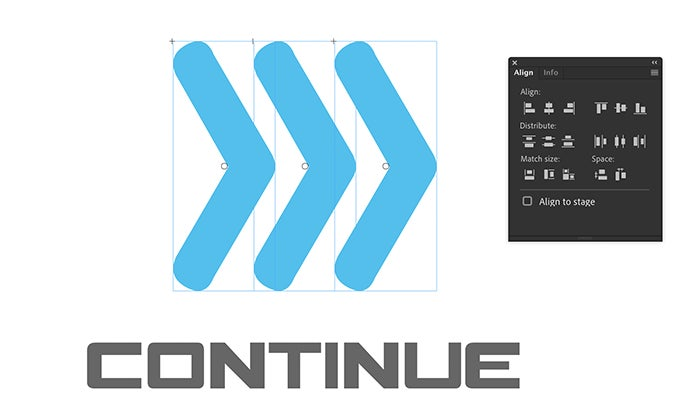
Select the three arrows and align them to the center using the Align panel. You can get the panel from Menu-> Window-> Align.
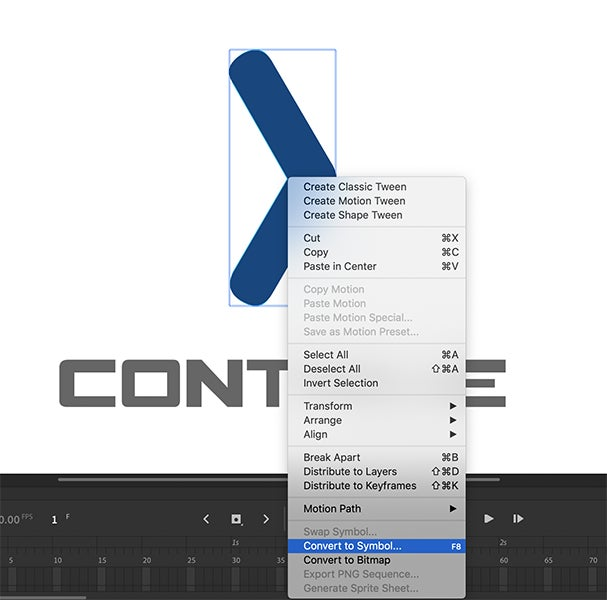
With all arrows selected, Right click and select convert to Symbol.
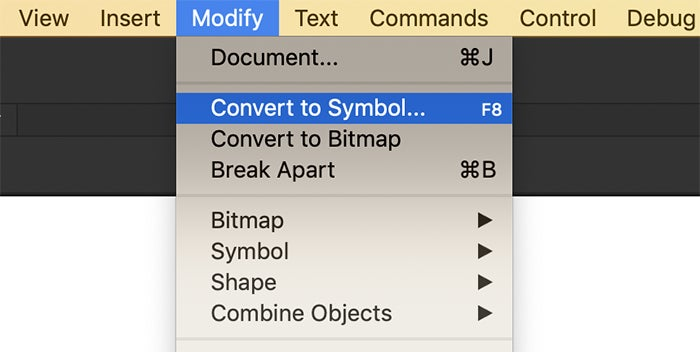
You can also convert to symbol from Menu->Modify->Convert to Symbol….
A symbol is a reusable animation component. Once an animation is created as a symbol, we can have multiple instances of the symbol and replicate animations. More on this later.
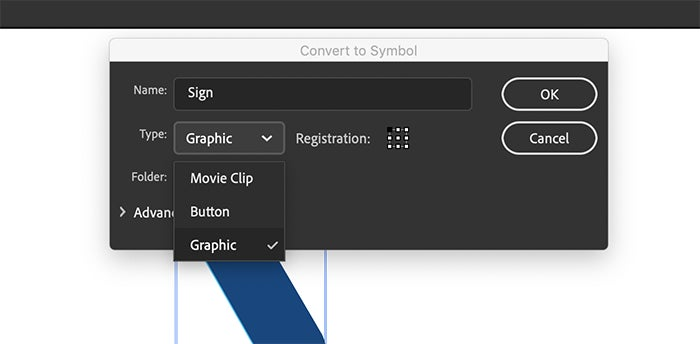
Give the name as “Sign” and select Graphic under “Type.”
Add animations to the graphic symbol
Let’s add some basic animation within the symbol.
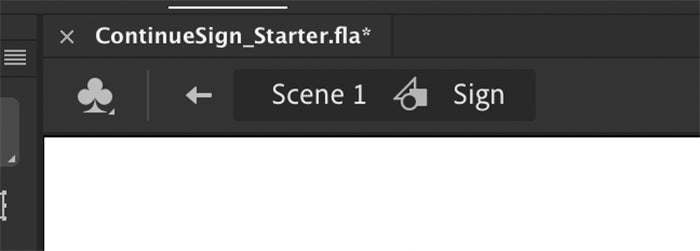
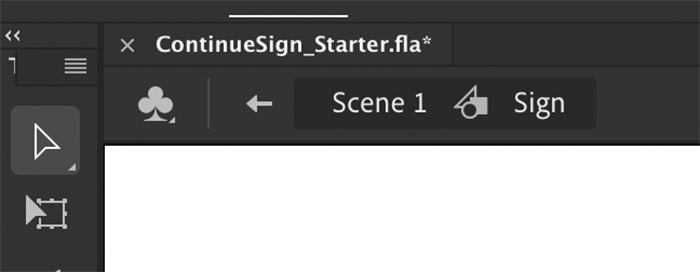
Double click the arrows. You should now be inside the symbol. You can check it on the top left as this:
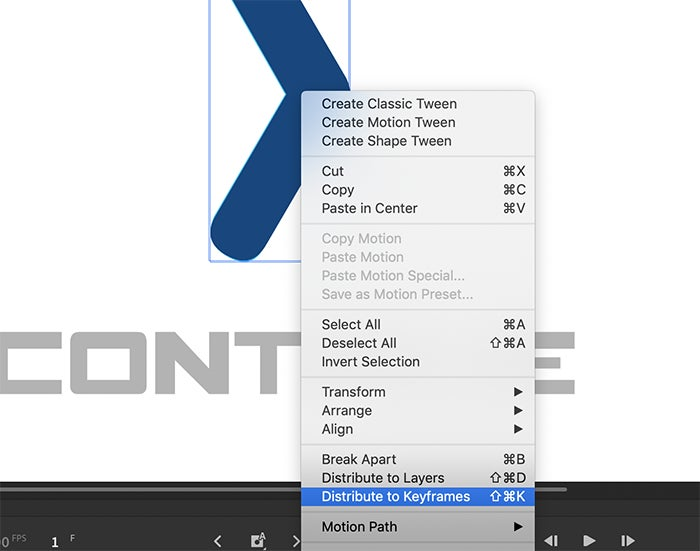
Select the arrows, right click and select Distribute to Keyframes.
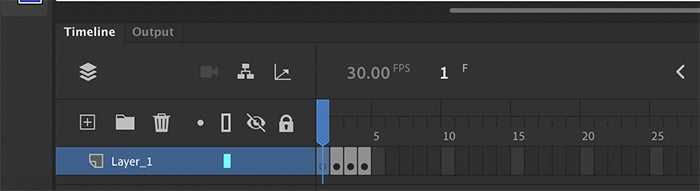
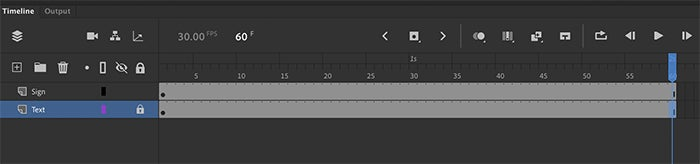
The timeline should look like this:
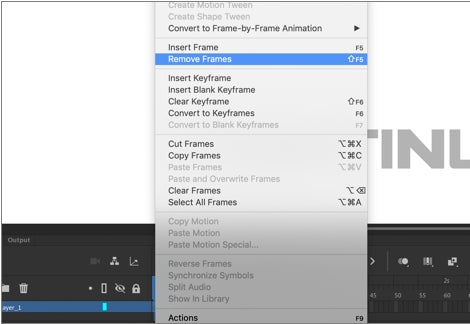
Right-click on the first frame and select Remove Frames.
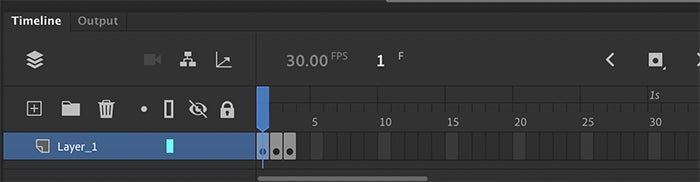
Your timeline should look like this now:
Add frames using F5. Continue doing that until your timeline looks like this:

You will need to add frames on each of the key frames (frames with a dot).
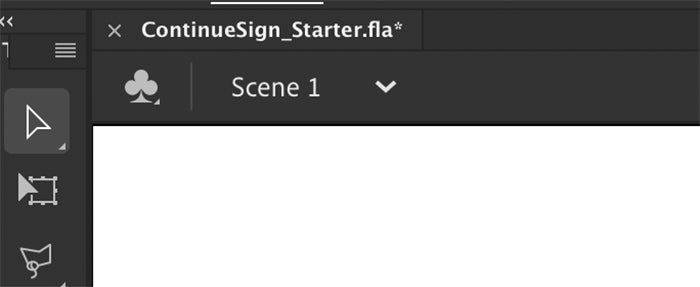
Now click on Scene to go back to the main timeline.
It should look like this now:
Add instances on the stage
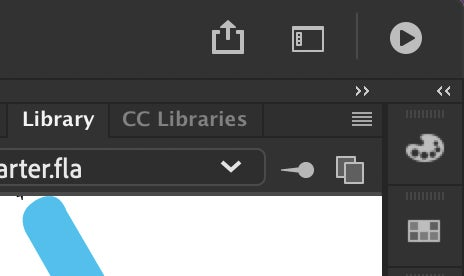
Go to the Library panel on the right.
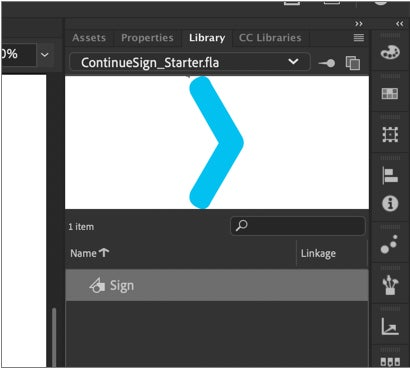
You can see your reusable symbol called Sign. Drag and drop this on the stage. Repeat it twice. The stage should look like this now:
Align the three arrows using the Align panel.
Let’s extend the timeline to 60 frames. Click on the 60th frame and insert frames by using F5. Repeat on the text layer as well.
Test your animation with the Test Movie button on the top-right corner of your screen.
You can see that the color changes on the arrows, but they are synchronized. The three arrows are basically instances of the one animation that we created with a symbol that we called Sign.
Modify instance properties
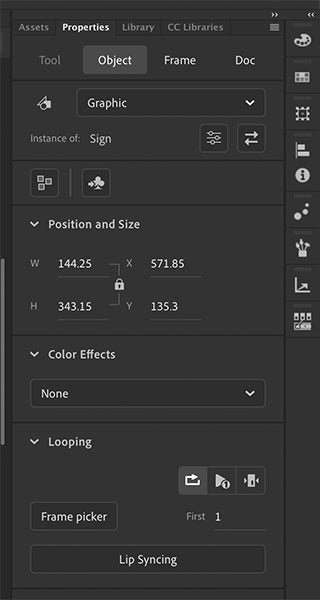
Let us modify the instance properties. Select the middle arrow, go to the Properties panel, and under Object, change the starting point to 20. Also make sure that the loop selection is on as shown:
Repeat this with the third arrow and set the starting frame to 40.
Test your animation again using the Test Movie button on the top-right. Now the three instances have different colors.

Add frame effects on symbols
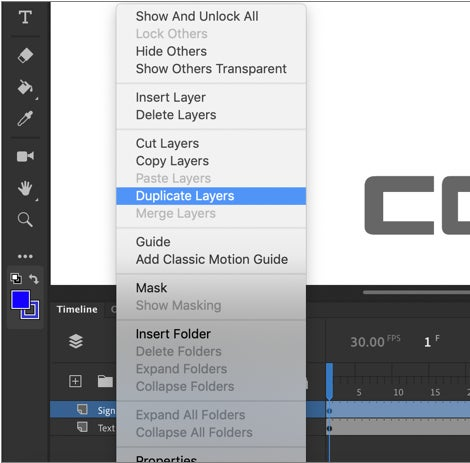
Let us make this more interesting. Select the Sign layer, right-click, and select Duplicate Layers.
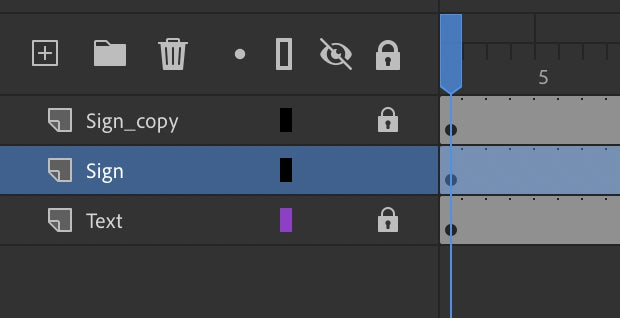
Lock the Sign_Copy layer and select Sign again.
Make sure the frame head is on frame 1.
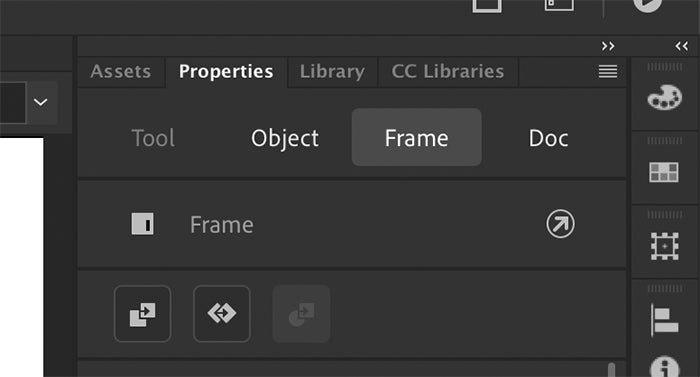
Select Frame in the Properties panel:
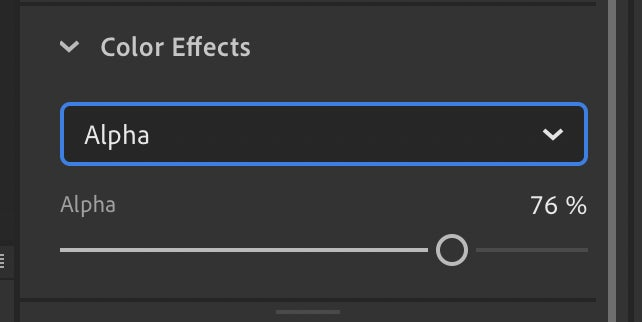
Scroll down to the Color Effects section, select Alpha, and set it to 76%.
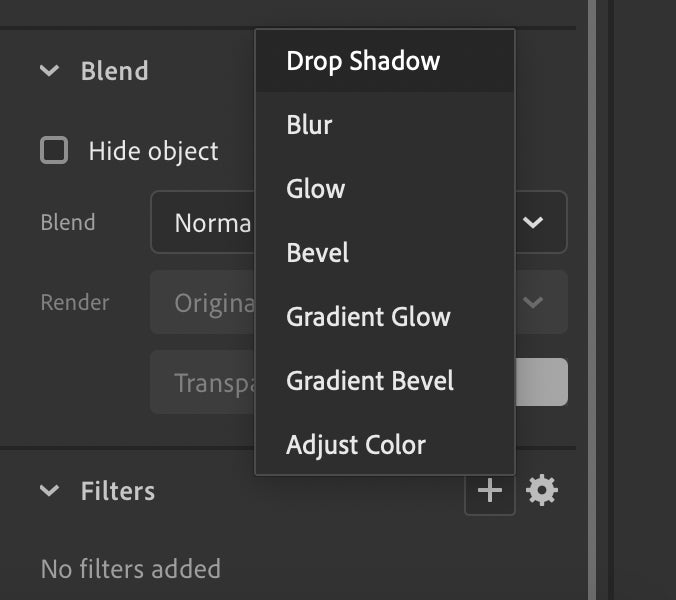
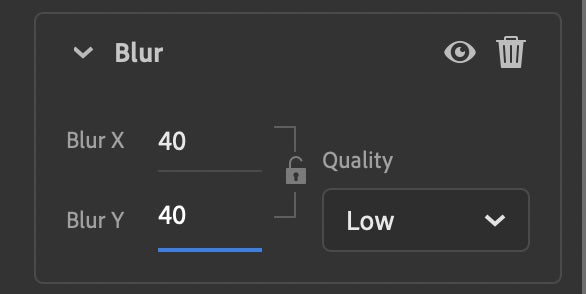
In the Filters section, click + and select Drop Shadow.
Change strength to 50%, and choose a nice gray color for shadow.
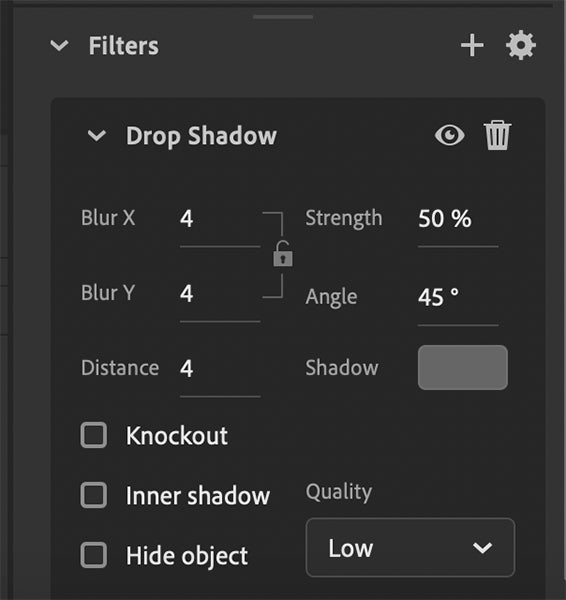
Now add a blur filter as above and set BlurX and BlurY as 40.
Finally, go to Object tab in the Properties panel and change the X position to 496.
Now test your animation by clicking on Test Movie from the top-right corner.

It looks great!
Add effects to text
Repeat the steps in the previous section to get similar effects on the text as well. You will get the following:

Play around a bit more with the filters, color effects etc. and see what works for you.
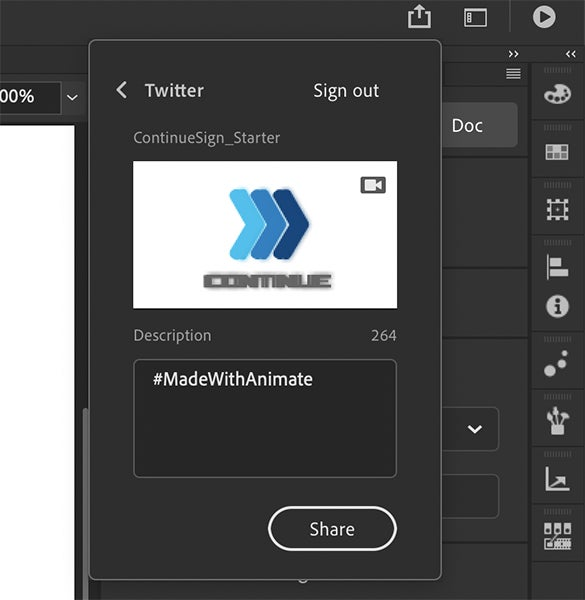
Share your animations
You can share your animations from the quick share icon at the top right.
Hope you had fun.
Please feel free to give me your feedback on ajshukla@adobe.com.
At Adobe, we believe that everyone deserves respect and equal treatment, and we also stand with the Black community against hate, intolerance and racism. We will continue to support, elevate, and amplify diverse voices through our community of employees, creatives, customers and partners. We believe Adobe has a responsibility to drive change and ensure that every individual feels a sense of belonging and inclusion. We must stand up and speak out against racial inequality and injustice. Read more about the actions we’re taking to make lasting change inside and outside of our company.
We also know many people are still impacted by the current COVID-19 crisis and our thoughts are with you. The entire Adobe team wants to thank you, our customers, and all creators around the world for the work you do to keep us inspired during this difficult time.