Adobe Bridge levels up workflows with Premiere Pro integration and new asset management features
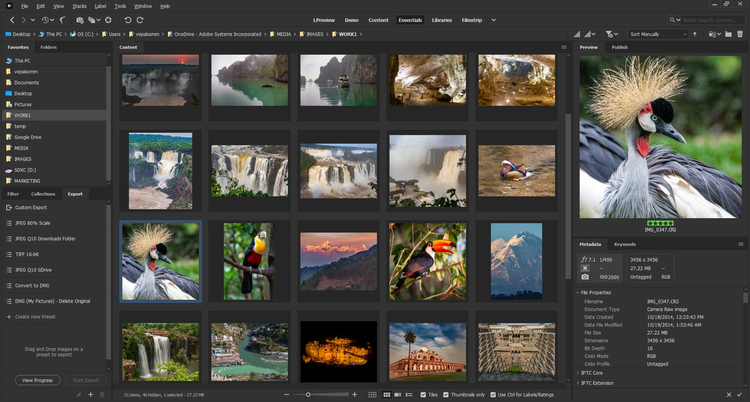
Adobe Bridge is a powerful tool for managing your creative assets, and can be a major productivity booster if you’re using Photoshop, Illustrator, InDesign, or After Effects. Now, with this latest release of Adobe Bridge, right in time for Adobe MAX 2020, we’re adding enhanced support for video files to our roster. We’re thrilled to announce that Bridge will now integrate with Adobe Premiere Pro and Adobe Media Encoder, a step that will make editing and transcoding video clips easier than ever.
In addition to an enhanced video workflow, we’re also rolling out many new features to boost content velocity for photographers, all centered around the Export Panel. This includes the ability to resize based on a target rectangle or resolution and the ability to rearrange presets by dragging and dropping. Read on for more details on everything new in this release of Adobe Bridge.
Video thumbnail scrubbing when hovering
Users can now hover their mouse pointer over the top of video thumbnails to see the frame update. This allows users to ‘scrub’ the video frames by moving the mouse pointer over the video thumbnail, which is particularly helpful when you’re trying to quickly ‘peek’ at a specific part of a video.
Of course, video preview in the Preview panel and in full screen (View > Full-screen preview) is still supported, but this should make it easier to select videos (using ratings and labels) for further edits.
Edit video clips in Premiere Pro, right from Bridge
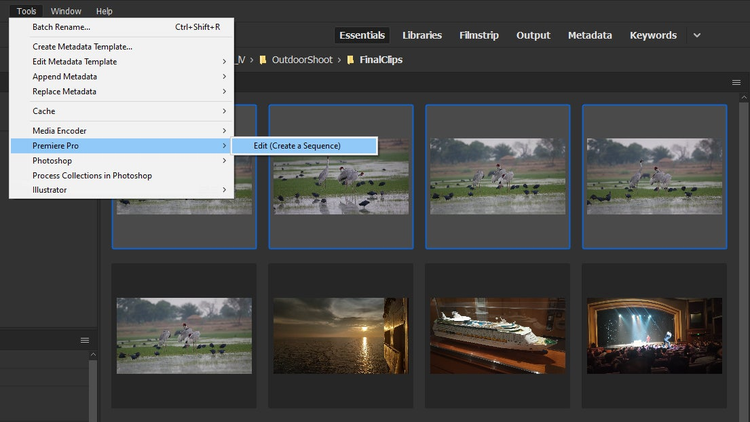
It is now easier to storyboard your video files in Bridge, and get right to editing them in Premiere Pro. Using Bridge’s Sort Manually option, arrange your video clips per your storyboard, select them and then click Tools > Premiere Pro > Edit (Create a Sequence).
This will launch Premiere Pro and add the selected files to the Premiere Pro sequence, as per the manual sort order in Bridge. Now you are ready to begin your project.
Transcode and stitch clips in Adobe Media Encoder (AME), right from Bridge
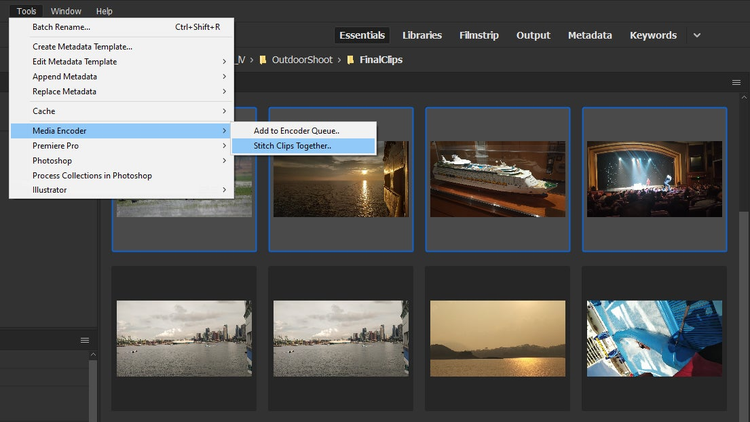
When you’re looking to convert your videos to a different format, or stitch a few videos together, the last thing you want to do is deal with a difficult workflow that steals you away from the real creative editing. That’s why we’ve now added the ability to queue selected assets into an Adobe Media Encoder, getting them ready for transcoding, all without leaving Bridge.
To activate this new workflow for your assets, just go to Tools > Media Encoder > Add to encoder queue, or stitch clips together.
Enhanced preview quality in Adobe Bridge
We know being able to preview your files on the fly is an essential part of an efficient workflow, and we want to make it as easy as possible to make the right creative decisions in your editing and designing. That’s why we’ve made some major improvements to the file preview in Bridge. Using a new algorithm that strikes a balance between speed and quality, Bridge will now give you high quality previews of your images quicker. You’ll get normal-quality previews of your files right away; meanwhile, the quality will uplevel in the background (while you’re busy with other tasks), and you’ll quickly have access to the highest quality preview.
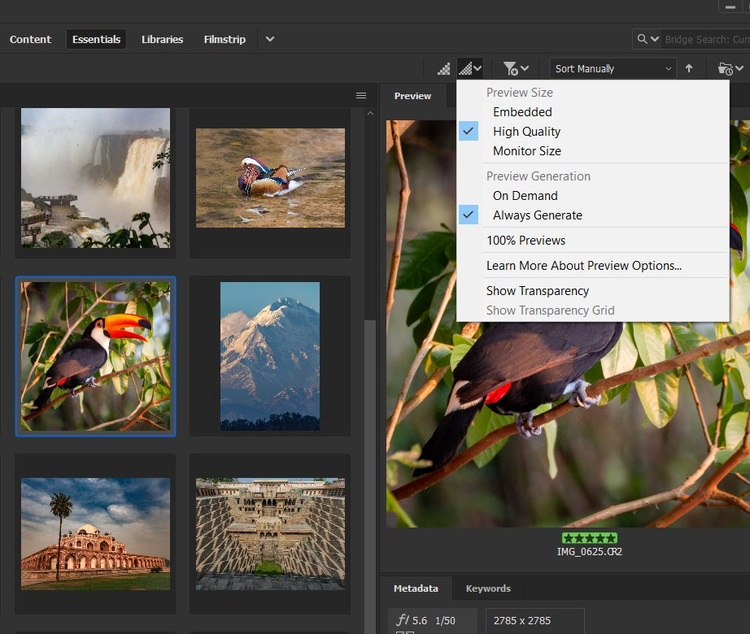
This feature ultimately means you’ll never have to sacrifice speed or quality, depending on what your workflow demands. Additionally, you can now delete “100% Previews” from the cache, by going to Preferences > Cache Management > Purge 100% Previews in Cache.
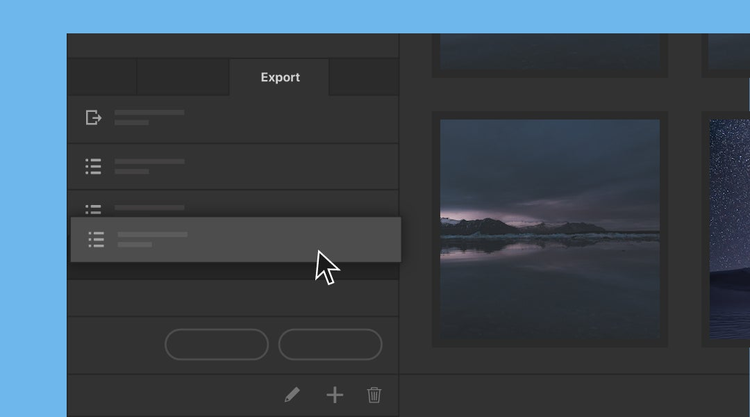
Export panel: Rearrange presets by drag and drop and resize by target rectangle and resolution
If you’re a frequent user of Bridge, you no doubt have lots of presets in the Export panel. Fortunately, there is now a way to easily organize them. In this release, we are implementing the ability to rearrange them by drag and drop, so that you can bring your most frequently used ones to the top.
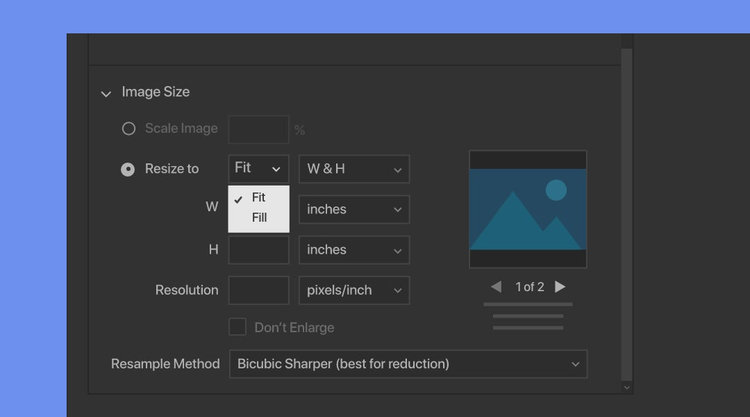
Additionally, in the Export panel, you will now be able to resize images based on both width and height. This means that, once you have defined target width and height, you can specify if an image needs to be resized to “Fill” or “Fit” the target. This can be done in inches or centimeters.
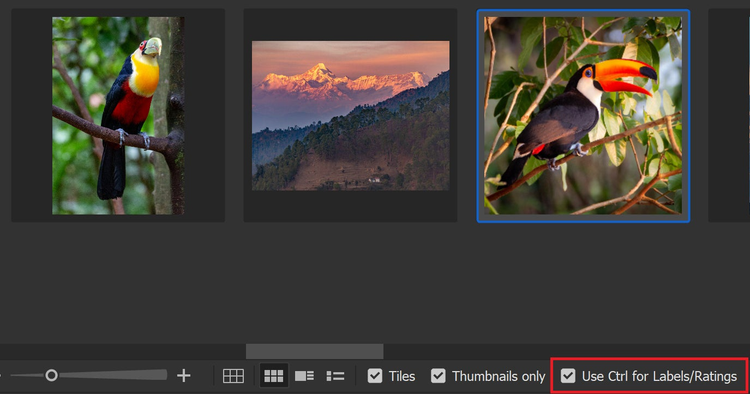
Single-key toggle for applying ratings and labels
Applying ratings and labels is a common task for many Bridge users. Now, you’ll have the option to apply them with single key shortcuts – no need to hold Cmd/Ctrl button as well. You can toggle this option in several places: at the bottom of Content Pane, in the Label Menu, or by going to Preferences > Labels & Ratings.
The radio button for enabling labels/ratings via ctrl keyboard shortcut in Adobe Bridge is toggled on.
Note that, when using a single key shortcut for ratings and labels, the keys 0-9 are no longer available for file navigation in the Content pane. You will need to turn off this feature to use all keys for file navigation.
Adobe Bridge: More efficient creative asset management
With these latest enhancements to Bridge, we’re striving to help you be as efficient as possible when managing your creative assets. We know your asset manager needs to augment your existing workflows while also giving you a central destination for all your files, and that’s why we’ve rolled out the above features – making it easier to get your assets into other Creative Cloud apps so you can start designing, editing, and focusing on your next great project.
Click here to learn more about how Adobe Bridge can improve your creative asset workflow.
