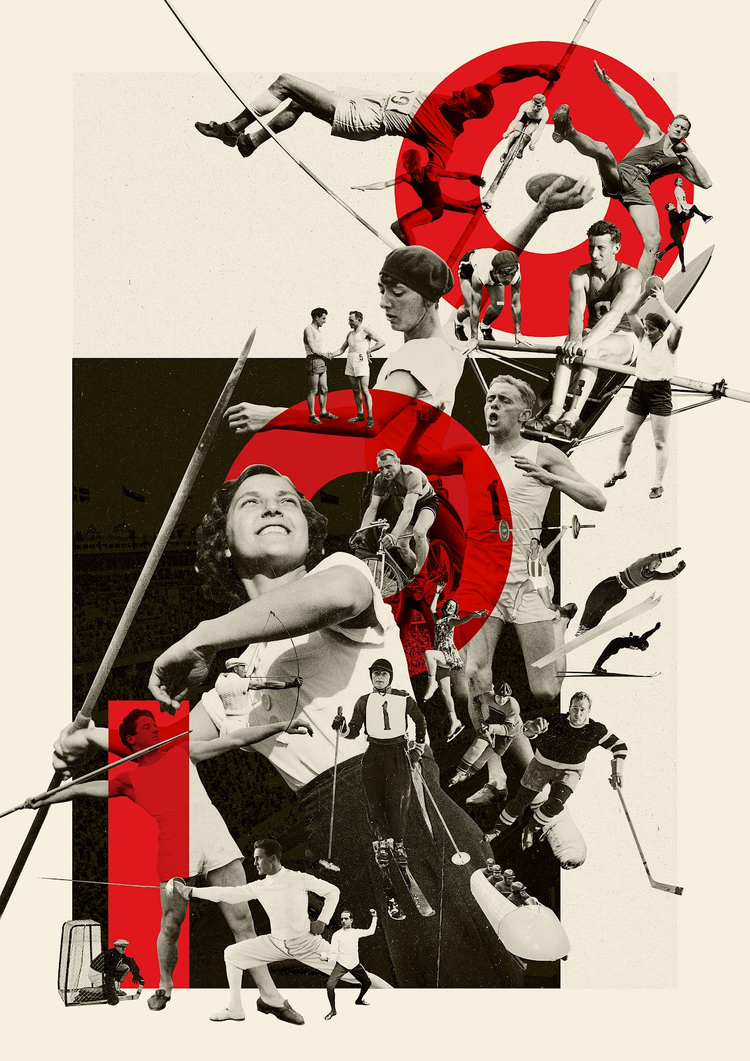
How to create collages in Adobe Photoshop that create impact and stir emotions
Learn how skilled illustrator Klawe Rzeczy creates impactful expressions through the art of collage and how to use Photoshop to create your own collages.
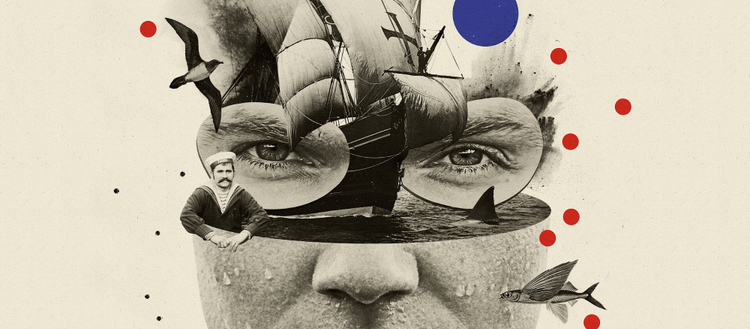
An artistic collage created by Ewelina Karpowiak in Adobe Photoshop.
Collage has long been an art form and tool of artistic expression, that has been recently resurrected due to digital photo manipulation tools like Photoshop. With technology, elements and materials can be combined and assembled in an almost limitless fashion.
My favorite element of creating collages is the possibility of mixing and matching elements from different worlds and combining different meanings into one, completely new simulacra.
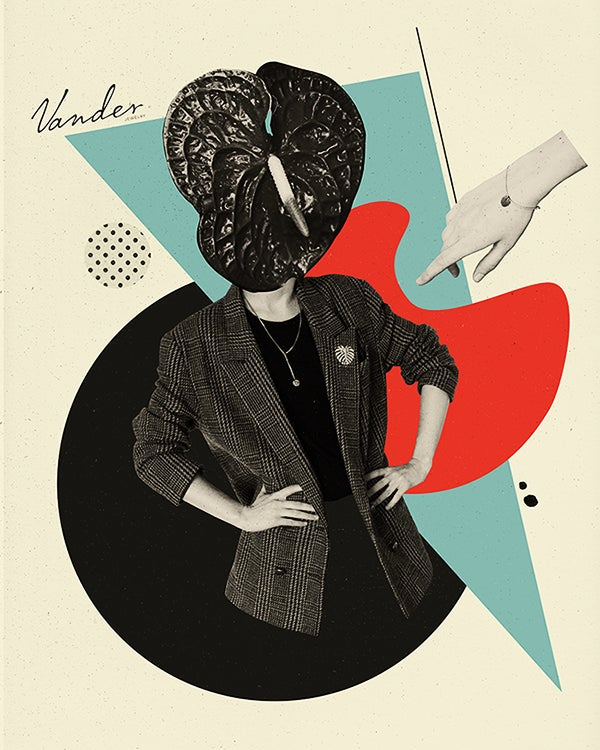
But that’s just a single opinion. There are also collage artists that love collage because of the ‘shadow games’ that this technique offers. They mix shapes and textures and make illustrations look 3D, as if they are almost coming out of your screen. While I can’t tell you how to make the perfect collage for your purposes (a big part of this comes down to your preferences and passions in collage), I can give you some good tips that will help you to start your collage adventure or improve the skills you already have. Regardless of your goals with collage, Photoshop is a perfect digital tool to use for this.
The Pen tool in Photoshop: Your best friend for collage making
My collage adventure began a couple years ago. What was at the time serious hobby, evolved into a job that I love. Both my “better half” and a business partner of mine were creating analogue collages and it inspired me to also create in that manner, but instead using digital tools. I found it quite fun — I could always draw and paint well, but paper and scissors just weren’t my thing. I decided to focus exclusively on a digital collage.
I quickly discovered the Pen tool within Photoshop - which I suggest you start using immediately! This is an extremely useful tool because I can follow the shape of the image, adjust or manipulate the Pen tool line any time it’s selected, and I no longer have to worry that I’ll mistakenly select something that I don’t want. The entire cutting out process goes much faster and is more precise because I can curve the line and adjust it to the shape of the object I intend to cut.
The best way to learn how to do this effectively with the Pen tool is to follow a very simple shape - a letter like‘e’ or ‘s’ would be the best to practice – once you’ve completed that letter, you can start cutting out elements for your colleges. Another tool that’s quite helpful is the Magic Eraser tool. It helps you quickly remove the background (as it’s smooth, isolated). It’s not as precise as the Pen, especially when you’re working on big prints that will reveal every single detail of your work, but still comes in handy.
All of this may be time consuming but is worth the effort. You are in control of the element, which gives the feeling of an analog workflow, which I like.
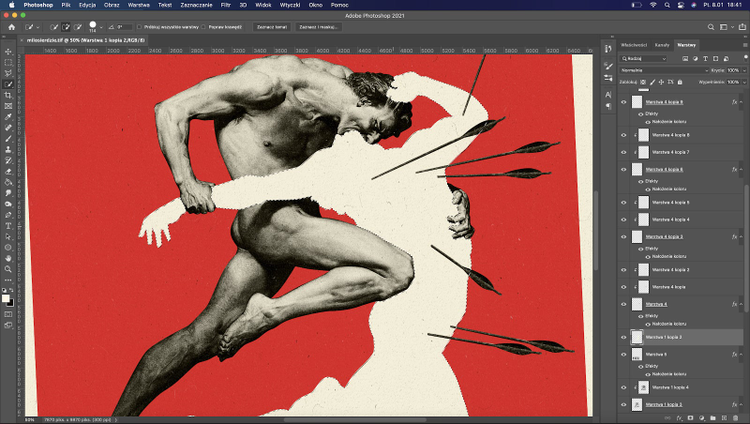
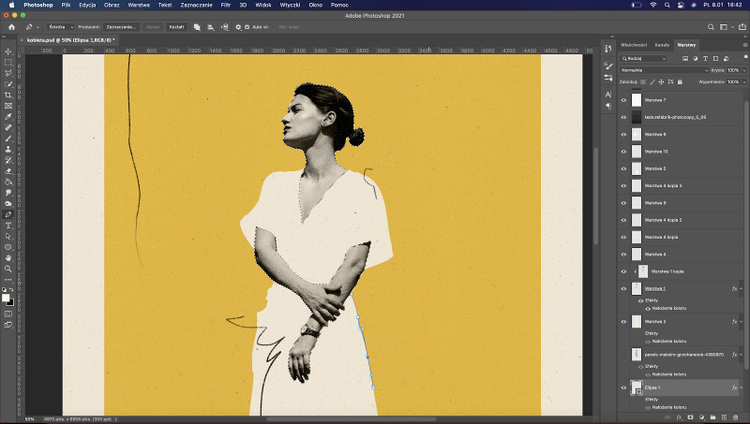
Once you learn the details of the process, you’ll see that the steps are quite simple and easy to understand. There are plenty of options of how to cut elements out (from the most time consuming and precise to the easy and quick ones), so it’s up to you which process you’ll choose — there is no such thing as a wrong decision! The most important thing when doing collages is cutting out elements and having fun with mixing them freely. This is also the most fun part of the whole process!
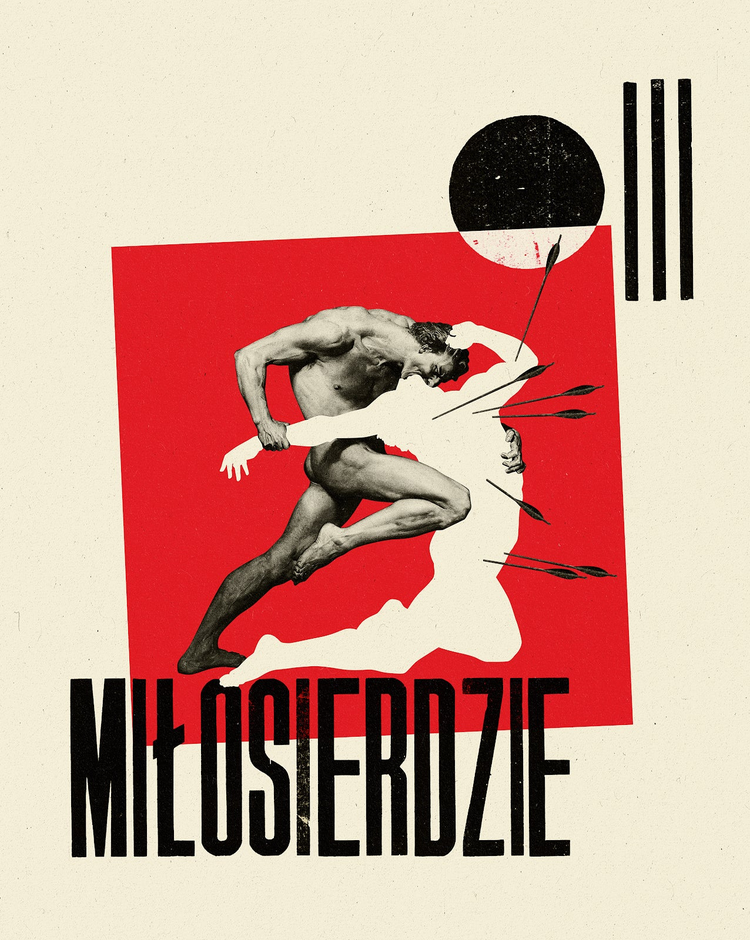
How to choose and find the right photos, and ensure licenses are correct
Once you’ve mastered the Pen tool, you are ready to start making collages. Regardless of whether I am working on something elaborate or something minimalist, each project is a multi-stage process. Truthfully, in the whole process of creating a collage, finding photos that will fit your idea is the most significant part of the workflow. It’s important to keep in mind that, sometimes, we have specific images in mind that we want to use, which don’t exist in the real world (unless you arrange a photoshoot) or are inappropriately licensed (meaning you just can’t use them).
Confirming the licensing of images you want to use is essential. Many popular websites don’t verify the licenses on the images they are using, and even if a website claims that all photos are free to use, that may not actually be the case. If you use an image from a website that violates intellectual property, you are ultimately responsible for the mistake -and that could be costly. The best way to avoid this headache is by using images from stock websites — Adobe Stock is one of the most affordable options for Creative Cloud users. There are over 200 million high-quality, curated, royalty-free photos, vectors, illustrations, templates, 3D assets, video, motion graphics templates, and audio available.
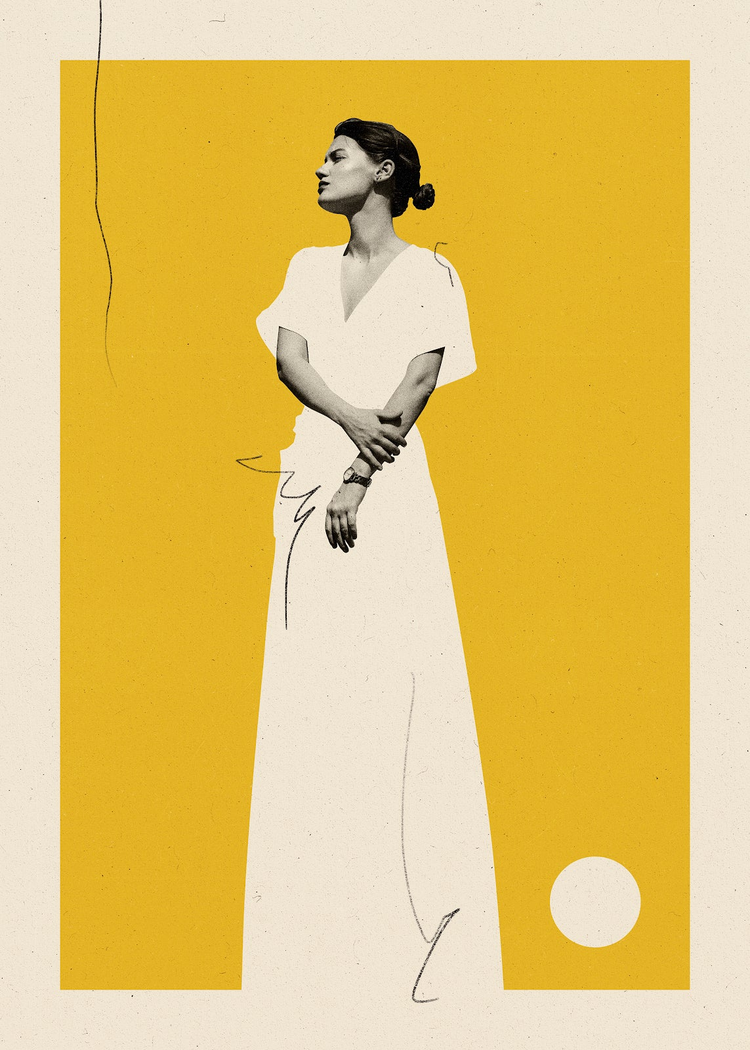
Collages are an endless tool for self-expression
I continue to find collage making both exciting and, at times, touching. Collage shows you the real power of graphic design, taking elements and using them to tell a story in a new and impactful way, and the possibilities of collage expression are endless. You can create anything you can dream up when you master the basic tools in Photoshop.
The best way to improve is to just keep creating and working. I have been working with collage techniques for several years and it feels like I discover something new in Photoshop every day. Maybe it doesn’t make me an expert, and maybe there’s an option to cut out elements even faster and precise, but there’s always a chance that I’ll develop those skills tomorrow. With collage, anything is possible.
