A day in the life of a 3D designer

In the past, 3D design was a complicated and time-consuming process that required experts with specialist level knowledge. You needed someone for the 3D modeling, the shading, and the lighting. Finding generalists who excelled at all of these was difficult.
The Adobe Substance 3D ecosystem brings about a significant change and makes 3D design accessible to everyone. Substance includes a vast library of customizable high-end 3D assets so you can find sophisticated shaders, textures, and models online that you can just drag and drop into your scene. That way you can compose much faster, and you don’t need to be an expert in all the individual categories. Substance provides a shortcut that speeds up the whole 3D design process and opens it up to a lot more people.
I am a technical 3D artist with over 15 years of experience in VFX and animation. I’ve worked on movies for Pixar and Blue Sky Studios, shading characters, sets and materials. Now I’m a demo artist at Adobe because I really enjoy showing other people how to use the Substance tools to make their own lives easier.
I love the combination of art and math that you get in 3D, and my passion lies in creating high-quality technical 3D shaders. I’m quite good at creating the lighting but not necessarily at modeling, and by working with Substance, I don’t have to worry about making models.
In this article
- From brief to final 3D render within an hour
- The efficiency of using Stager
- How to respond to design feedback from stakeholders
- Understanding and interpreting feedback
- 3D is now at the heart of product design
From brief to final 3D render within an hour
First, to be able to tell a story and set the context, you need a brief and a target. I tend to collaborate with the art director and find out as much as I can about the target image, the target audience, the color scheme I should be following, and how to put together the composition. Those are the key skills for a designer.
I then interpret the art director’s requirements, which includes figuring out how to stage a product and make it look good. I think about the scene composition and what kind of story we want to tell with the image. I don’t even necessarily have to have 3D experience for this part because if you have existing artwork, you can just start assembling all the ingredients.
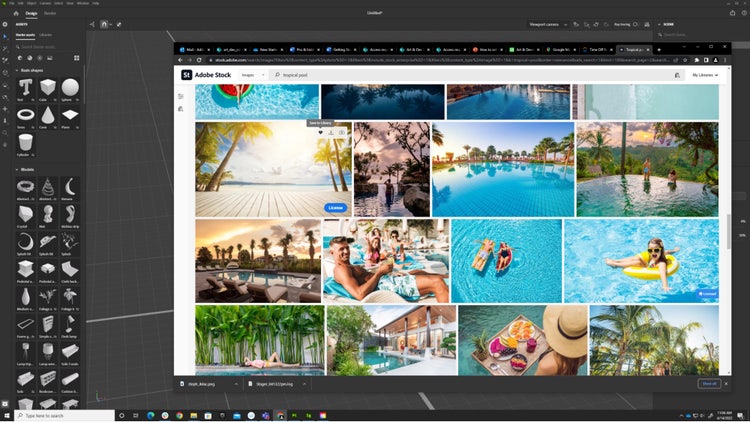
I then browse through the Substance 3D Assets library, and I might find a few possible options for background images on Adobe Stock, for example, to explore what’s possible and how I’m going to place the product. I also need to know what objects I’m working with, so I can start populating the scene. I don’t have to decide everything up front because I can just iterate it in Substance 3D Stager.

The efficiency of using Stager
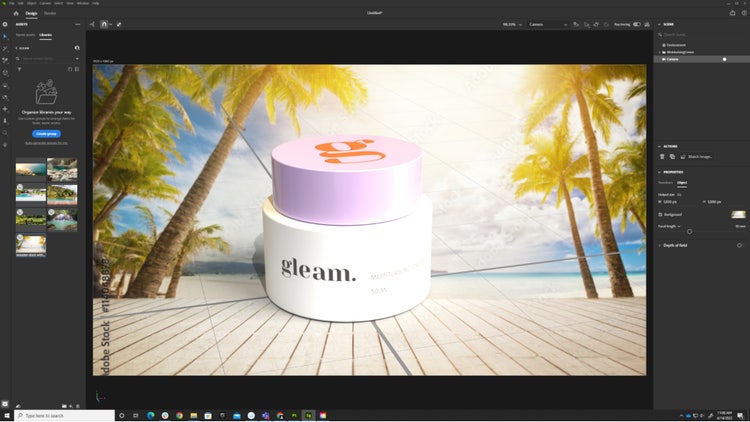
I also use Stager to quickly create the scene lights for an initial pass. Now I’m starting to get a feel for what the object looks like. I can then start positioning it, and if it doesn’t look right, I’ll cycle through a few background images and different lighting scenarios, which is pretty simple to do thanks to Stager’s AI.
Once I have settled on the background, I work on the product positioning and placement before I move on to adjusting the lights. You want to make sure you’re highlighting the product in a way that’s drawing attention to the right spots. Whatever the surfacing properties need to be (is the product shiny enough, for example), I can adjust it with the lighting at the same time.
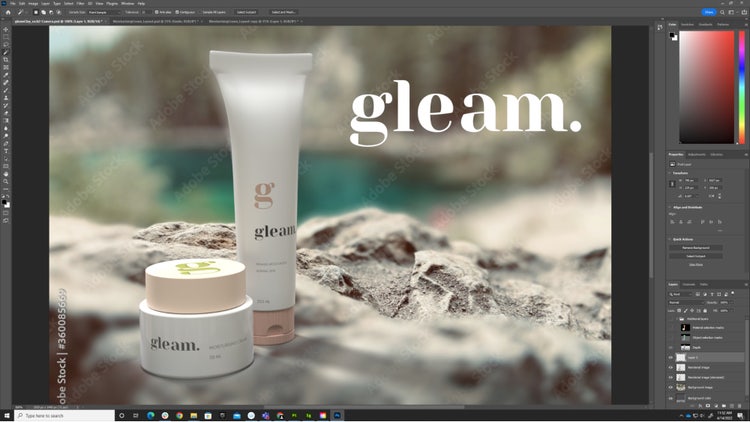
This can take a few rounds of iterations, but with Stager I’m able to try out different concepts within minutes. I sketch it out until I get the right placement, and then refine it. I might want to work on the camera or make a few color adjustments, for example. At that point, I’ll decide if I’m going to create the final finishing in Stager, or if I’m going to add additional finishing touches in Photoshop. If I go down that route, I’ll swap out backgrounds, adjust levels, and carry out further changes to the color. It’s really easy.

How to respond to design feedback from stakeholders
Once I have an image I’m happy with, I’ll share it with stakeholders to get their feedback. I can do this either through Stager using the Share 3D scene for review feature, or I can create a final render in Photoshop and then export it as an image and send it off via email.
As an artist, I always work from rough sketches to fine details. That way I can make sure that my idea is exactly what the art director or other decision makers have in mind and we’re all on the same page. Especially when I’m coming up with my own background image, it’s also good to have a few options lined up to showcase different directions. Sharing early and often ensures that I don’t invest hours into a direction only to have to redo it all. Showing everybody a rough cut is so much easier.
If I need to get approval from non-designers, it’s important not to leave out the aspects that won’t be understood. Designers understand the process but other folks are often looking for a final image. In that case, you want your image to be in a really good shape before you share it. Getting aligned on the direction before you start, and then showing it to non-designers as an image that’s as close to the final version as possible is much more effective than showing them rough cuts of the process.

Understanding and interpreting feedback
If the feedback is vague, I try to understand the intention. I look at the image as a whole to decide what elements are making the stakeholder react that way and what I could do to improve the process. If I don’t really understand what they mean, I’d ask more questions. Over time you develop working relationships with your stakeholders that help you figure out what they are looking for. As the artist, you’re the person most familiar with the process and you need to have faith that you know which part you can adjust to get where they want to be.
The famous ‘make it pop’ usually means the product is not standing out enough from the background, which leads to the story not being highlighted enough. In that case, I need to find a way to either change the contrast of the image, reduce how busy the background is, change colors, or adjust the lights. There are multiple methods, but I’d just change one aspect and then provide different options if the stakeholders still aren’t convinced. If those options would take too long, I’d ask more leading questions to get to the final signoff.
3D is now at the heart of product design
Everyone these days is expecting high-fidelity images. We used to have to paint an image to look photoreal, which was very time-consuming, but designers now have the tools to create full scenes in 3D, complete with lights that are physically accurate.
Tools like the Substance 3D Collection make the job of iterating on an image so much easier. You can rotate images and arrive at the right concept much faster: just place the product in the scene, change the lighting, and deliver five images within an hour. It’s massively shortened the timeline of creating 3D images.
