The word photography translates to drawing with light. Capturing light for image rendition requires a basic understanding of the fundamentals of the exposure triangle, also called the photography triangle, which is composed of three parameters: shutter speed, aperture, and ISO (or your camera’s sensitivity to light).
The exposure triangle is made up of three components: shutter speed, aperture and ISO.
A simple analogy for this would be to think in terms of collecting water in a bucket. The bucket represents the camera sensor while the water represents light.
When collecting water in a bucket from a faucet, the amount you can collect depends on the amount of time the faucet is open and releasing water. Similarly, the amount of light collected with a camera sensor depends on how long the shutter remains open — this is known as the . This is the first important part of the exposure triangle.
Get the correct exposure for your photos
Learn the basics of photography exposure to better understand camera exposure and discover how to get the right exposure for your work.
Join a visual conversation today
Shutter speed: Balance your exposure and use a histogram to make sure no detail gets lost
Too long of an exposure results in too much light with the resulting image so bright that details are lost (referred to as "blowing" the highlights). When the exposure is too short the image is so dark that no details can be visualized in the shadows. “Clipping” of shadows refers to an image being so underexposed that there are areas with no detail that appear black.
A proper exposure is one where the bright parts of the image (the highlights) as well as the dark parts of the image (the shadows) all retain detail of the subject being photographed. A histogram is a graph that represents the distribution of light in the image, and is an important guide for proper exposure (from left to right there is an increase in luminosity — so the darkest part of the image is on the left and the brightest part is on the right). Histograms give a visual indication of whether any details are being lost through the image due to over or underexposure.
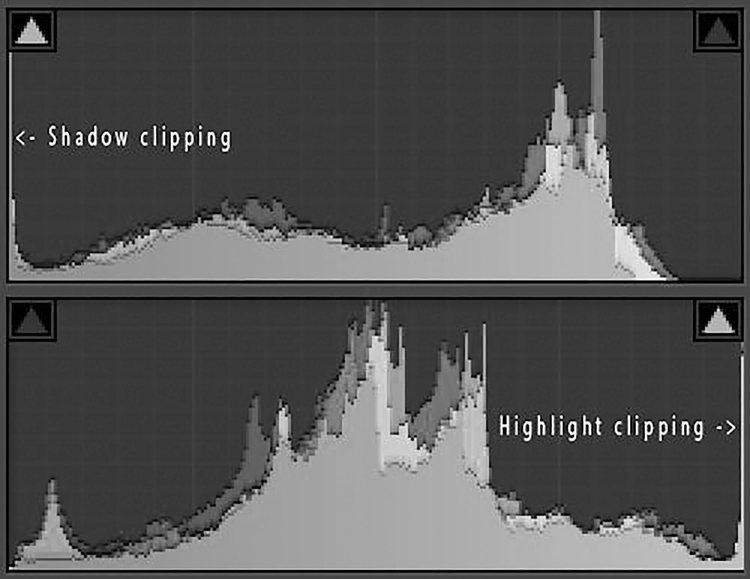
In the examples below the first graph shows shadow clipping. Notice how the graph is pushed to the left and the extreme left side appears to have been cut off. This is called clipping the shadows.
The second graph shows the graph being pushed towards the right side that is the brighter/highlights side and some of the highlights have been pushed off the right margin. This is referred to as highlight clipping.
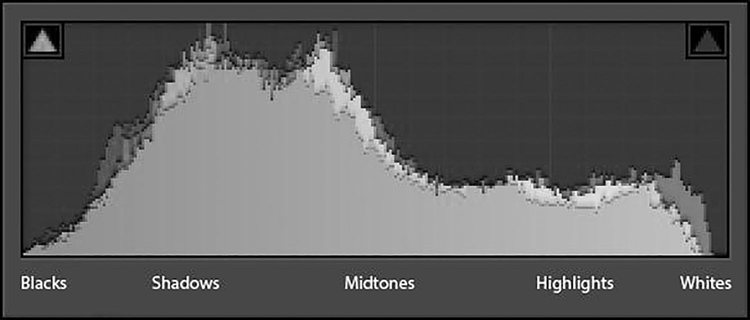
The third graph below shows that the blacks on the left and the whites on the right are all contained within the frame. The curves are not displaced to the left or the right, as in the earlier examples. This is what an ideal histogram for perfect exposure looks like where details within both the dark and bright parts of the image are being retained and no information is being lost.
Aperture: Understand it to control light and depth of field
When collecting water in the bucket, the amount of water collected will also depend on the size of the water pipe. For the same duration of time, a wider pipe will result in more water than a smaller one.
In this case, Aperture = the diameter of the pipe. This is an adjustable opening on the lens that controls the amount of light entering it. A wider aperture will result in more light being collected by the sensor, while a narrower aperture will require more time for the same amount of light to be collected.
Aperture is indicated by f-stops. A small aperture (narrow opening) has a higher f stop number while a wider aperture has a smaller f stop number. This can be confusing as an f2.8 actually allows more light than f22. This is because f stop numbers represent the ratio of the diameter of the aperture to the focal length, and not the actual diameter of the aperture.
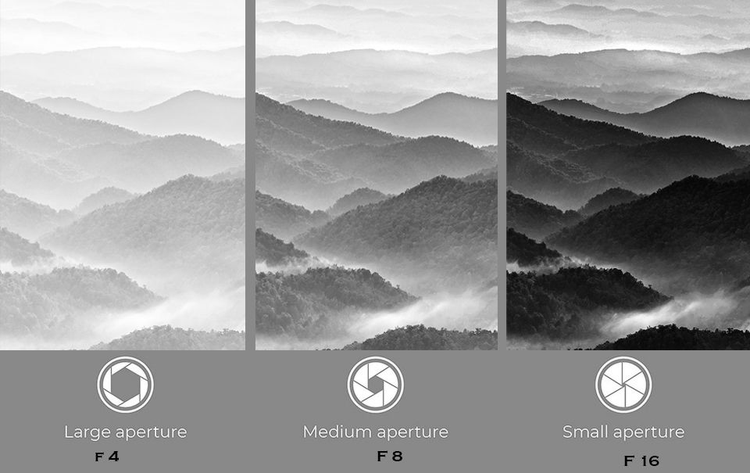
The aperture of the lens also controls the depth of field. This is the area in the image that is in focus. A wider aperture (f 2.8 - f 5.6) results in a shallow depth of field where the majority of the background will be blurred. A narrow aperture results in a greater depth of field where the majority of the frame is in focus (f 14 - f 22).
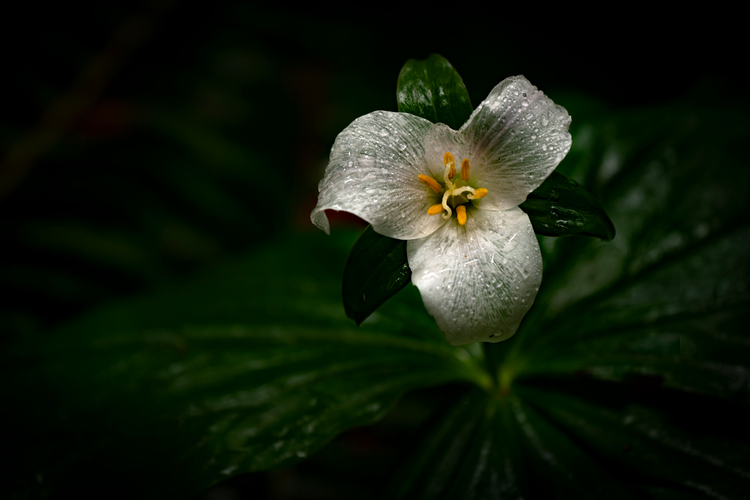
For example, when shooting the details of a single flower a shallow depth of field will reduce the distractions in the background
When shooting a scene where there is considerable distance between the foreground element, close to the lens, and the background and the photographer wishes to keep the majority of the frame in focus, a smaller aperture is employed.
ISO: Adjust it based on available light
Looking at our water analogy one last time, if we were to increase the pressure of the water that is being pumped through the pipe we would, of course, be able to collect more water. In photography this translates to sensitivity of the camera sensor to light. A higher ISO number indicates greater sensitivity of the sensor, meaning more light is being absorbed.
Increasing the ISO (sensitivity) results in a brighter image without changing the exposure time or aperture. Higher ISO is particularly useful in low light conditions. For example, an ISO of 100 is ideal when shooting daylight under bright skies, while a higher ISO of 1,000-5,000 may be used when shooting at night. Increasing the ISO does, however, introduce noise/grain into the image. Because of this, unless shooting in very low light conditions, lower ISOs should be favored.
Checking the histogram prior to each exposure is particularly useful to make sure no information is being lost in the shadow or highlight areas of the frame.
Make adjustments to get your desired result, but don't forget to compensate
Having a good understanding of each of the factors within the exposure triangle and how they influence the capture of light is a prerequisite to making a proper exposure. Just be aware that changing one of the elements may require compensation/adjustment in the others depending on the desired effect.
Which parameter gets priority over the others depends on both what is being photographed and how the photographer wishes to portray the subject. Let us look at specific examples to understand this concept.
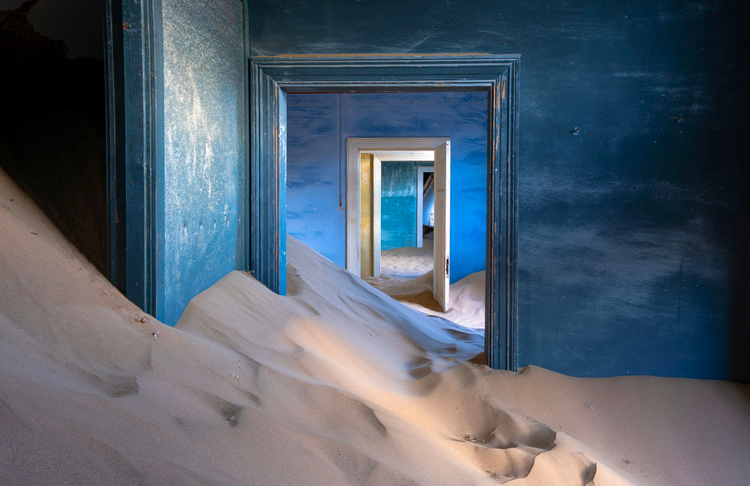
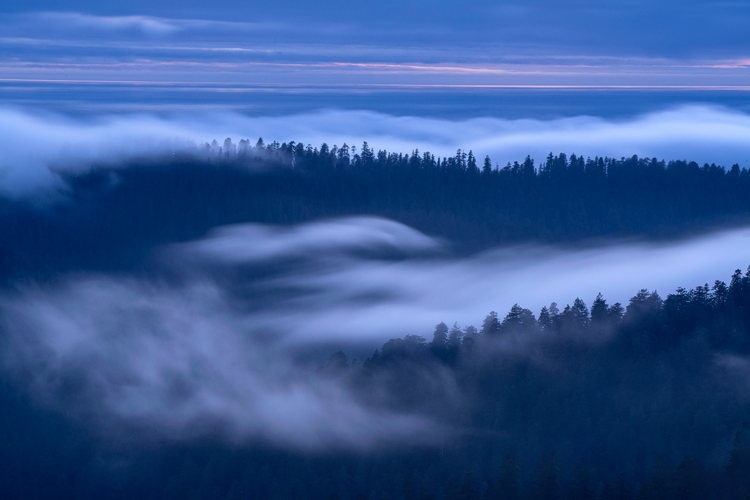
Example 1: If a longer exposure time is desired to create motion blur when photographing flowing water, for example, or to show the movement of clouds or fog, then the ISO will need to be lowered and aperture narrowed to prolong the shutter speed.
Sometimes freezing motion may be more desirable than creating motion blur.
Use Photoshop and Lightroom to get that perfect exposure
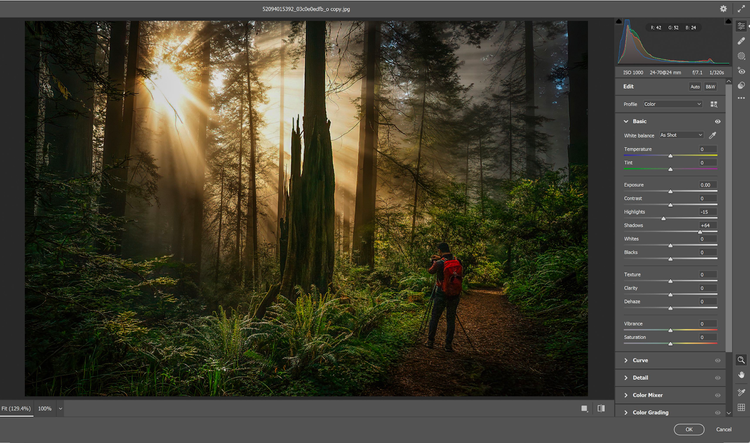
Modern cameras have amazing low light capabilities, and often when combined with quick adjustments in Adobe Lightroom one can recover the details in shadows. This is done by pushing the shadow slider to the right as in the example above (light in shadows boosted to +50).
Highlight recovery is achieved by pushing the highlights and whites sliders to the left. Whites were reduced by 26 and highlights by 28, with overall exposure then boosted to +1.25. These changes helped to bring out the details in the shadows in an image that was deliberately underexposed so as to not have the highlights overexposed or clipped.
Blown highlights are, unfortunately, much more difficult to recover. Therefore slight underexposure rather than over exposure is preferred when working with a wide range between shadows and highlights.
Exposure blend
When shadows are very dark and highlights are very bright this is referred to as a high dynamic range scene. In such instances it may be necessary to make more than one exposure to retain details in all areas of the frame. This concept is called bracketing.
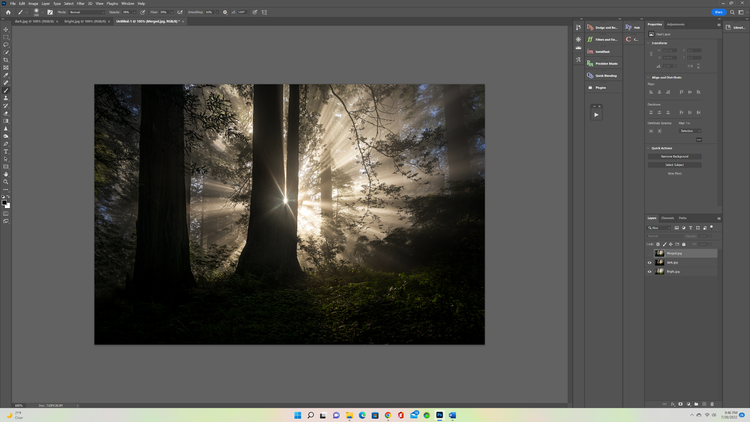
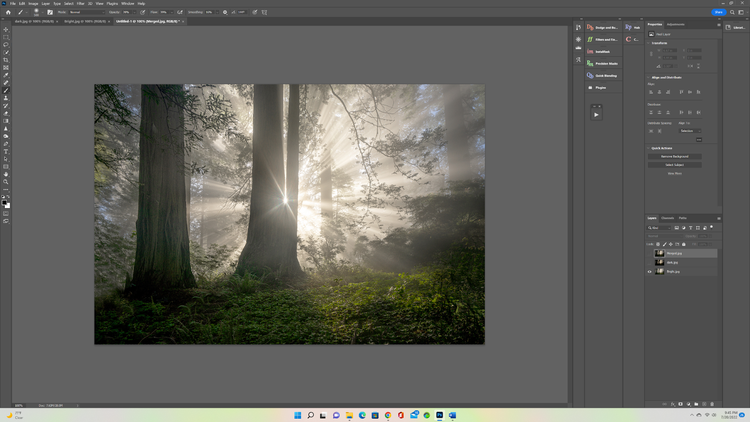
An underexposed image will compensate for very bright highlights. An overexposed image will reveal detail in very dark shadows. Merging the exposures will bring out the details in both the shadows and the highlights and is called exposure blending. The fusion of the varying exposures is shown below in Adobe Photoshop, but it can also be done in Lightroom.
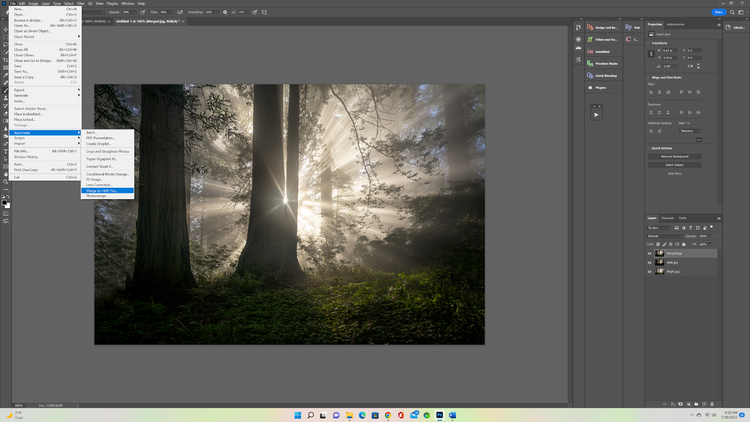
Exposure blend in Photoshop is achieved by the following steps:
- Open files in Photoshop.
- Select File > Automate > Merge to HDR pro.
Both Photoshop and Lightroom have the ability to introduce luminosity to specific parts of the captured image. This can be achieved either through the use of masking tools like the gradient and radiant filters or by making local adjustments using the brush tool. The purpose of post-processing with Photoshop and Lightroom is to enhance the natural light in the scene.
Being able to modulate the amount of light entering through the lens and hitting the sensor is fundamental to being able to make a perfect exposure. Once the concepts of ISO, aperture, and shutter speed are understood, you can start making changes — tweaking images and making creative decisions while retaining details through all parts of the frame.
Post-processing with Lightroom and Photoshop adds another layer of control to luminosity through the image and can often be used to salvage an image that is slightly under or over-exposed. However, the goal should be to make the correct exposure every time and use the post-processing to enhance that natural light.
In ideal conditions post-processing is not the solution to errors made in the field — rather, it is a fundamental step in image rendition which gives the photographers additional means of strengthening the quality of light in their images, as well as the ability to add a creative or artistic touch.
The exposure triangle: A foundation to build on
At the heart of it, a thorough understanding of how the parameters of exposure, aperture, and ISO influence light and depth in the image is fundamental to photography. The relationship between these settings and learning how to compensate for changes in one by adjusting another is crucial to achieving the proper exposure.
The exposure triangle is the foundation on which individual creative style and artistic vision evolves. It is the basic alphabet that needs to be mastered before one can create visual poetry.