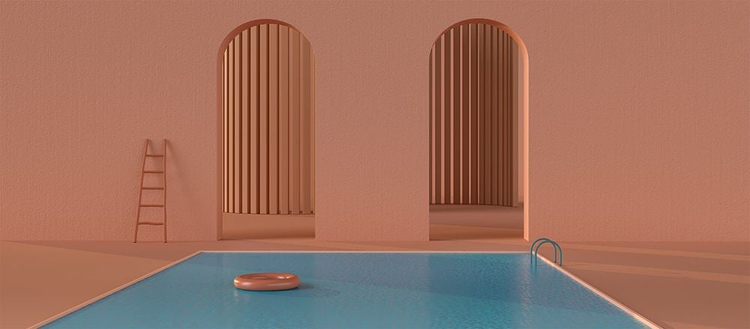
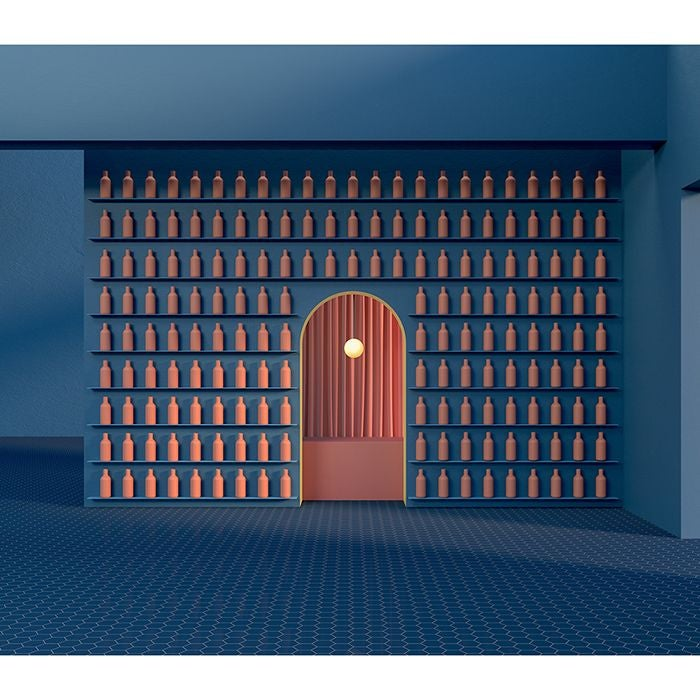
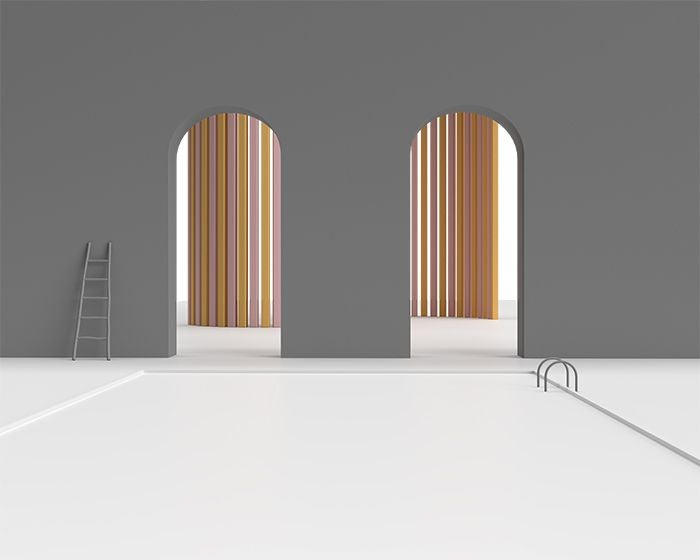
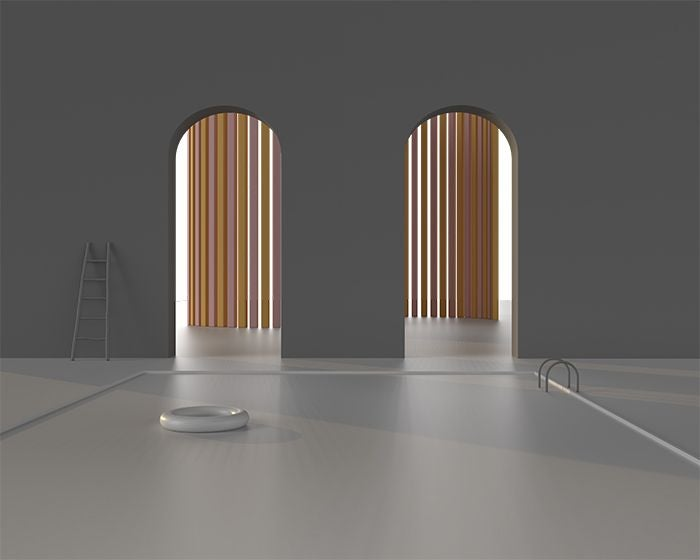
Over the past few months, the Adobe Stock 3D Team has worked closely with Minjin Kang and Mijoo Kim of Mue Studio, exploring the techniques and creative vision that have led to their unique, semi-surreal works. We have learned how to recreate one of their beautiful 3D scenes through this Leaves on Water Tutorial and have dived into their history, background, and artistic vision with this intimate interview.
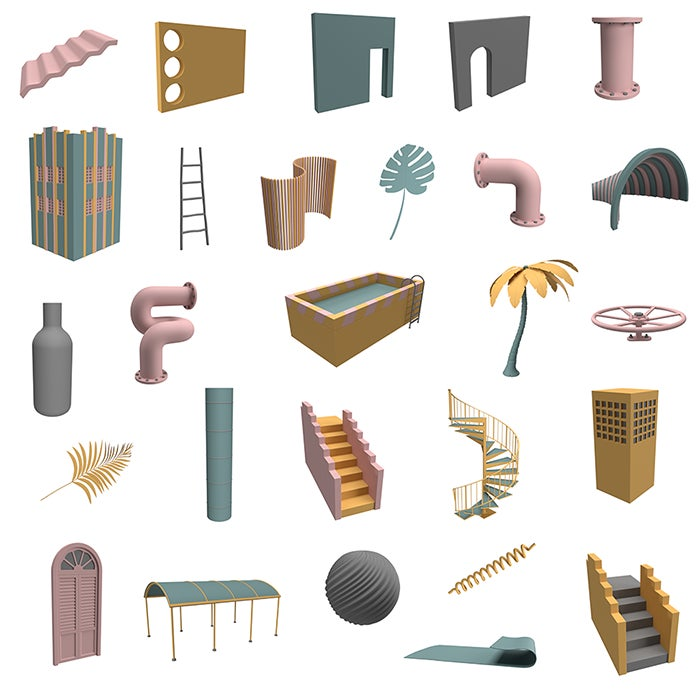
Adobe Stock 3D has collaborated with Mue Studio on a second tutorial, where you can learn how to create Open Water, a new work using Adobe Dimension. Incorporating assets from this free collection of 3D models, we will take you through a three-part tutorial, leveraging materials, textures, and a minimalist design aesthetic. Join us on this creative exploration and see what is possible.
Open Water tutorial (Part 1): Asset placement and composition
Step 1: Position the two front walls
- In the Properties Panel, start by making the canvas 3,600px x 2,880px. Select Fit Canvas at the top to view your entire working space in Dimension.
- Add the Arched Wall from Adobe Stock (ID 348972037). Change the Position to 334.4, -0.5, -402.2 cm (x, y, z) and Scale to 1.8, 1.8, 1.8 cm. This is your right wall.
- Press F to reposition your scene.
- Select the Arched Wall (wall_with_arch) from the Scene Panel and duplicate this asset by pressing Cmd+D or selecting Duplicate from the Actions Panel.
- Change the Position of this second wall to -323.1, -0.5, -402.2.
- Rotate the second wall Y to 180 degrees. You now have both front walls of your scene.
Step 2: Create the swimming pool and floor
- Select Camera from the Scene Panel and adjust the Camera Position to 35, 119.2, 910 cm and Rotation to 0, 1, 0 degrees.
- Add the S Shaped Divider from Adobe Stock (ID 348972927). Change the Position to -0.1, 0, -1,544.7 cm and Scale to 2.4, 2.4, 2.4 cm.
- From the Dimension Asset Panel, under Basic Shapes, add a Plane to your scene, which will serve as you rear wall.
- Change the Plane Position to 0, -106.3, -2,678.7 cm. Change Rotation X to 90 degrees and Scale to 180, 180, 180 cm.
- Now add a Cube from the Asset Panel. This will be the water in the pool. Change the Cube Position to 0, -19.9, 362.8 cm and Scale to 25, 1, 53.1 cm.
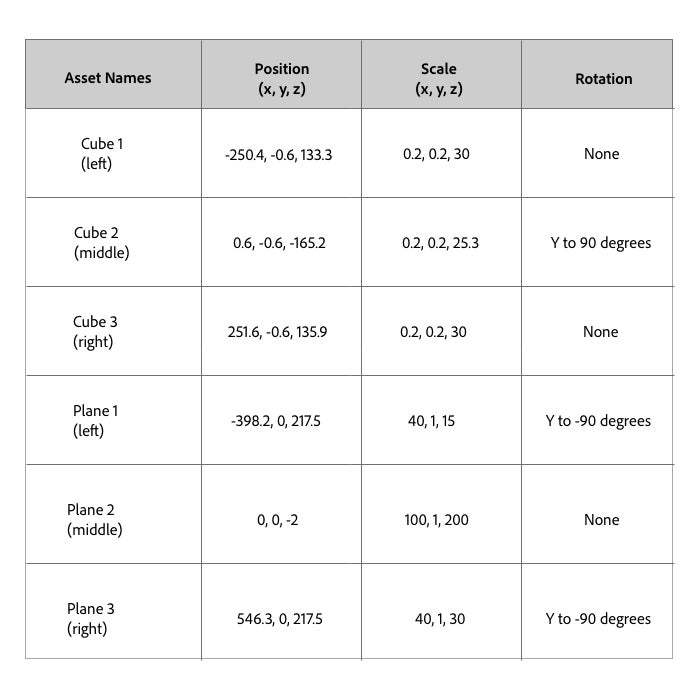
- Add three additional Cubes to the scene using the information in the table below to create the border for your swimming pool. Use the chart below to adjust the Position, Scale, and Rotation of these three assets.
- It is now time to create the floor of your scene. Add three Planes from the Asset Panel and update the Position, Scale, and Rotation using the information provided in the chart.
- You are now ready to add your remaining 3D assets to your Open Water scene.
Open Water tutorial (Part 2): Camera lighting and settings
Step 4: Add a camera bookmark
- Select Camera from the Scene Panel.
- Update the Position to 35, 119.2, 915 cm and be sure Rotation is at 0, 1, 0 degrees.
- On the top right, select Camera Bookmarks and “+” to add a new Camera Bookmark. This ensures your camera view is saved.
Step 5: Adjust the environment light
- Select Environment from the Scene Panel.
- Under the Properties Panel, adjust Global Intensity to 75 percent and Global Rotation to 55 degrees.
- You can now adjust the light further by adding Studio Panels Light from the Asset Panel under Environmental Lights.
- Under the Properties Panel, adjust the Environment Light Intensity to 75 percent and Rotation to 180 degrees.
Step 6: Add an additional light
- From Directional Lights in the Asset Panel, add Sun.
- Adjust Intensity to 107 percent, Rotation to 174 degrees, and Height to 9.2 degrees.
- You will now see a soft play of light and shadow throughout your in-progress scene.
Open Water tutorial (Part 3): Customizing the materials and textures
Step 7: Add materials to the walls, floor, and pool
- Start by adding the Cement material from the Adobe Standard Materials section of the Asset Panel to the two arched walls and rear wall of your scene.
- Change the color to RGB 216, 154, 131 and change Repeat in the Properties panel to x 3, y, 3.
- Add the same Cement material to the floor assets (left, middle, right) and change the color to RGB 216, 154, 131 and Repeat to x 10, y 10.
- It is now time to customize the life preserver. Add the Fine Grain Plastic material from the Asset Panel. Change the color to RGB 204, 116, 93.
- Next, add the Matte material to the pool bars (left, middle, right) and change to RGB 255, 184, 158.
- Lastly, change the color of the S-shaped divider in the background of your scene to RGB 191, 140, 112.
Step 8: Add the water
- It is now time to customize the water. Add the Glossy Paper material from the Substance Materials section of the Asset Panel to the Plane that makes up the pool water. Change the color to RGB 75, 191, 227.
- In the Properties panel, change the Roughness to 0.18, the Roughness Variation to 0.31, and the Grain Intensity to 0.32 to get a nice shimmering effect.
Step 9: Fine tune the remaining assets
- To add those final touches, change the color of the Wide Base Ladder to RGB 184, 103, 75.
- And, finally, change the Shallow Pool Ladder to RGB 96, 126, 135.
Congratulations! You have now finished the Open Water tutorial and can render out your final scene. A few suggestions as you wrap up your work:
- Feel free to change the color palette to give the scene your own, unique twist.
- Don’t hesitate to move elements around or add other 3D assets to change up the final render.
- We recommend taking the PSD into Photoshop and adding a little post-processing polish.
Our appreciation to Minjin Kang and Mijoo Kim of Mue Studio for their amazing work on this tutorial and for sharing their creative inspiration with us over the past few months. For more about Mue Studio, please visit their website here or their Behance portfolio here.
