I had no idea RoboHelp could do THAT! (Round 2)

We kicked off February with a terrific webinar on RoboHelp, with guest Rick Stone. This highly engaging session covered about a dozen tips on how to use RoboHelp more effectively.
You may view the RECORDING by clicking on the following TITLE:
I had no idea RoboHelp could do THAT! (Round 2)
MINUTE MARKERS to key points in RECORDING:
02:00
Brief intro by Rick Stone and “assistants”
03:00
How to maximize space in the RoboHelp work spacesClick pods to “float” then use “x” to close pod
4:00
How to easily find a TOPIC … only have to type in part of a topic name. Will put your focus on the topic in Project Manager … Note that you do have to double click on selected TOPIC
07:00
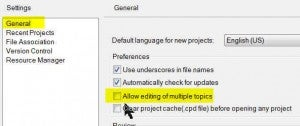
How to traverse through dozens of topics in order to view basic formattingTools->Options and uncheck “allow editing of multiple topics” … this enables you to open successive topics, and close previous topics as you move forward

10:00
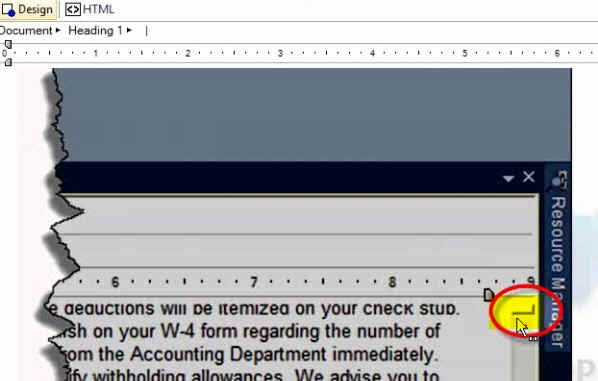
Ability to split topic into multiple areas on the screen … useful when you need to compare content within 2 topics Can have 2 independently scrollable areas w/in RoboHelpCAUTION: if you don’t restore the topic to one viewing pane … you will have 2 panes the next time you open the topic

14:00
Using CONTROL-CLICK to open up a topic from a hyperlink or cross reference
17:00
CONTROL+DRAG on selected text or graphic can create a COPY
18:00
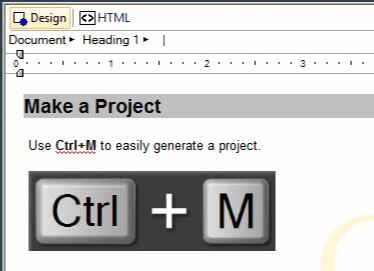
You can select part of first item and part of last item in successive paragraphs before selecting bulletsCTRL+M to generate a project (useful keyboard shortcut)How to select the DEFAULT settings for a project

19:00
Fix for when the PREVIEW WINDOW play “hide n’ seek” (previous session on multiple monitors, opening same project on single screen laptop)
23:30
Working with duplicated a topicRight click on topic tab … choose “New Vertical Tab Group” and you can have topics side-by-sideYou can CTRL-CLICK+DRAG content from one topic window into the next
26:00
Using Windows Explorer to open topics … use the “MY PLACES” side bar on left section of windows with “open” command. You can add YOUR OWN LOCATIONS to the my places barUse TOOLS pull down in OPEN dialogue to add selected folder to MY PLACES … allows you to have frequently used project folders available in the OPEN DIALOGUE
29:30
On IMPORT GRAPHICS, choose the GALLERY tab for artwork supplied from ROBOHELP … contains *.gif and *.jpg version of each image.Note that *.jpg has a white background and the *gif version has a transparent background
31:15
Adding some of your own images to the RoboHelp gallery … where to navigate to … e.g. Gallery\Images\Arrows … you can add your own folder for a new category to work with … copy + paste your folder into the IMAGES folder. Then note that the [Gallery] tab in RoboHelp displays your new category …
34:30
KEYBOARD SHORTCUTS for common formats like “Heading 1” and “heading 2” …CTRL+SHIFT+n will restore formatted text back to [Normal] style
36:00
shortcut for updating a FORMAT STYLE in the *.css style sheet … Insertion point in overridden style and invoke choice that will enable you to update style sheet….
39:00
When topic has been renamed and you want the displayed text to match … Use Insert->Fields …
40:00
Using FIELDS [Title] in Heading 1 with default style to populate NEW topics with desired default text, and Heading that will match the TOPIC name. A TIP for using master pages to make Topic Title be mirrored in first heading.